Ninja Creami Chocolate Ice Cream
This 5-ingredient homemade Ninja Creami chocolate ice cream recipe is incredibly smooth, thick, delicious and easy! It is made with only a handful of ingredients that you probably already have in your kitchen. It has never been easier to make homemade ice cream!
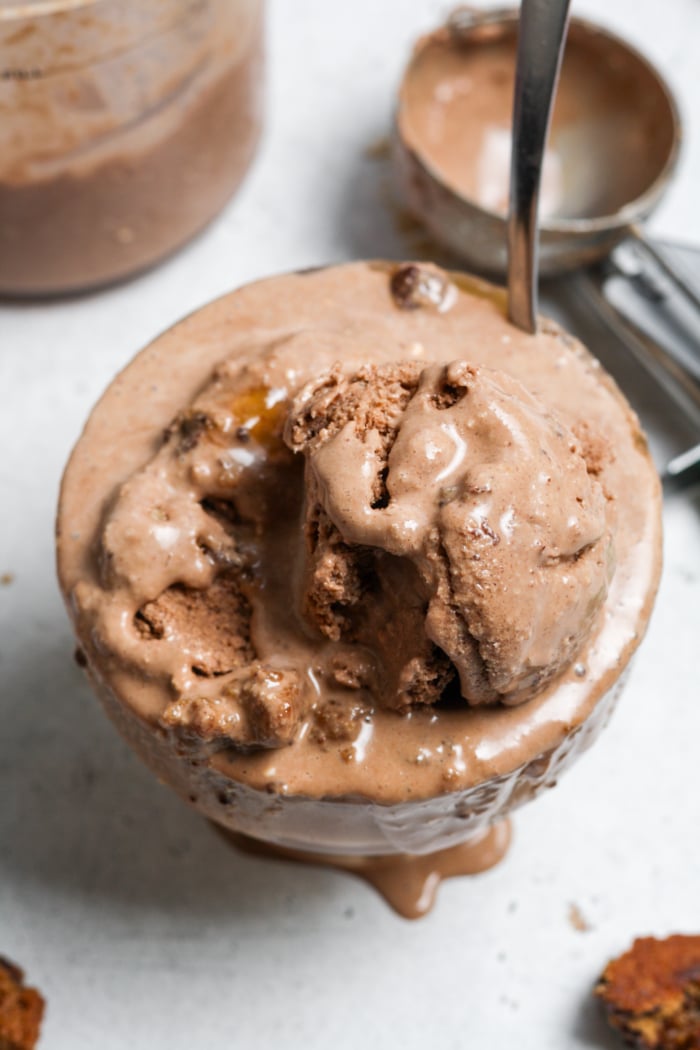
The best part? This homemade chocolate ice cream is made with wholesome and nutritious ingredients. Serve with ice cream cones, topped with caramel sauce, fudge sauce, or by itself!
Why You’ll Love This Recipe
- This Ninja Creami chocolate ice cream recipe is quick and easy.
- It requires only 5 ingredients.
- This ice cream is naturally high in protein.
- It comes out super smooth and creamy!
- Feel free to add your favorite mix-ins. I love chunks of gluten free cookies, Cottage Cheese Brownies, dark chocolate chips, and caramel sauce.
- The chocolate flavor is rich and indulgent.
- You would never guess this recipe is made with healthier ingredients.
- Check out this Cottage Cheese Ice Cream for another fun dessert recipe!
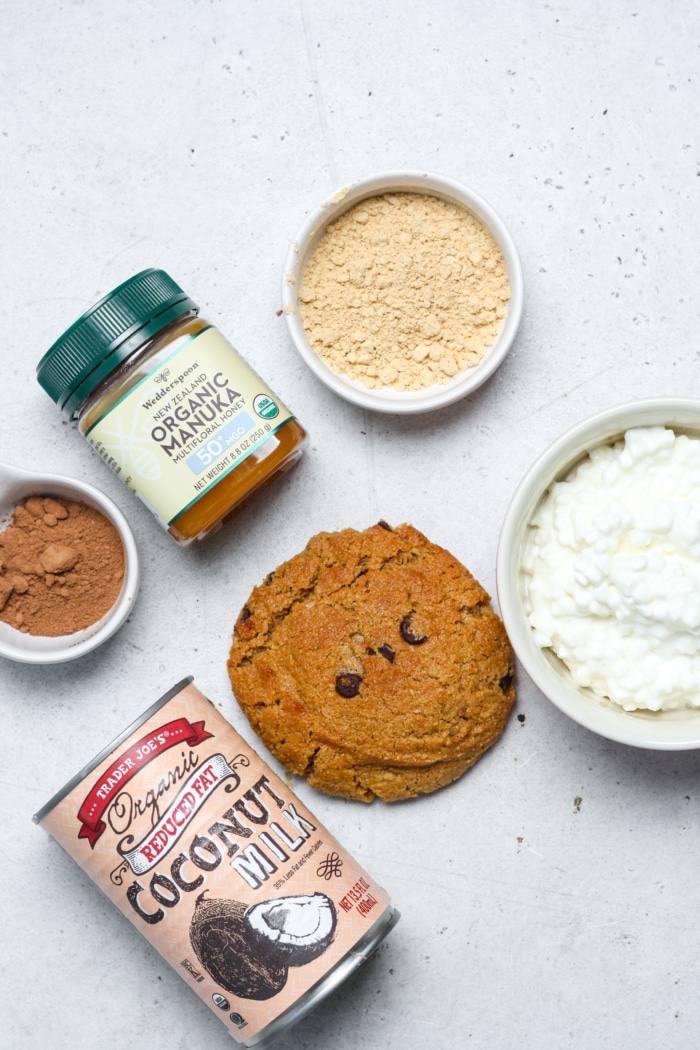
Ingredients & Substitutions
These are the main ingredients and substitutions for this Ninja Creami chocolate ice cream. Scroll down to the recipe card for full ingredients list and instructions.
First, use cottage cheese or Greek yogurt. For the best creamy texture, use full fat.
Use your favorite milk of choice. I typically like canned coconut milk for an ultra creamy texture.
For the protein powder, I highly recommend peanut butter powder. It adds a peanut butter flavor!
Cocoa powder adds the chocolate flavor.
To sweeten this homemade ice cream, use honey or maple syrup. This natural sweetener is better for you than white sugar.
Add more milk as needed when spinning.
Lastly, I highly recommend topping your ice cream with a crumbled cookie!
Taste & Texture
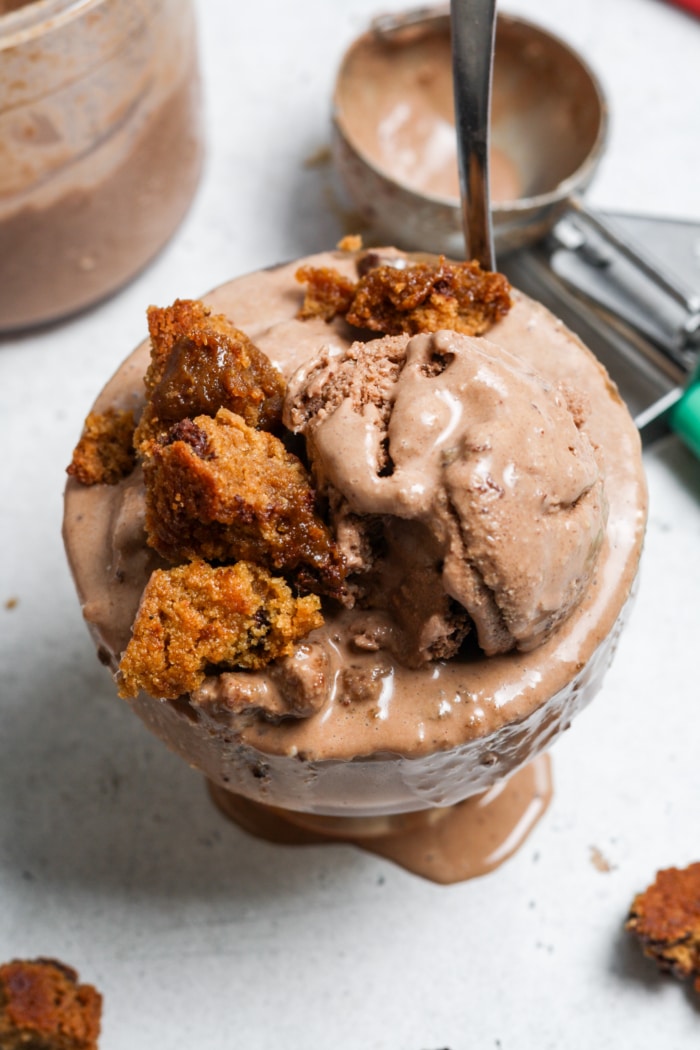
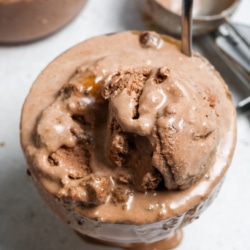
This Ninja Creami chocolate ice cream tastes like your favorite nostalgic ice cream! You would never know it is so quick, easy, and healthy.
The texture is rich, thick, and ultra creamy.
How to Make
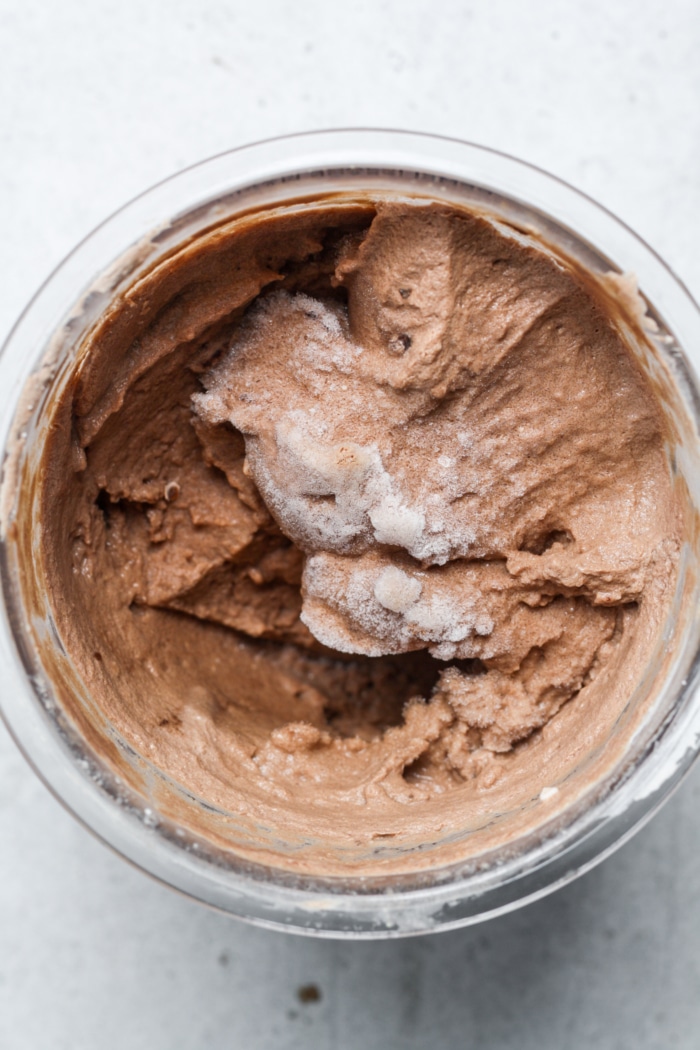
Step 1
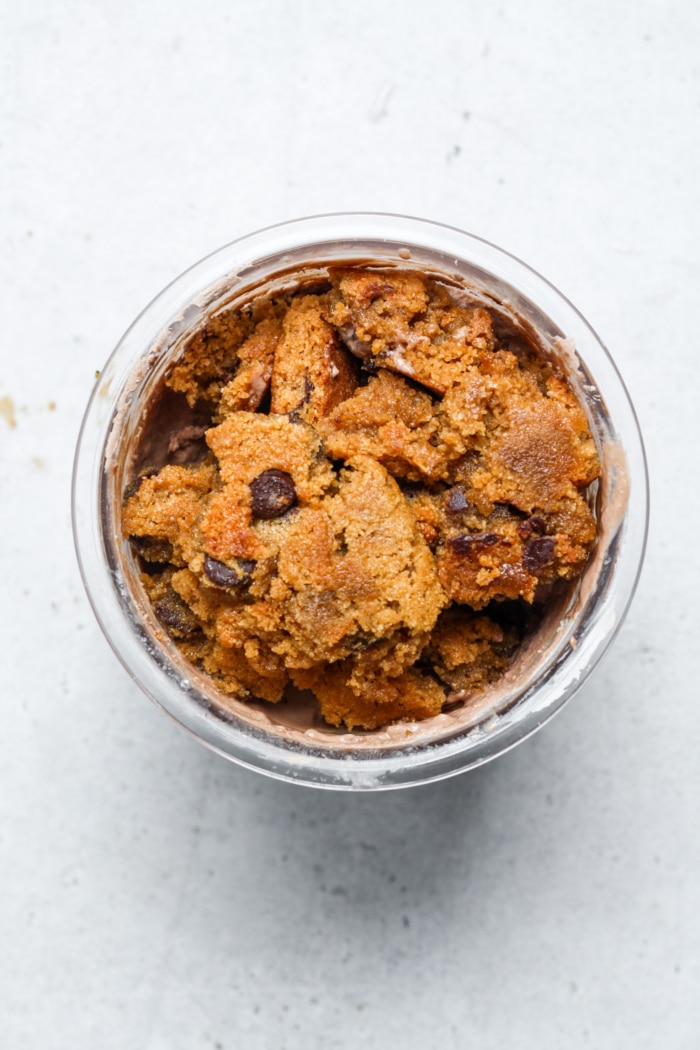
First, add the cottage cheese, coconut milk, protein powder, cocoa powder, and honey to your Ninja Creami jar. Then, stir to combine.
Step 2
Secure the jar in place. Press the Ice Cream button.
Step 3
Once it has finished spinning, carefully remove it from the machine. Place the lid on top. Freeze for 24 hours.
Step 4
After 24 hours, remove from the freezer. Remove the lid. Next, add a splash of coconut milk and secure in the machine. Then, press the Ice Cream button.
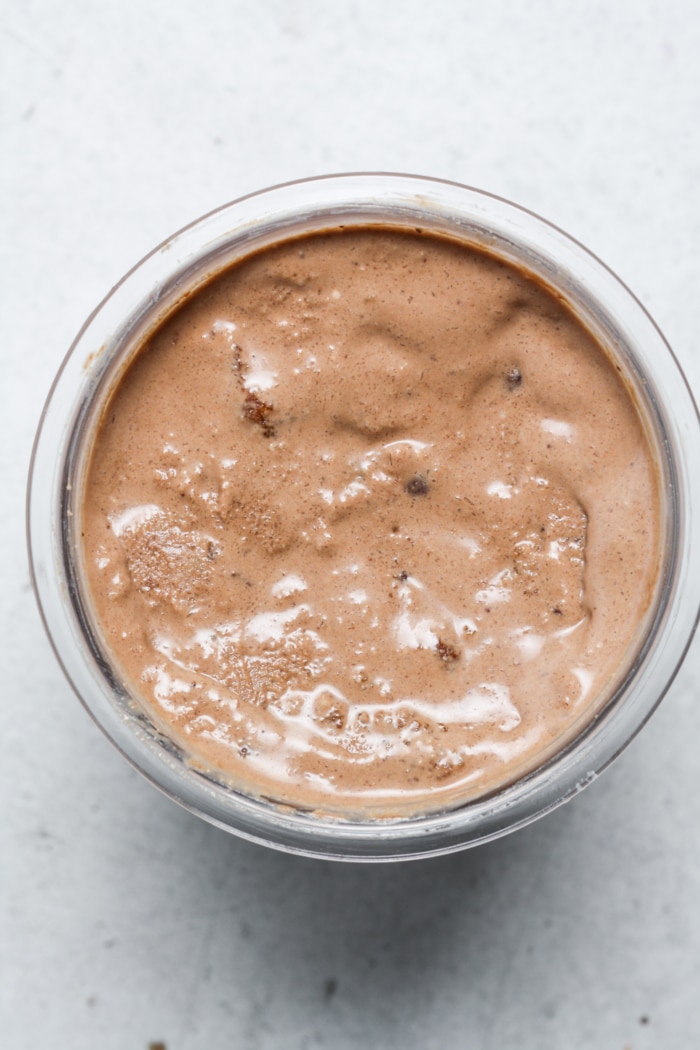
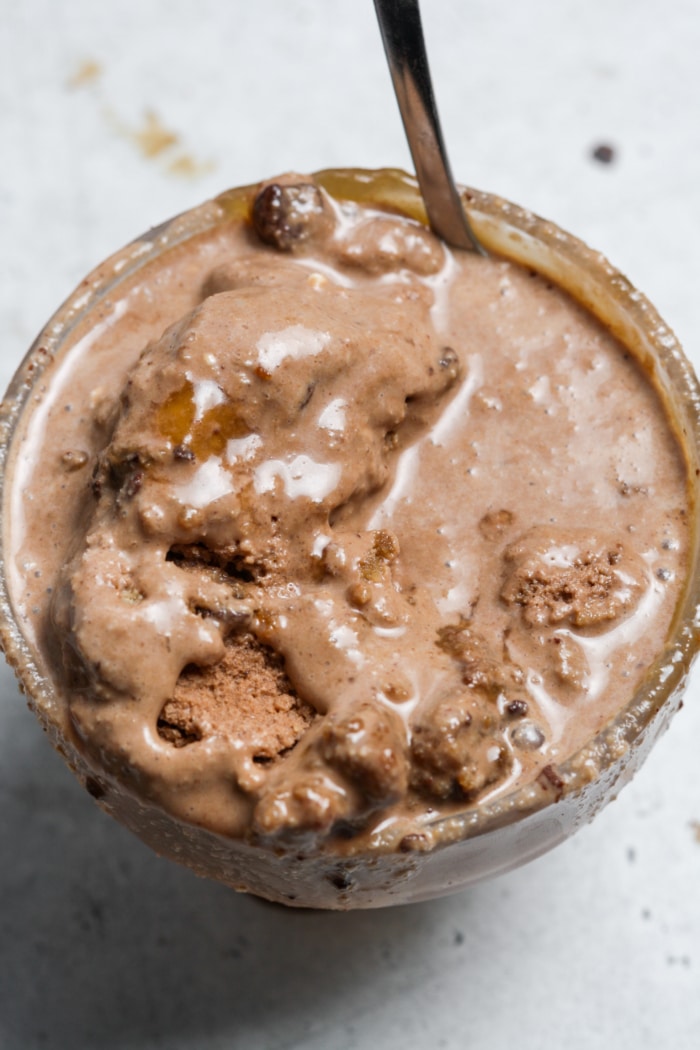
Step 5
Once the machine has finished spinning, remove the product from the machine. Crumble a cookie on top if desired.
Step 6
Lastly, enjoy your high protein chocolate ice cream!
Expert Tips & Tricks
Follow these tips and tricks to make the best Ninja Creami chocolate ice cream.
Use full fat cottage cheese or Greek yogurt. This contributes to a creamier texture.
In addition, use a higher fat milk. Skim milk will not be as creamy as whole milk.
If needed, add more milk as the ice cream spins.
Moreover, you may need to re-spin your ice cream to achieve your desired texture.
How to Serve & Store
Serve this Ninja Creami chocolate ice cream cold and fresh! It is best served completely frozen.
It may be a little soft after spinning. In addition, place it in the freezer as needed.
Have fun with your toppings! I love dark chocolate chips, a gluten free cookie or brownie, honey, and maple syrup.
For a fun idea, top with a drizzle of peanut butter!
Store leftovers in an airtight container for up to 3 months in the freezer.
Frequently Asked Questions
The Ninja Creami is a popular kitchen appliance that makes homemade ice cream easy!
I would not recommend making this recipe without a Ninja Creami. Check out my Mint Chocolate Chip Nice Cream for a recipe without an ice cream machine.
Add in chocolate chips, caramel sauce, cookies, brownies, or peanut butter.
Yes! This chocolate ice cream is made with only healthy ingredients.
Equipment Needed
Ninja Creami: This is the appliance that I own and love! It works well for making this Ninja Creami chocolate ice cream.
Check out all of my kitchen favorites!
You May Also Like
- Healthy Snickers Smoothie
- Chocolate Covered Pecans
- Butter Pecan Ice Cream
- Paleo Chocolate Ice Cream
- Avocado Banana Smoothie
If you make this Ninja Creami chocolate ice cream recipe, I would really appreciate a review! You can find me on Instagram, Facebook, and Pinterest. Join my exclusive Facebook Group for a behind the scenes look. I would love for you to follow along! For more sweet treats, check out these Dessert Recipes.
Get the Recipe: Ninja Creami Chocolate Ice Cream
Ingredients
- 1 cup cottage cheese, or Greek yogurt
- ½ cup coconut milk, or milk of choice
- 1 scoop protein powder, I used PBfit
- 1 tbsp cocoa powder
- 1 tbsp honey, or maple syrup
- more milk as needed
- 1 gluten free cookie, optional
Instructions
- First, add the cottage cheese, coconut milk, protein powder, cocoa powder, and honey to your Ninja Creami jar. Stir to combine.
- Secure the jar in place. Press the Ice Cream button.
- Once it has finished spinning, carefully remove from the machine. Place the lid on top. Freeze for 24 hours.
- After 24 hours, remove from the freezer. Remove the lid. Add a splash of coconut milk and secure in the machine. Press Ice Cream.
- Once it has finished spinning, remove from the machine. Crumble a cookie on top if desired.
- Finally, enjoy!
Notes
- Feel free to use either cottage cheese or Greek yogurt.
- Regular milk works as well.
- This ice cream is not overly sweet. For a sweeter option, add more honey.
- You may need to re-spin to reach your desired level of creaminess.
- Store leftovers in the freezer for up to 3 months.
- Check out all of my kitchen favorites!
Have you signed up for my newsletter? You can sign up here to receive healthy meal plans, exclusive new recipes, and updates!