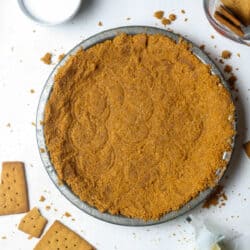
Gluten Free Graham Cracker Crust
This gluten free graham cracker crust is crispy, crunchy and buttery! It is quick and easy to make and takes less than 15 minutes. This gluten free crust is great for everything from pies to cheesecakes. Make it extra delicious with Homemade Gluten Free Graham Crackers!
Why You’ll Love This Recipe
- This gluten free graham cracker crust takes less than 15 minutes to make.
- It is made with only 3 ingredients.
- This crust is great for pies and cheesecakes.
- The crust can be left raw for no bake desserts or baked.
- Either way, this crust is buttery, perfectly sweet and crunchy.
- This recipe is gluten free!
- Make this Gluten Free Cheesecake with this crust!
- Or, use graham crackers to make these 7 Layer Bars.
Ingredients & Substitutions
These are the main ingredients and substitutions. Scroll down to the recipe card for full ingredients list and instructions.
Use desired brand of gluten free graham crackers. I used Pamela’s gluten free.
Melted butter helps the graham cracker crumbs hold together. In addition, it provides that signature buttery flavor. When baked, it makes the crust taste caramelized. Coconut oil may be used, but will not add the same flavor.
A little granulated sugar adds some sweetness. Replace with coconut sugar if desired.
Gluten Free Graham Crackers
There are several great gluten free graham cracker brands in stores today.
Pamela’s Products makes gluten free graham crackers in both regular size and mini size. In addition, they make honey, cinnamon, chocolate chip, and grain free varieties.
Kinnikinnick makes graham crackers specifically for s’mores. They also make graham cracker crumbs.
Schar makes gluten free graham crackers too.
I have tried both Pamela’s and Kinnikinnick and they were both great. For this specific gluten free graham cracker crust recipe, I used Pamela’s grain free graham crackers and they were perfect!
Taste & Texture
This gluten free graham cracker crust tastes like buttery graham crackers. It has the taste of classic graham cracker crust.
The texture is a little crumbly and buttery before baking. After baking, this crust is crispy and crunchy.
How to Make
Step 1
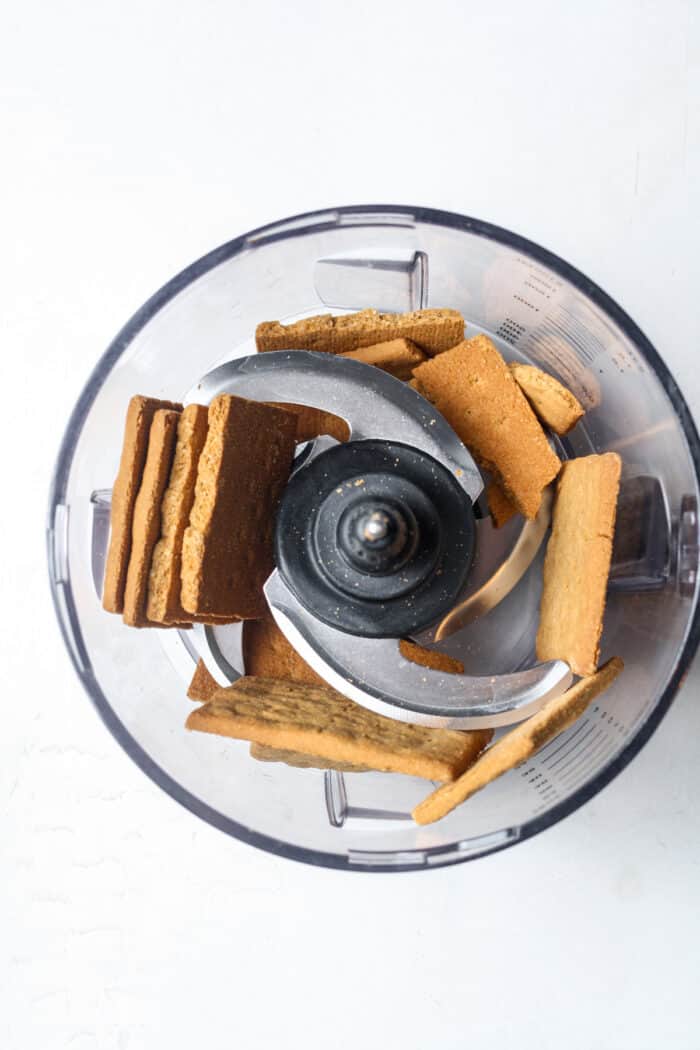
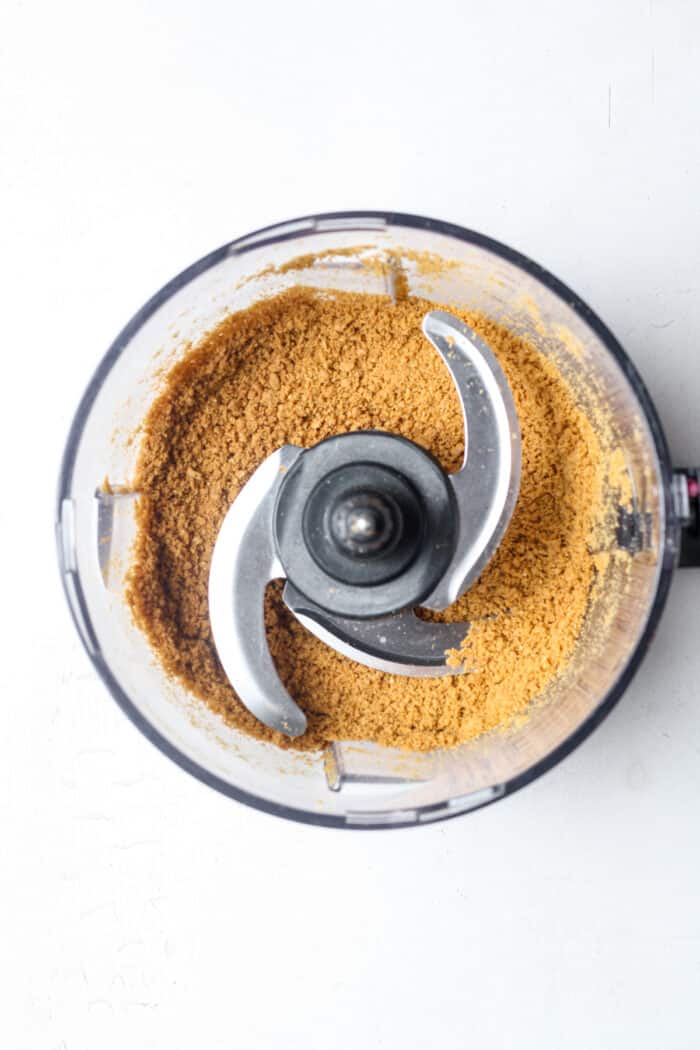
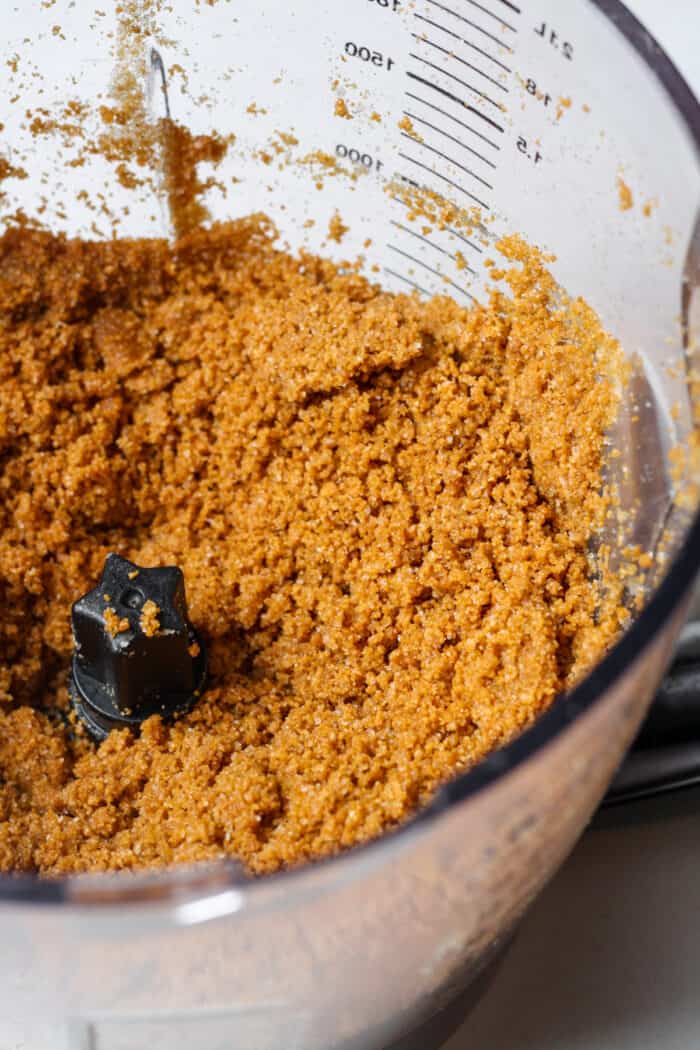
First, add graham crackers to a food processor. Process until they become crumbs. Then correctly measure out the 1 ¾ cups.
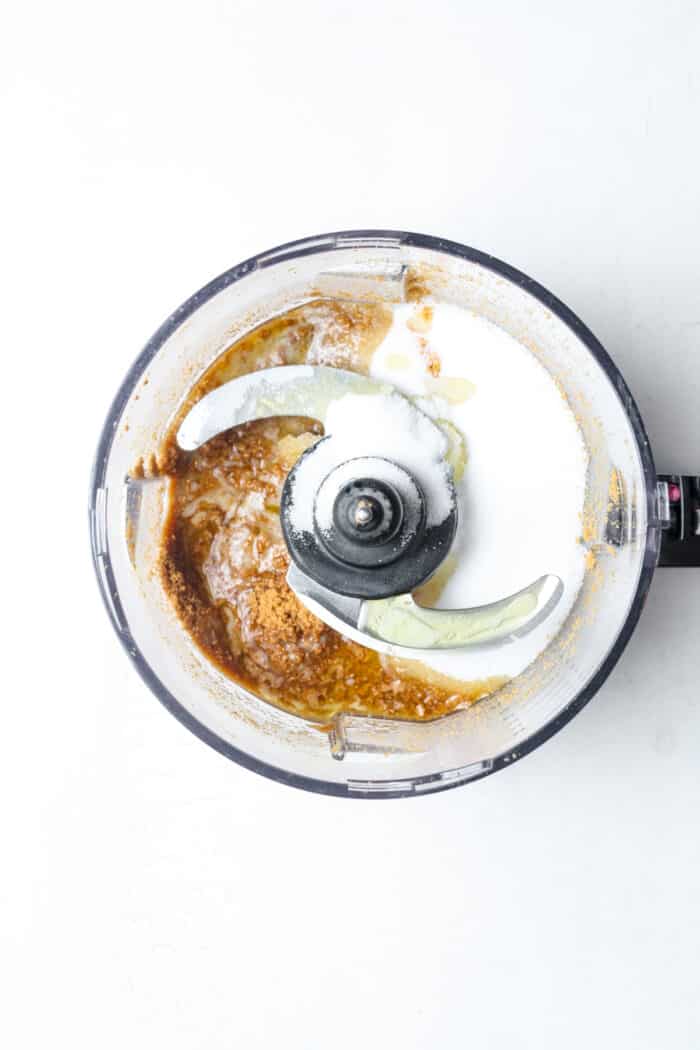
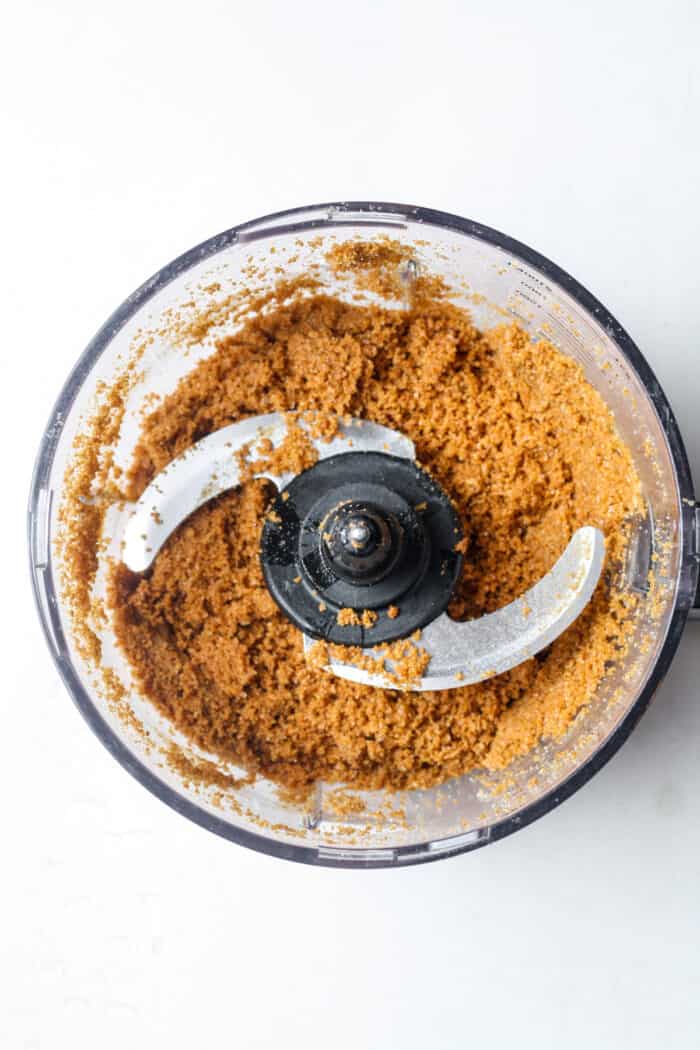
Step 2
Add graham cracker crumbs, melted butter and sugar to food processor. Pulse until combined. The texture should be crumbly. If you press some of the crumbles between two of your fingers, it should lightly stick together.
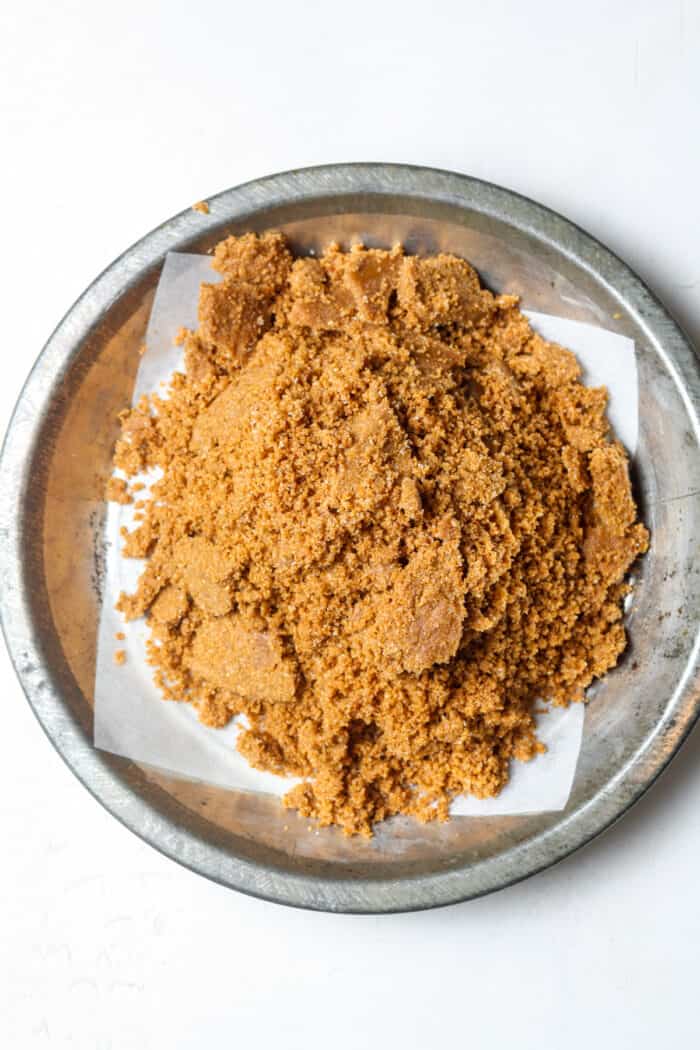
Step 3
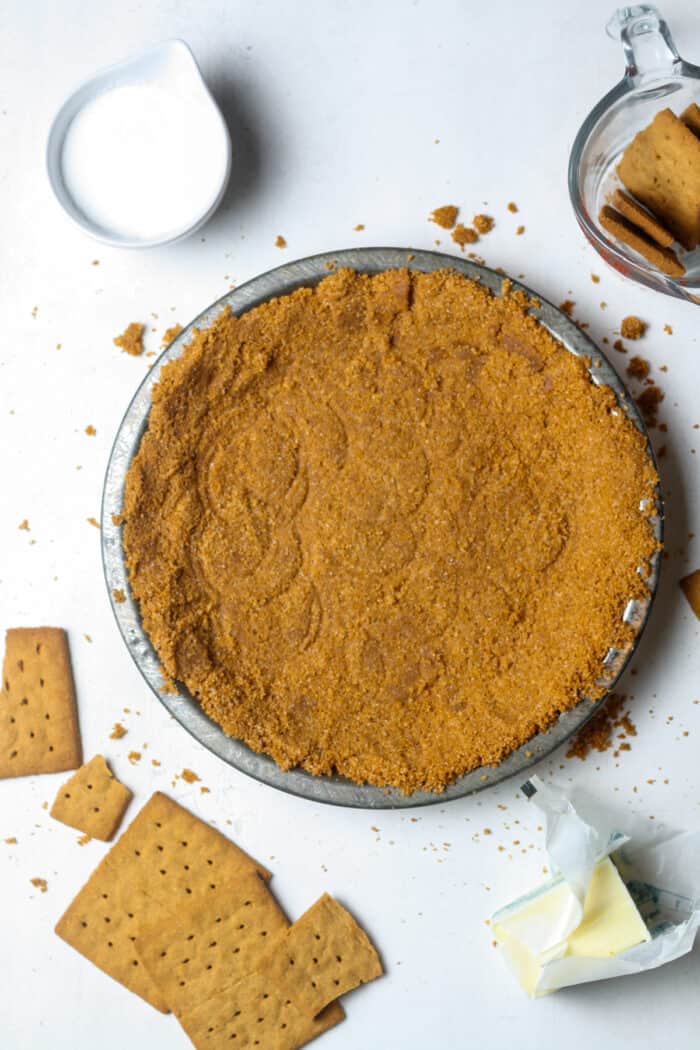
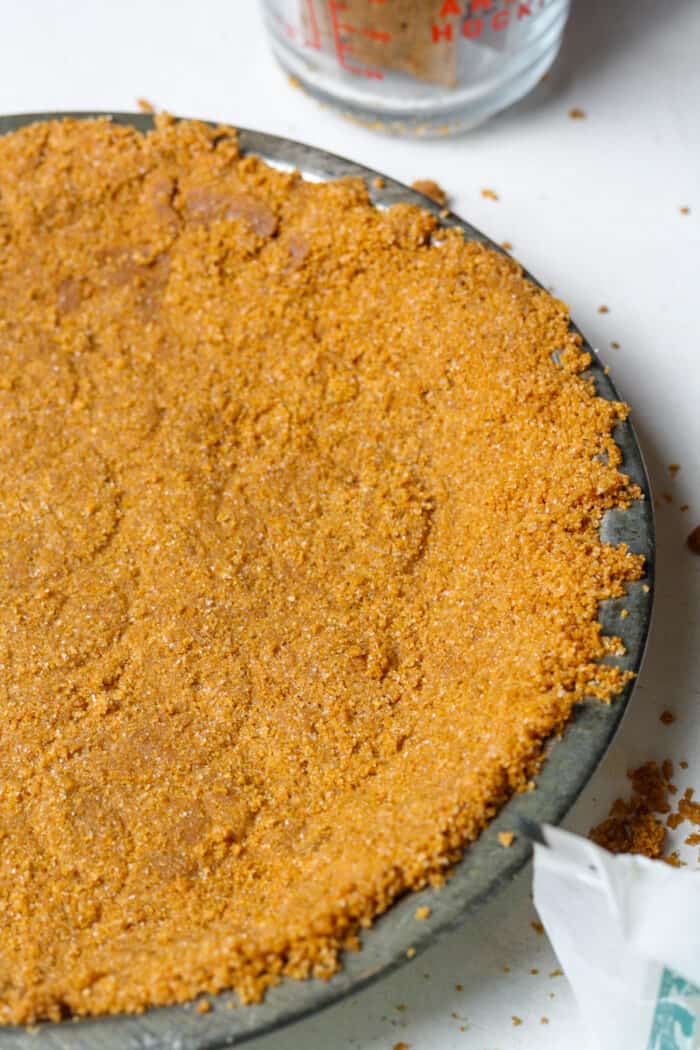
Spread mixture into pie plate or springform pan. It can be used in up to 9 inch pans.
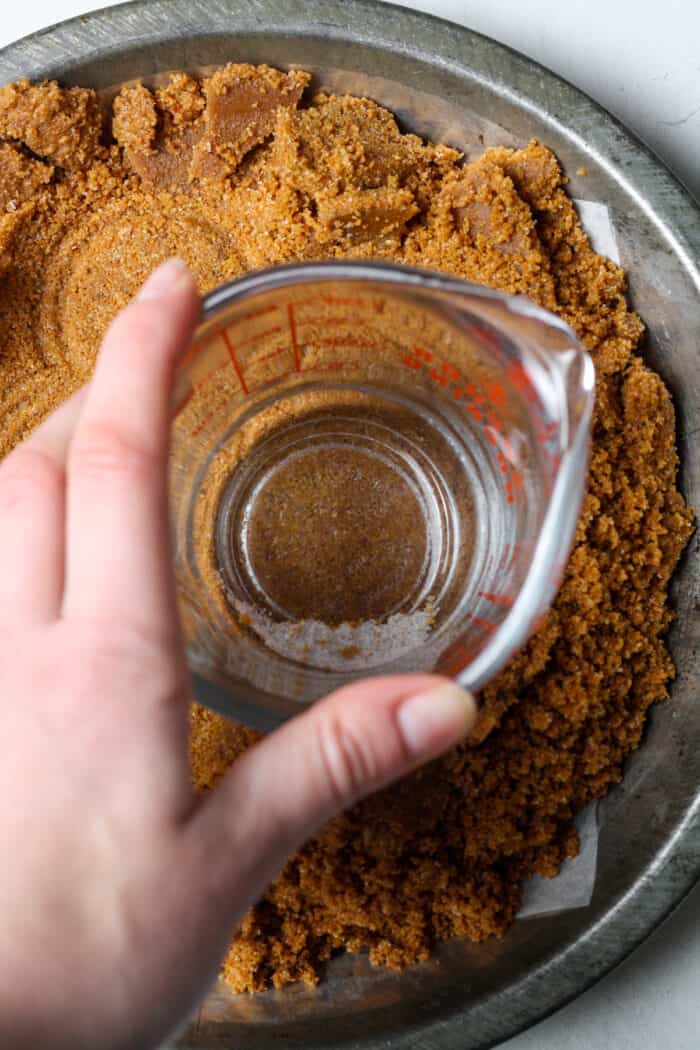
Step 4
Use fingers or the bottom of a glass to press mixture into one even layer in pan.
Step 5
For a baked crust, preheat oven to 350 degrees. Bake for 8 minutes.
Step 6
If making a no bake dessert, I recommend baking the crust to hold it together. Otherwise, feel free to use a raw crust. Chill gluten free graham cracker crust for 2 hours before adding filling.
Expert Tips & Tricks
The biggest and most important tip is nailing the texture. After food processing, take a little of the crumbly mixture and pinch it between your fingers. If it softly sticks, then that is perfect. In the case it does not stick at all, add a touch more melted butter. If it stick completely and it is buttery/oily, add slightly more graham cracker crumbs.
Use fingers or cup to press mixture down into pie plate or springform pan. For best results, pack it down well into one even layer.
Even though this crust can be left raw, I highly recommend baking it. After baking, it is more crispy, crunchy and holds together better.
Baked Versus No Bake
This gluten free graham cracker crust can be left raw or baked. For traditional baked goods such as cheesecake or pie, bake this crust naked (without filling) before adding filling.
For no bake desserts, such as raw cheesecake or ice cream cake, I still recommend baking the crust naked. Then, allow it to fully cool before adding filling.
This crust will hold up much better once baked. Without baking, it can be slightly crumbly.
How to Serve & Store
Fill with cheesecake filling or pie filling once crust has baked.
This crust can be refrigerated for up to 4 days. It holds up well and remains intact.
Frequently Asked Questions
My personal favorite is Pamela’s.
Technically no, but this crust has a much better texture when baked.
I have not tried substituting coconut oil for butter, but I imagine it would work fine.
You May Also Like
- Paleo Pecan Pie Bars
- Small Batch Chocolate Chip Cookies
- Gluten Free Whoopie Pies
- Apple Crisp Bars
- Caramel Apple Dip
If you make this gluten free graham cracker crust recipe, I would really appreciate a review! You can find me on Instagram, Facebook, and Pinterest. I would love for you to follow along! For more ideas, check out these Dessert Recipes.
Get the Recipe: Gluten Free Graham Cracker Crust
Ingredients
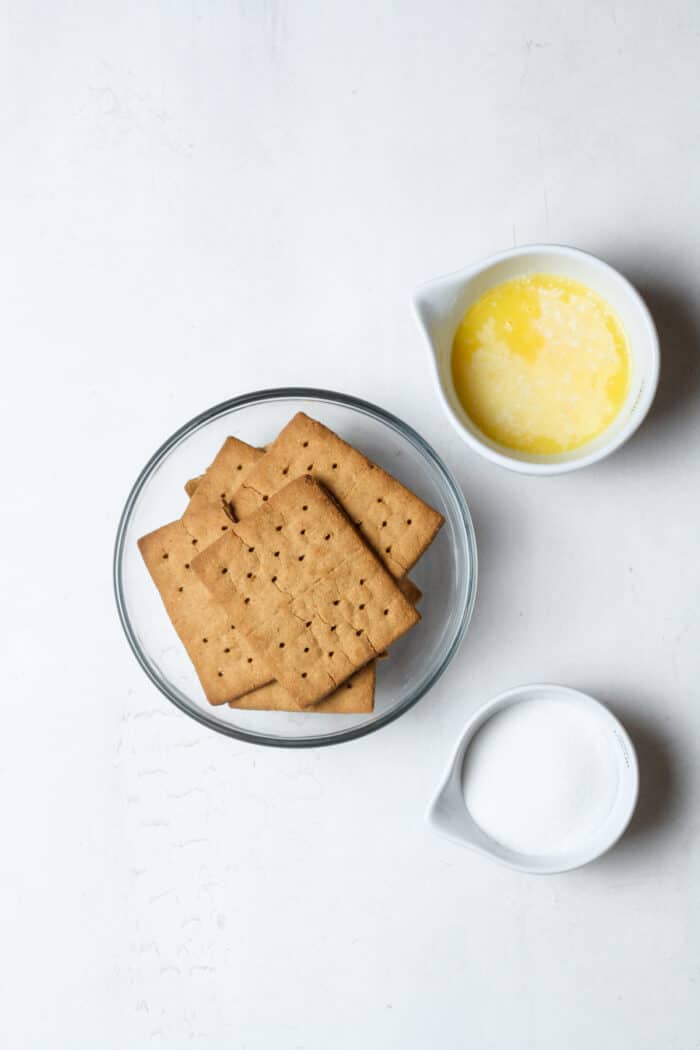
- 1 ¾ cups gluten free graham cracker crumbs
- 6 tbsp melted butter
- 3 tbsp granulated sugar
Instructions
- First, add graham crackers to a food processor. Process until they become crumbs. Then correctly measure out the 1 ¾ cups.
- Add graham cracker crumbs, melted butter and sugar to food processor. Pulse until combined. The texture should be crumbly. If you press some of the crumbles between two of your fingers, it should lightly stick together.
- Spread mixture into pie plate or springform pan. It can be used in up to 9 inch pans.
- Use fingers or the bottom of a glass to press mixture into one even layer in pan.
- For a baked crust, preheat oven to 350 degrees. Bake for 8 minutes.
- If making a no bake dessert, I recommend baking the crust to hold it together. Otherwise, feel free to use a raw crust. Chill crust for 2 hours before adding filling.
Notes
- See blog post above for different brands of gluten free graham crackers.
- After making the crumbly mixture, press the mixture between two fingers. It should be lightly sticking together.
- Use hands or bottom of glass to press mixture into one even layer. If making a pie, press up the sides of the pie glass.
- This crust does not have to be baked. I recommend doing so for texture purposes.
- For a baked dessert, bake crust then add filling as your recipe calls for it.
- If making a no bake dessert, bake and then refrigerate crust for 2 hours before adding filling.
- Otherwise, feel free to leave crust raw.
Love this gluten free graham cracker crust? You can sign up here to receive healthy meal plans, exclusive new recipes and updates!