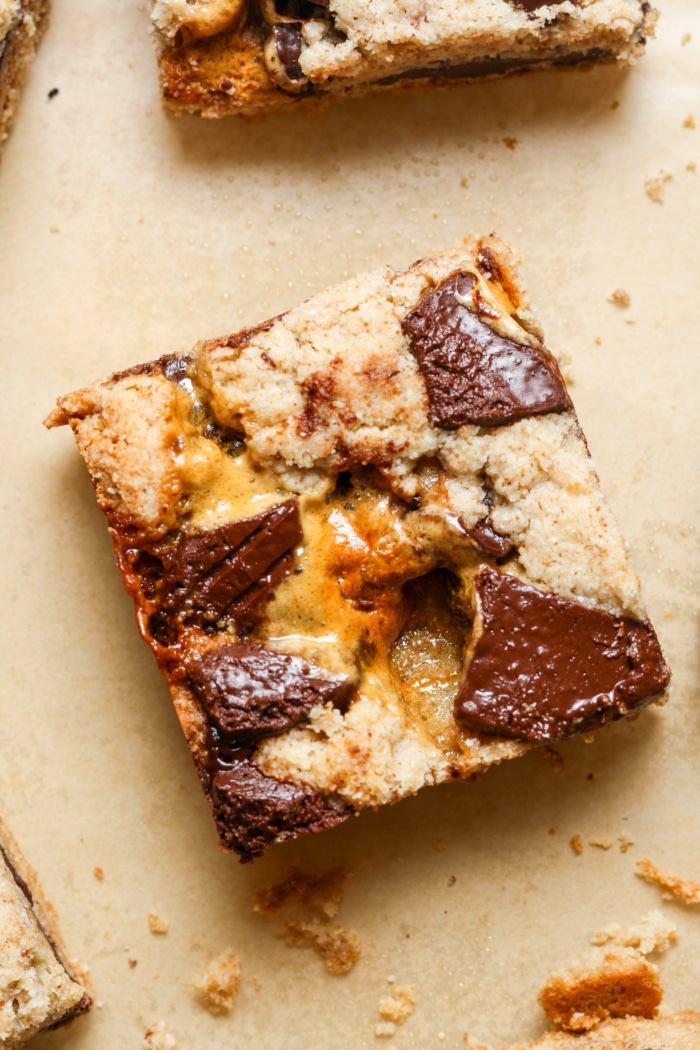
S’mores Bars
S’mores aren’t just for summer nights and campfires anymore! With this incredible recipe for S’mores Bars, you can indulge in that iconic combination of toasted marshmallow, rich chocolate, and a tender, graham-cracker-like crust any time of year.
Perfect for parties, potlucks, or simply satisfying a sudden sweet craving. These bars are a game-changer for anyone who loves the classic treat but wants a simpler, indoor-friendly version!
Why You’ll Love This Recipe
- No Campfire Needed: Enjoy the classic s’mores experience without the hassle of building a fire or battling smoke.
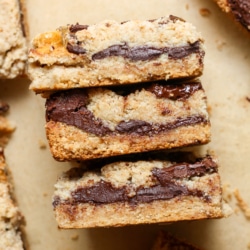
- Irresistibly Gooey & Chewy: The perfect balance of melted chocolate, toasted marshmallow, and a soft, slightly crumbly crust creates an amazing textural delight.
- Gluten-Free Goodness: Made with almond and oat flour, these bars are a fantastic treat for those with gluten sensitivities, without sacrificing an ounce of flavor or texture.
- Easy to Make: With straightforward steps and readily available ingredients, these s’mores bars are a breeze to whip up, even for novice bakers.
- Crowd-Pleasing Perfection: Whether for a potluck, a party, or a simple family dessert, these S’mores bars are always a hit and disappear quickly!
- Check out this S’mores Dip for another s’mores inspired dessert!
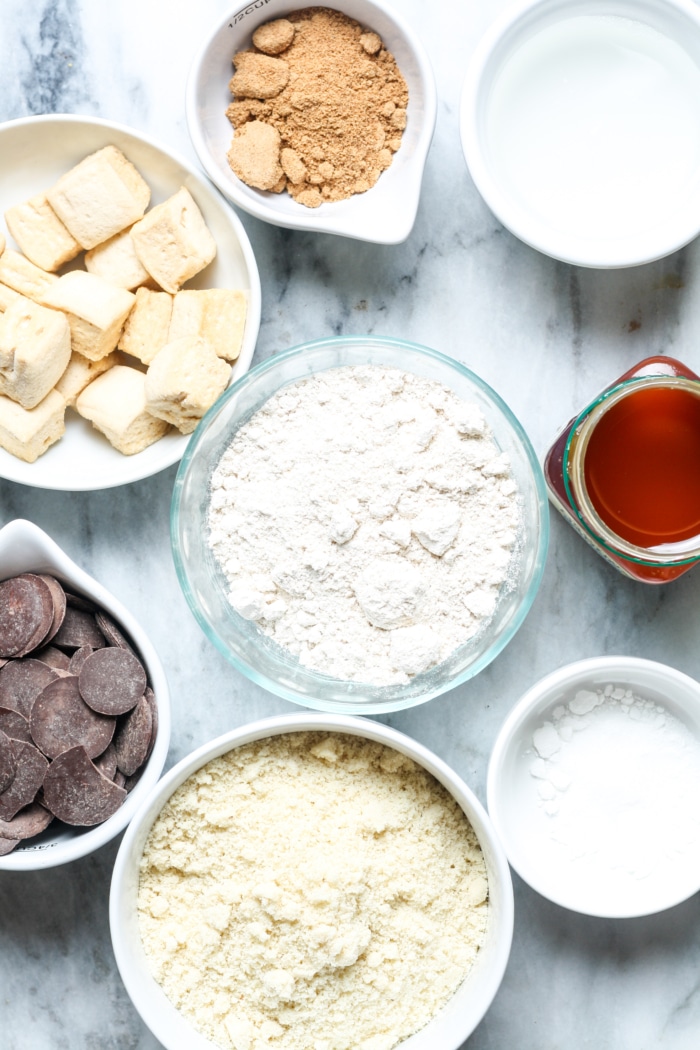
Ingredients & Substitutes
These are the ingredients and substitutes for these s’mores bars. Scroll down to the recipe card below for the full recipe and measurements!
First, use a combination of almond flour and oat flour for the crust. These two gluten free flours have great flavor and texture.
Baking soda helps the crust rise slightly.
A little sea salt balances out the sweetness.
To sweeten these bars, use honey and coconut sugar. If needed, replace honey with maple syrup or date syrup. Feel free to use brown sugar instead of coconut sugar as desired.
Melted unsalted butter adds a delicious buttery taste to the crust. For a dairy free version, use melted coconut oil.
A little vanilla extract adds a cozy flavor.
Top with dark chocolate and mini marshmallows.
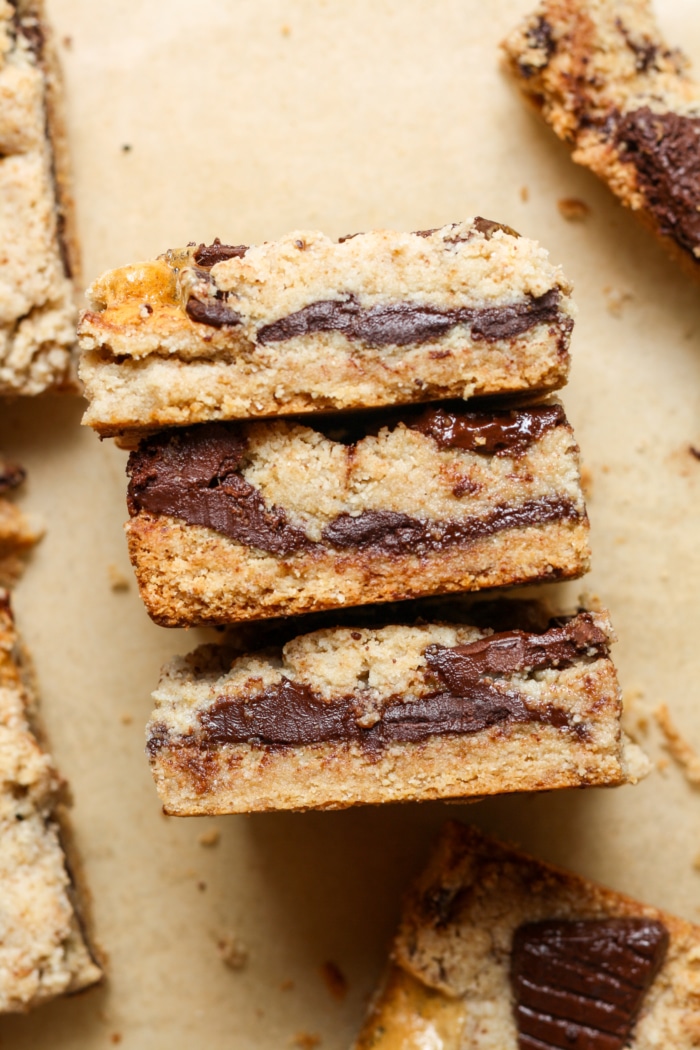
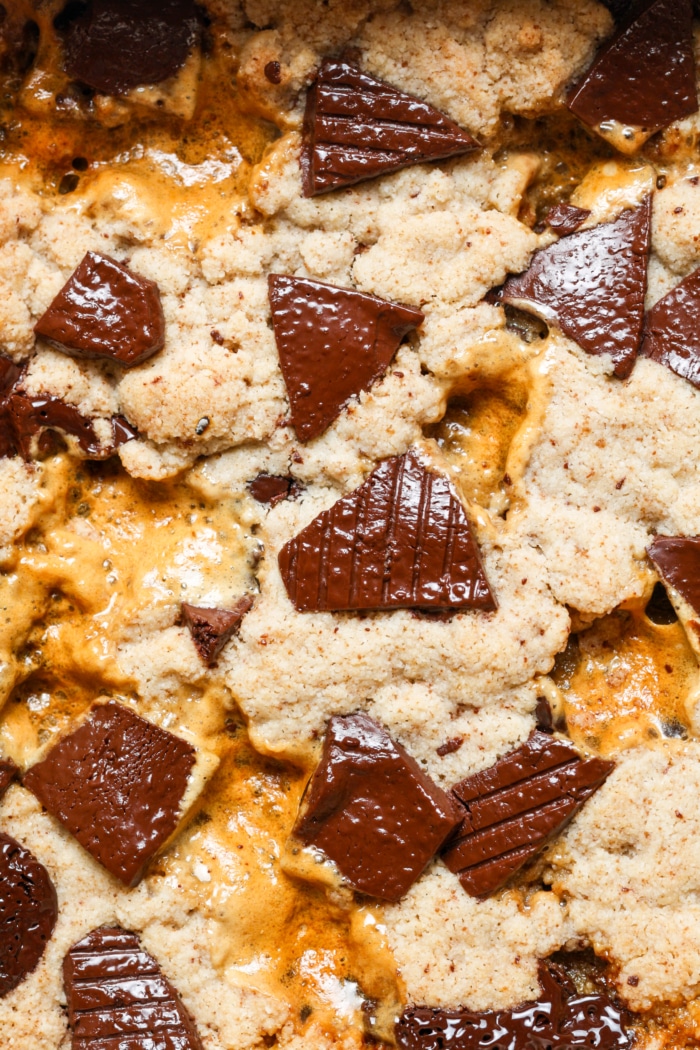
Taste & Texture
These S’mores Bars taste like your favorite childhood summer dessert!
The crust is slightly nutty and sweet.
The chocolate layer is gooey while the marshmallows because caramelized.
How to Make
Step 1
Preheat your oven to 350°F (175°C). Line an 8×8-inch baking pan with parchment paper, leaving an overhang for easy removal.
Step 2
In a medium bowl, whisk together almond flour, oat flour, baking soda, and salt.
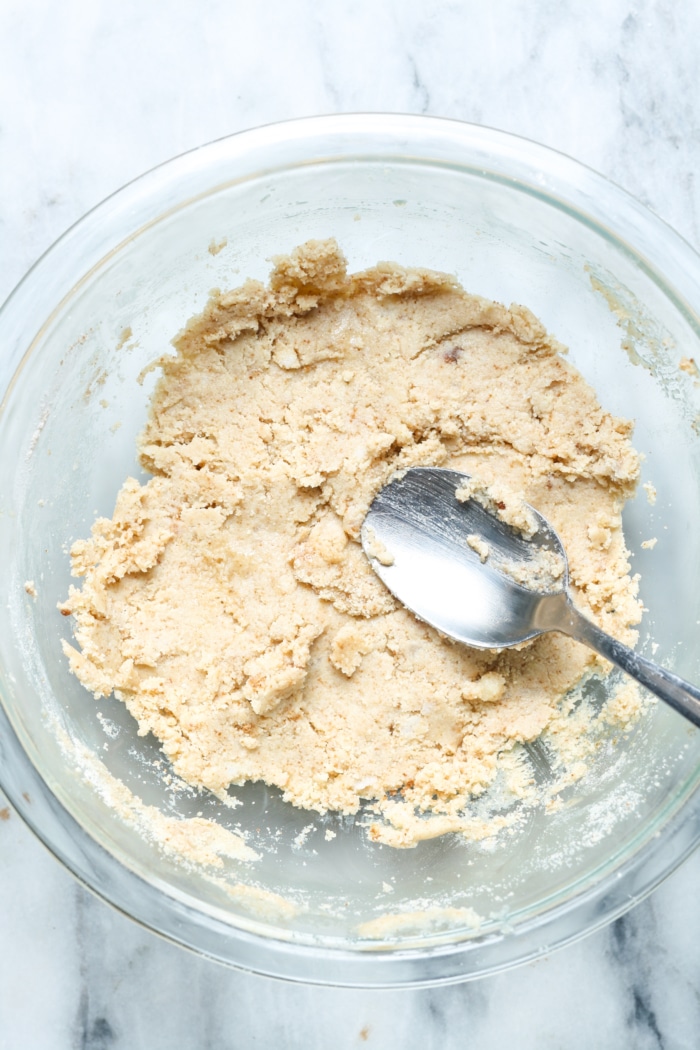
Step 3
Add melted butter, honey, coconut sugar, and vanilla. Stir until fully combined into a soft dough.
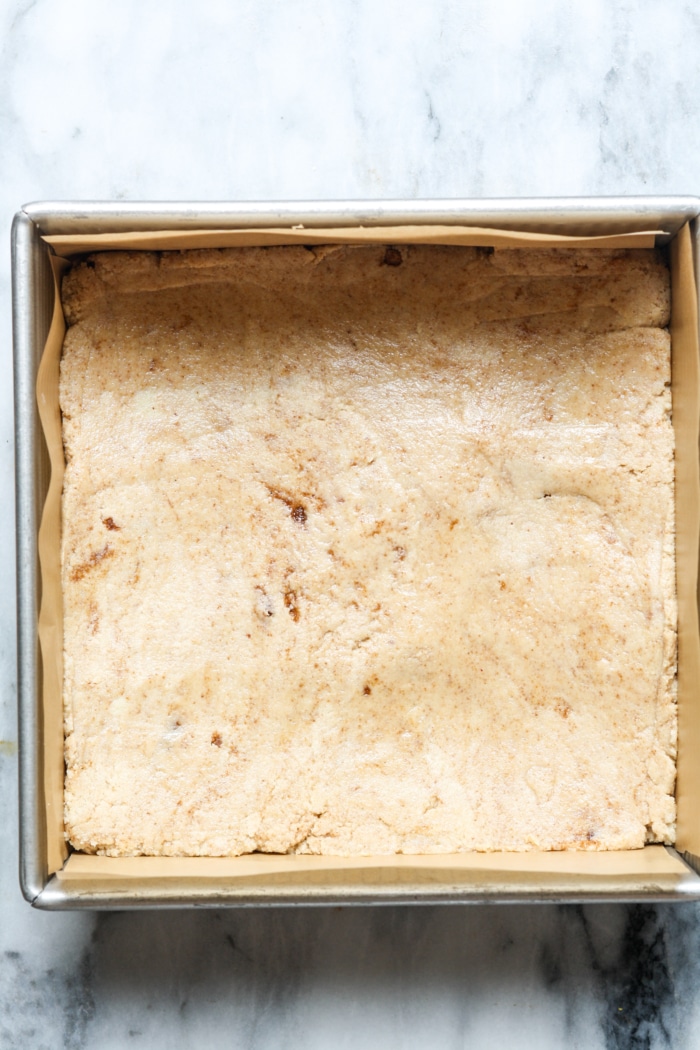
Step 4
Press about ⅔ of the dough firmly and evenly into the prepared pan to form the crust.
Step 5
Sprinkle chocolate chips evenly over the crust.
Step 6
Add mini marshmallows in an even layer on top.
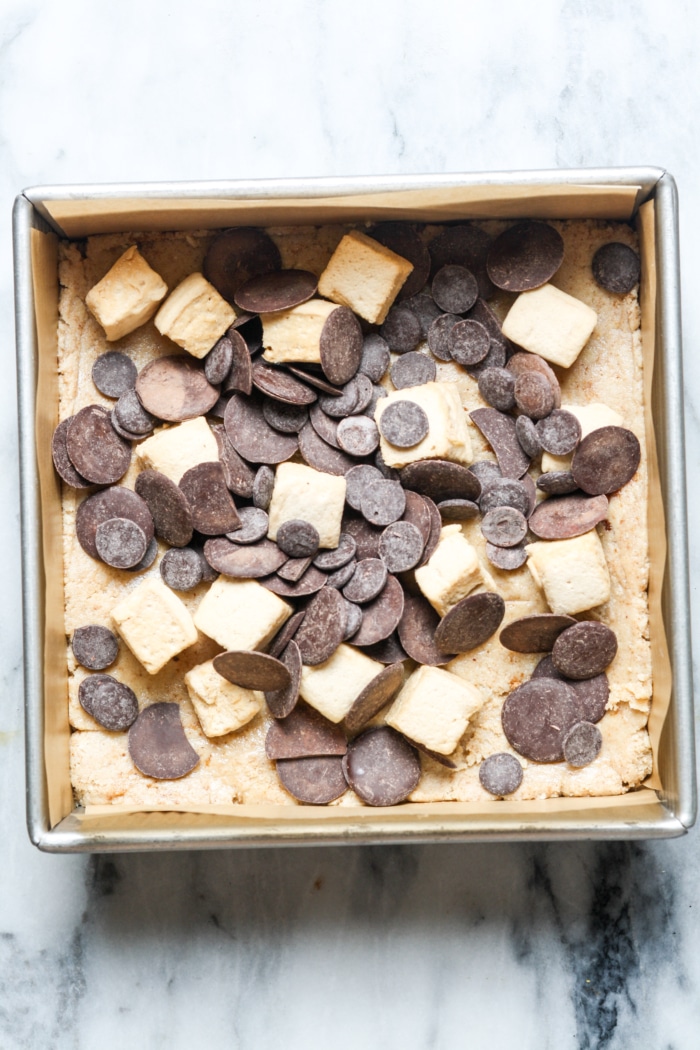
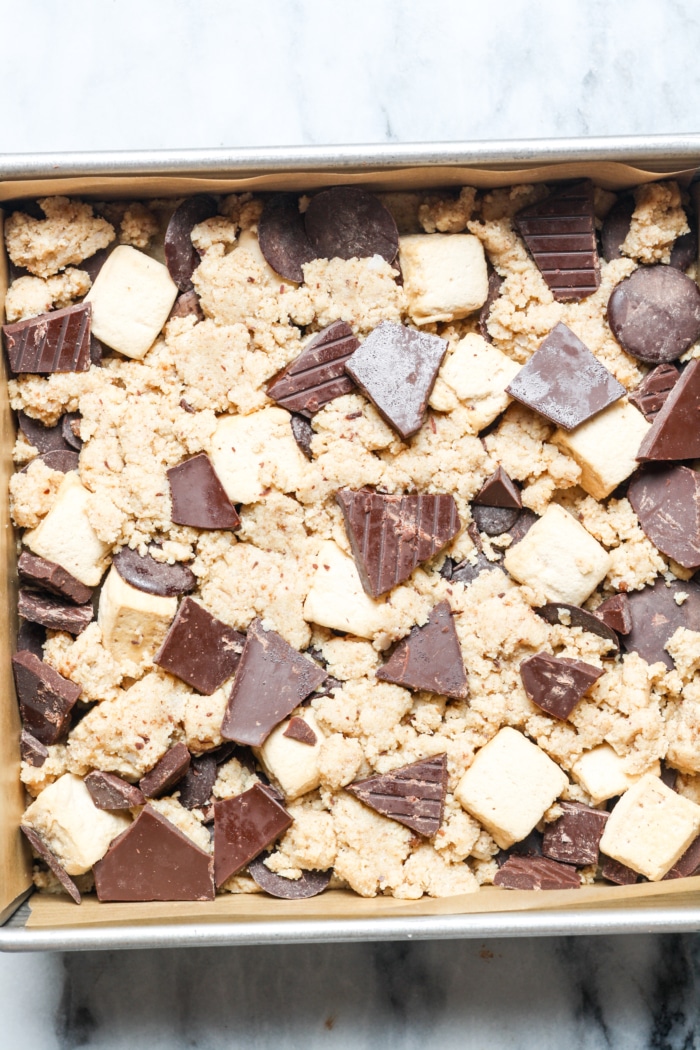
Step 7
Crumble the remaining dough over the top, leaving some marshmallows peeking through for that classic s’mores look.
Step 8
Bake for 20–22 minutes, or until the top is golden brown and the marshmallows are toasty.
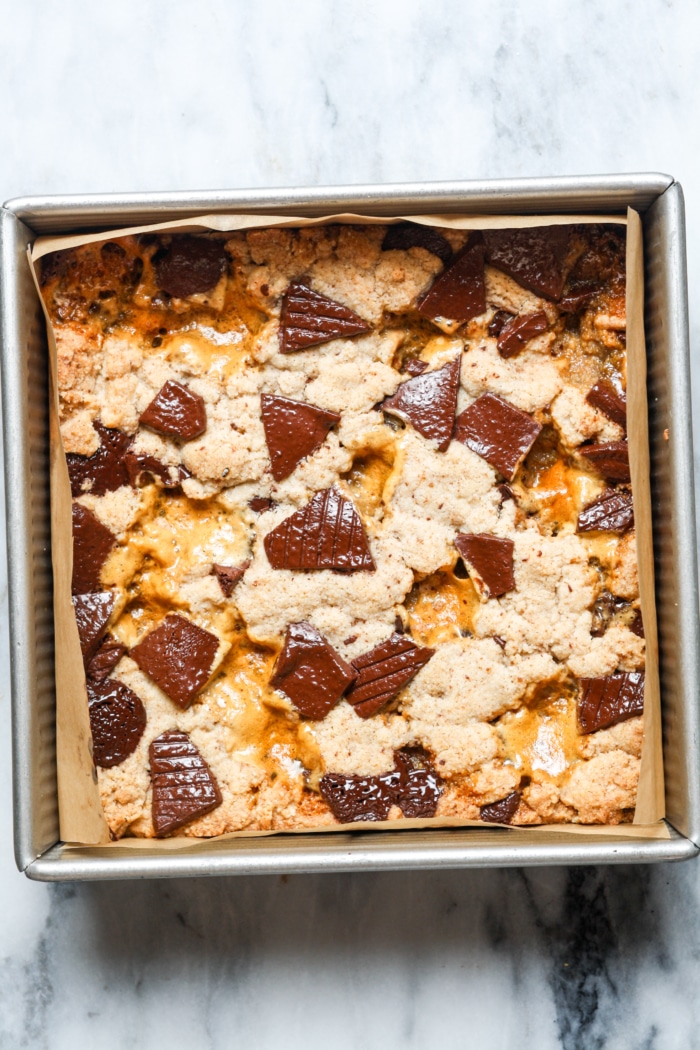
Step 9
Let cool completely in the pan to set (they’ll be gooey if you slice too early!). Use the parchment overhang to lift out, then cut into squares.
Expert Tips and Tricks for Perfect S’mores Bars
- Don’t Overmix the Dough: Once combined, stop mixing the crust dough to ensure a tender texture.
- Press Firmly: When pressing the ⅔ of the dough for the base, make sure it’s firm and even. This prevents crumbling when sliced.
- Even Toppings: Distribute the chocolate chips and marshmallows as evenly as possible to ensure every bite gets a good mix of filling.
- Golden, Not Burnt: Keep a close eye on the marshmallows during the last few minutes of baking. They can go from perfectly golden to burnt quickly! If they’re browning too fast, you can lightly tent the pan with foil.
- Cool Completely! This is crucial for clean slices. The bars will be very gooey straight out of the oven. Letting them cool completely allows the chocolate and marshmallows to set, making them much easier to cut into neat squares. Patience is key here!
- Parchment Paper is Your Best Friend: Don’t skip lining the pan with parchment paper, leaving an overhang. This makes lifting the entire batch out of the pan incredibly easy once cooled, preventing sticking and ensuring a clean removal.
Flavor Variations & Add-Ins
Here are some fun ways to enhance the flavor of your S’mores bars!
- Chocolate Choices: Experiment with milk chocolate chips, semi-sweet chocolate chips, or even a mix for different levels of sweetness. For an extra rich flavor, chopped dark chocolate chunks can be used.
- Nutty Crunch: Add a layer of chopped pecans or walnuts over the chocolate chips for added texture and a nutty flavor.
- Spice It Up: A pinch of cinnamon or a tiny dash of cayenne pepper in the crust dough can add a subtle warmth and complexity.
- Peanut Butter Love: Drizzle a little melted peanut butter over the chocolate chips before adding the marshmallows for a peanut butter s’mores twist.
- Caramel Swirl: A light drizzle of caramel sauce over the chocolate layer before baking would be a delicious addition.
- Toasted Coconut: Sprinkle some toasted shredded coconut over the marshmallows before baking for an extra tropical flair.
How to Serve & Store
Serving: These S’mores Bars are fantastic on their own, slightly warm, or at room temperature. They are perfect for:
- Dessert for any meal
- A sweet treat with coffee or tea
- School lunchboxes or work snacks
- Potlucks, picnics, and parties
- A cozy movie night treat
Storing:
Room Temperature: Once completely cooled, store the S’mores Bars in an airtight container at room temperature for up to 3-4 days. This keeps them from drying out and maintains their delicious gooeyness.
Refrigeration (Optional): If you prefer a firmer bar, you can store them in the refrigerator, but they might become a bit chewier. Let them come to room temperature for a few minutes before serving for the best texture.
Freezing: While not typically necessary, you could freeze these bars. Wrap individual bars tightly in plastic wrap, then place them in a freezer-safe bag or container for up to 1 month. Thaw at room temperature before enjoying.
Frequently Asked Questions (FAQs)
This recipe is specifically designed to be gluten-free using almond and oat flour, which contribute to its unique texture and flavor. While you could try substituting with all-purpose flour, the ratios would need to be adjusted, and the texture and taste of the crust would be significantly different.
Brown sugar is a perfect substitute for coconut sugar in this recipe. Both contribute a lovely molasses note and moisture to the crust.
Marshmallows can brown very quickly! Ovens vary, so it’s important to keep a close eye on them, especially during the last few minutes of baking. If you notice them browning too fast, you can gently tent the pan with aluminum foil for the remainder of the baking time.
When warm, the chocolate and marshmallows are still very melted and gooey. Trying to slice them at this stage will result in a messy, sticky situation. Cooling allows everything to set, making clean, neat cuts possible. Patience truly pays off here!
Equipment Needed
Pre-Cut Parchment Paper Sheets: These parchment paper sheets are great for baking these s’mores bars.
Pyrex 3 Glass Mixing Bowls: I always use these mixing bowls for this recipe.
Check out all of my kitchen favorites!
You May Also Enjoy
- Chocolate Marshmallow Cookies
- Chocolate Chip Marshmallow Cookies
- S’mores Pizza
- Nutty Buddies
- Millionaire’s Bars
If you make this recipe for s’mores bars, I would really appreciate a review! You can find me on Instagram, Facebook, and Pinterest. Join my exclusive Facebook Group for a behind the scenes look. I would love for you to follow along!
Get the Recipe: S’mores Bars
Ingredients
For the crust:
- 1 ½ cups almond flour
- 1 cup oat flour
- ½ tsp baking soda
- ¼ tsp salt
- ½ cup unsalted butter, melted
- ⅓ cup honey
- 2 tbsp coconut sugar, or brown sugar
- 1 tsp vanilla extract
For the filling:
- 1 ½ cups dark chocolate chips
- 2 cups mini marshmallows
Instructions
- First, preheat your oven to 350°F (175°C). Line an 8×8-inch baking pan with parchment paper, leaving an overhang for easy removal.
- In a medium bowl, whisk together almond flour, oat flour, baking soda, and salt.
- Add melted butter, honey, coconut sugar, and vanilla. Stir until fully combined into a soft dough.
- Press about ⅔ of the dough firmly and evenly into the prepared pan to form the crust.
- Sprinkle chocolate chips evenly over the crust.
- Add mini marshmallows in an even layer on top.
- Crumble the remaining dough over the top, leaving some marshmallows peeking through for that classic s’mores look.
- Bake for 20–22 minutes, or until the top is golden brown and the marshmallows are toasty.
- Let cool completely in the pan to set (they’ll be gooey if you slice too early!). Use the parchment overhang to lift out, then cut into squares.
Notes
- If you want to use gluten free four, use a total of 2 cups gluten free baking flour.
- Feel free to use your favorite marshmallows.
- Allow the bars to fully cool before slicing into.
- Check out all of my kitchen favorites!