Oreo Cheesecake
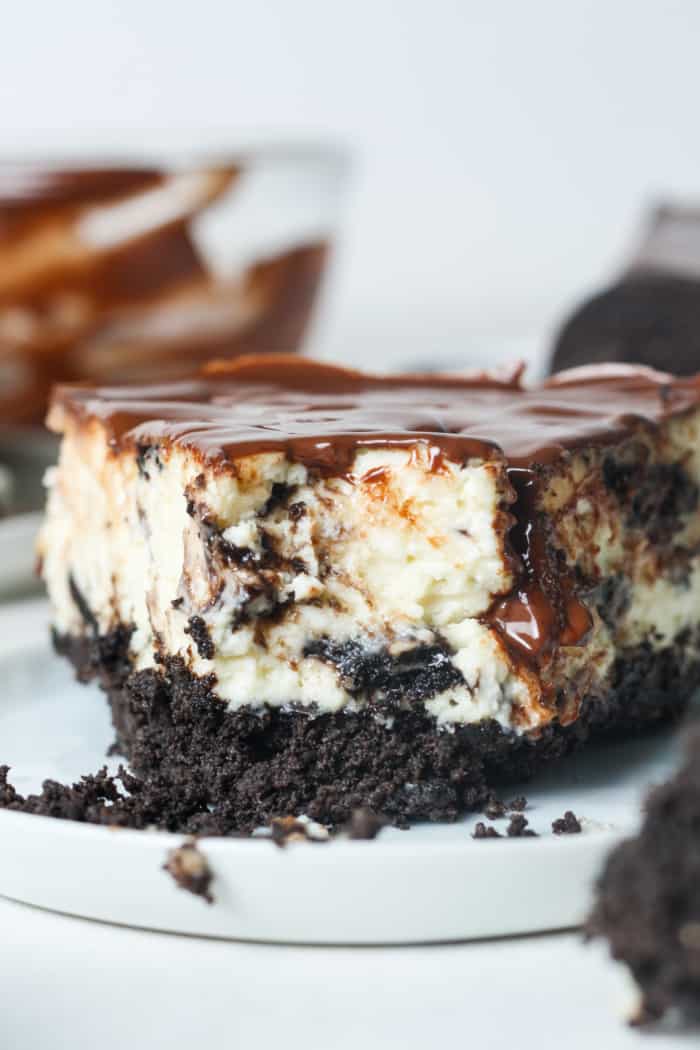
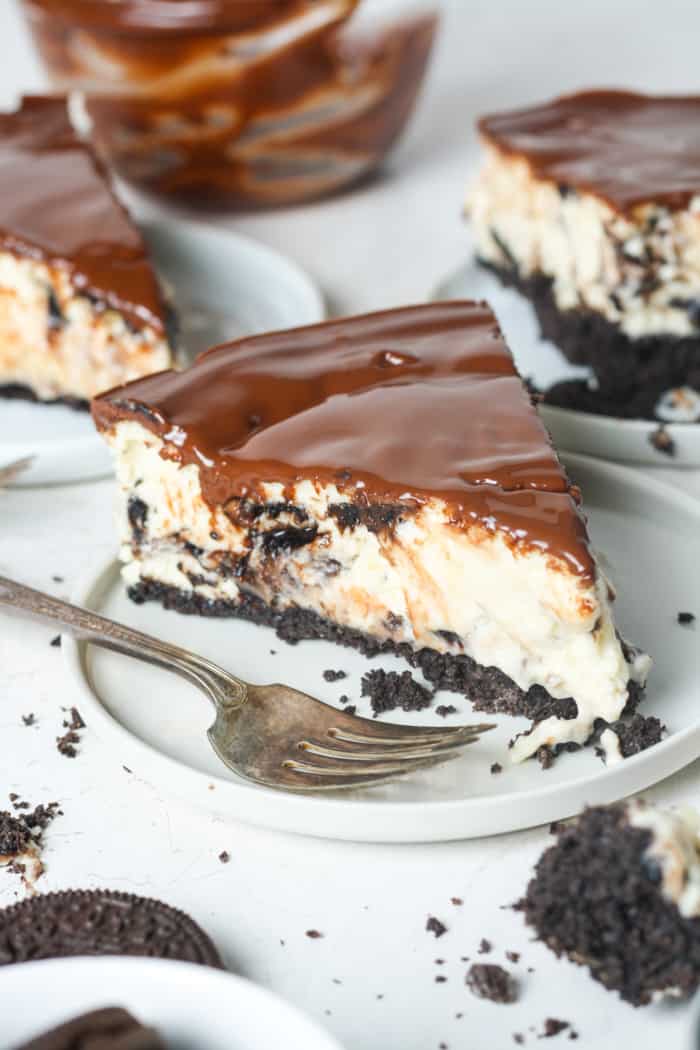
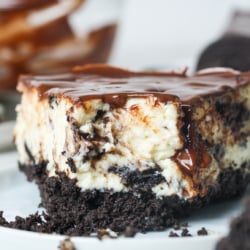
This Oreo cheesecake is the ultimate dessert! It features a thick chocolaty Oreo cookie crust, creamy cheesecake filling and smooth chocolate topping. This cheesecake has a delicious Oreo and cookies and cream flavor. It is great for birthdays, Christmas, Valentine’s Day, parties, and more. You will also love this Oreo Peanut Butter Cheesecake!
Why You’ll Love This Recipe
- This Oreo cheesecake is so delicious.
- It has three incredible layers.
- The crust is thick and buttery. Try this Oreo Dip too!
- The cheesecake filling is smooth and so creamy!
- The Oreos add a great cookies and cream flavor.
- This dessert is great for holidays, Christmas, birthdays, Valentine’s Day or regular days!
- Feel free to use regular or gluten free Oreos.
- The creamy and crunchy combination is amazing.
- This will satisfy your Cheesecake Factory cravings.
- Check out this Gluten Free Cheesecake or this Pressure Cooker Cake for another delicious dessert recipe!
Ingredients & Substitutions
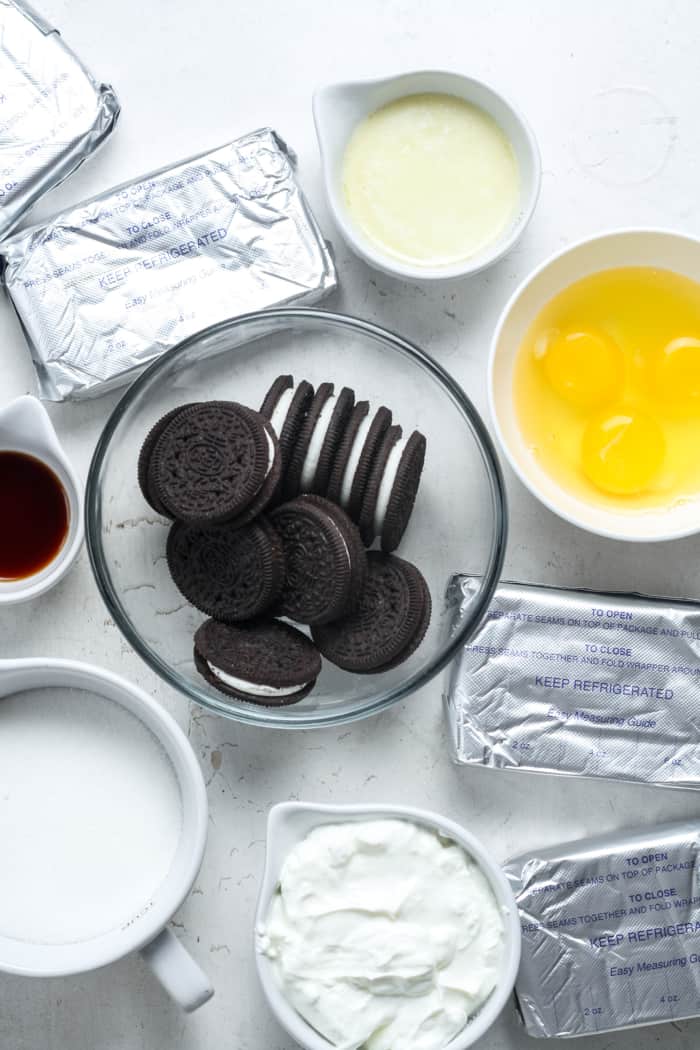
These are the main ingredients and substitutions for Oreo cheesecake. Scroll down to the recipe card for full ingredients list and instructions.
Use gluten free Oreos or regular Oreos. For these photos, I used gluten free Oreos. If desired, use a different flavor of Oreo. For an easier treat, try this Oreo Mug Cake!
Melted butter adds a buttery flavor to the crust.
Use room temperature cream cheese. Do not use cold cream cheese. Beat until completely creamy.
In addition, use room temperature sour cream. This helps it cream together easily. The sour cream adds a classic tangy cheesecake flavor.
Granulated sugar adds sweetness to the filling. I have not tried this recipe with a sugar alternative or Keto sweetener.
Vanilla extract adds a classic warmth.
Eggs help the cheesecake filling stay together. Do not omit the eggs or use a Vegan egg replacement.
Crushed Oreos add flavor to the filling. Both regular and gluten free Oreos work well.
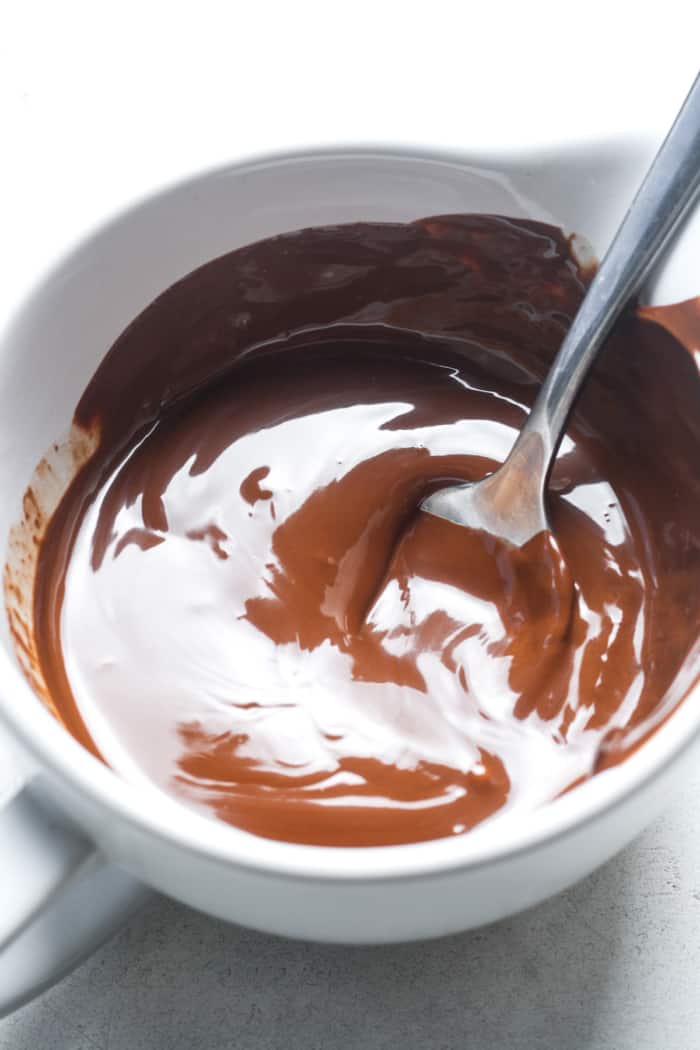
Lastly, melt together chocolate chips and coconut oil for the topping. Stir until completely creamy.
Taste & Texture
This Oreo cheesecake has a rich, velvety texture that melts in your mouth with every bite.
The crust is made with crushed Oreos and butter. This gives it a slightly crunchy texture and a delicious chocolaty flavor.
The cheesecake filling is a creamy and smooth texture that complements the crunchy crust perfectly.
The overall flavor is similar to cookies and cream. The chocolate topping is silky smooth and rich.
How to Make
Step 1
First, preheat oven to 350 degrees Fahrenheit. Lightly spray a 9 inch springform pan with nonstick spray.
Step 2
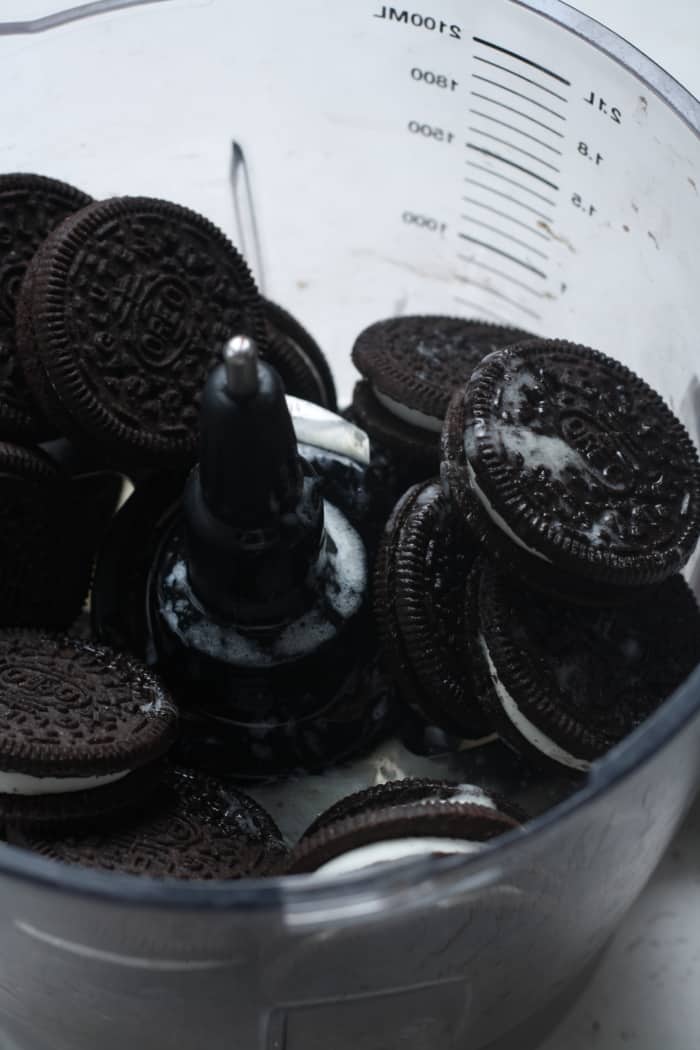
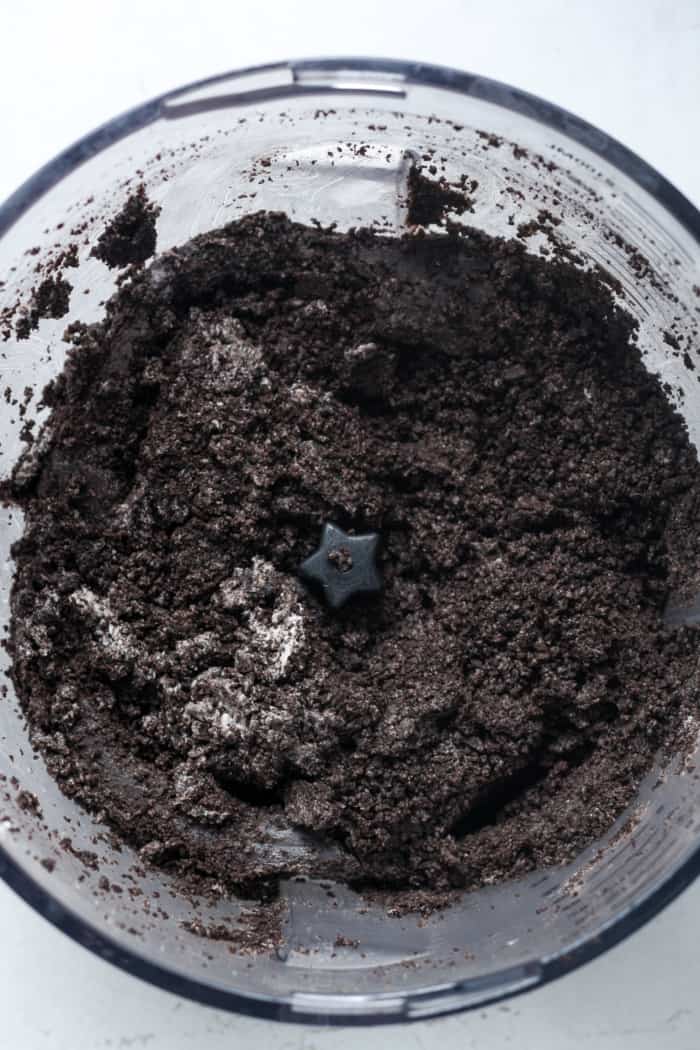
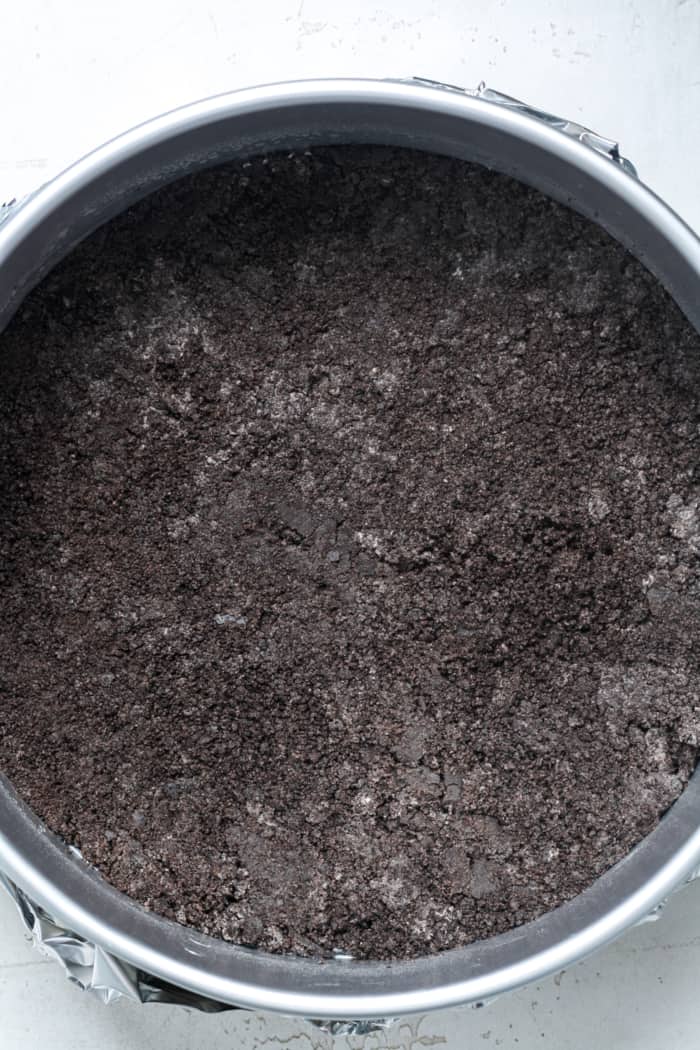
Make the crust. Add Oreos and melted butter to a food processor. Process until it resembles fine crumbs.
Step 3
Use a spatula or the bottom of a mug to press into one even layer in the springform pan. Bake for 8 minutes. Remove from oven and set aside.
Step 4
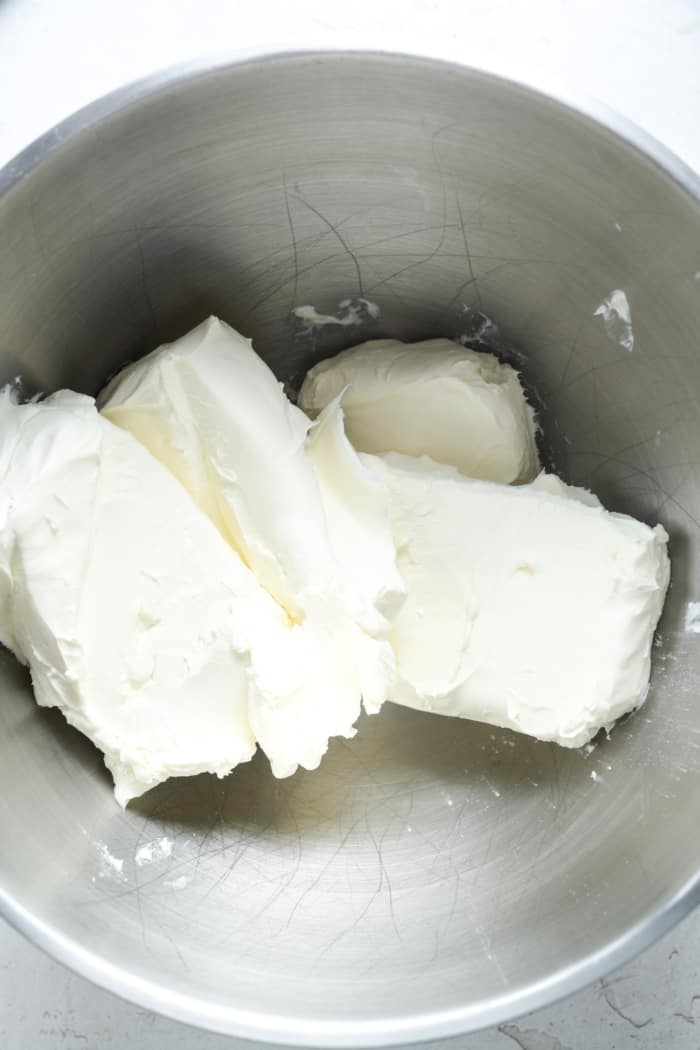
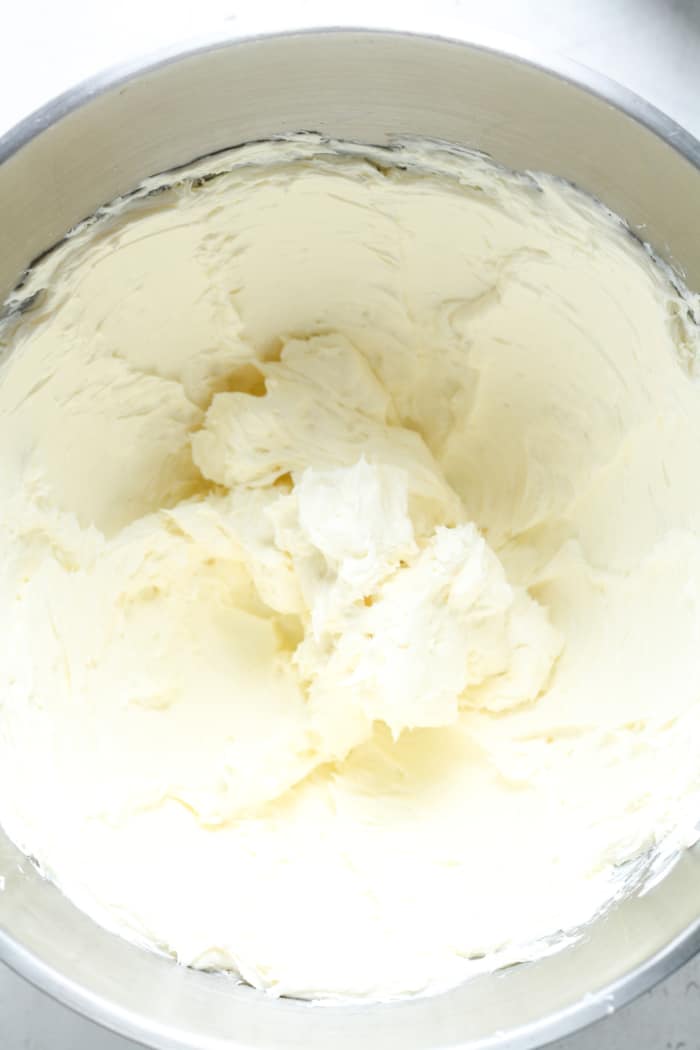
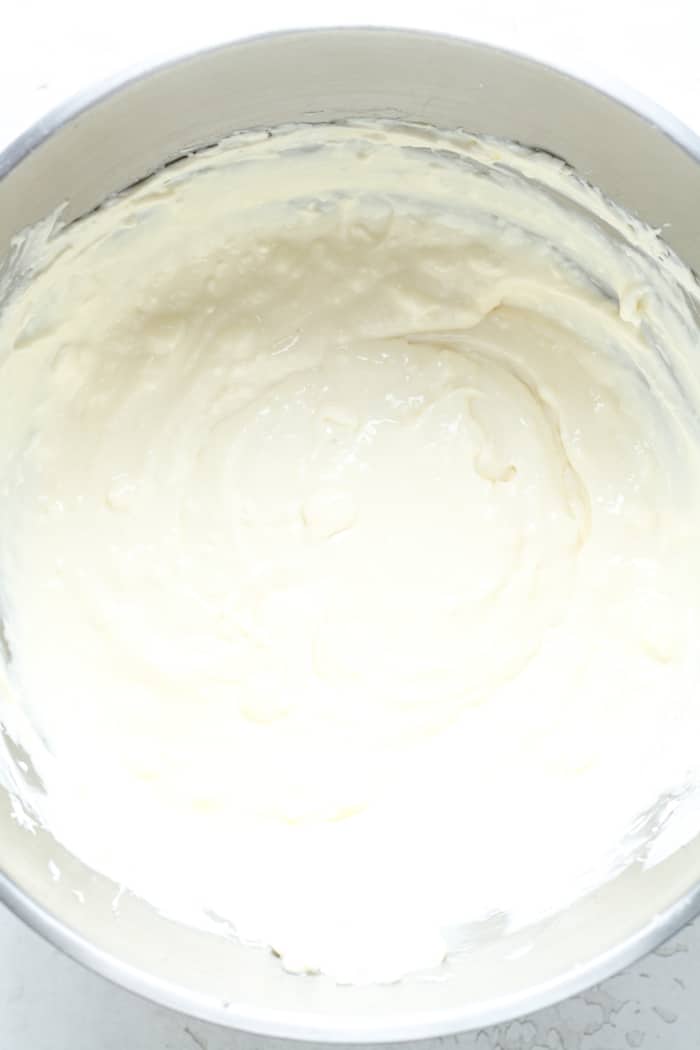
Then, make the Oreo cheesecake filling. Add room temperature cream cheese to a stand mixer. Beat for 3 minutes or until fully creamy.
Step 5
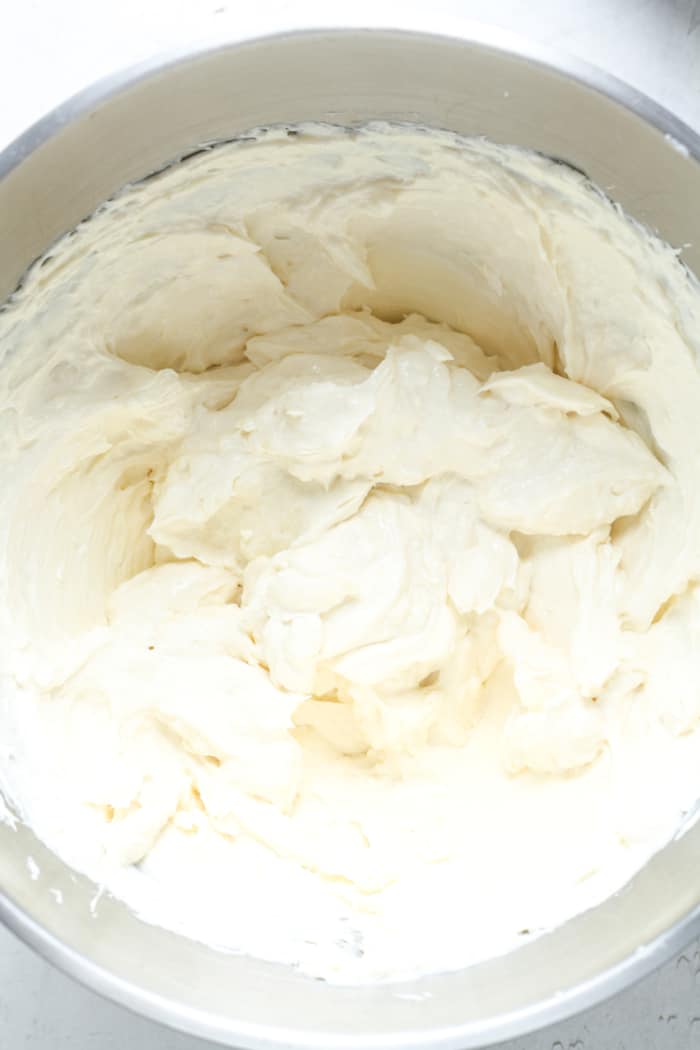
Add in room temperature sour cream, sugar and vanilla. Beat for 2 to 3 minutes, until no lumps remain.
Step 6
Add in eggs and mix until just combined.
Step 7
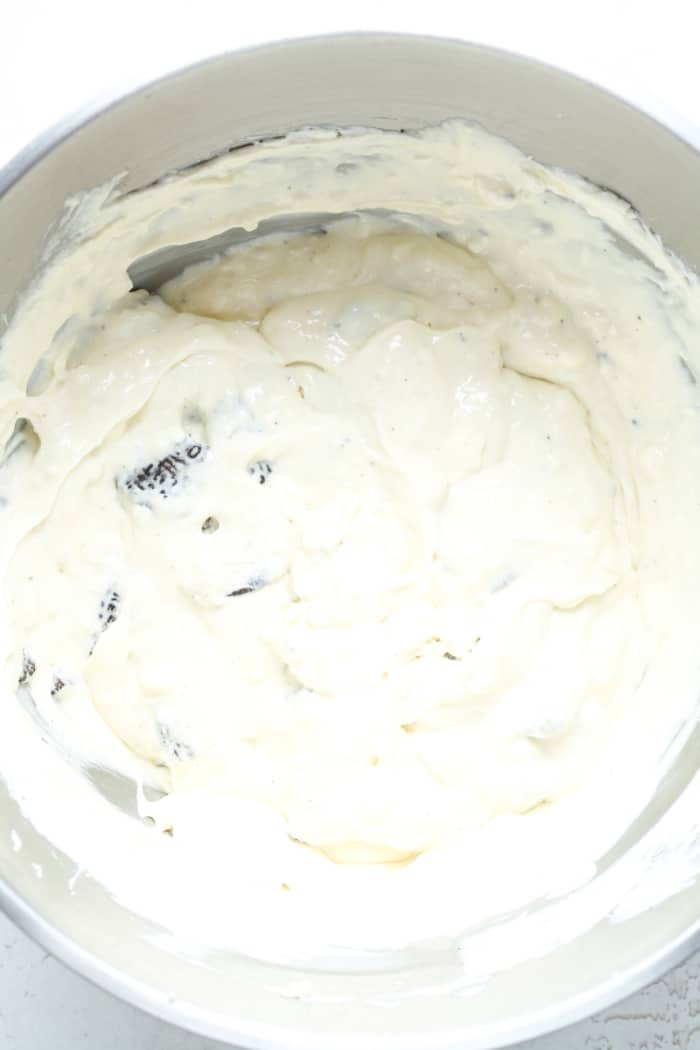
Fold in the crushed Oreos.
Step 8
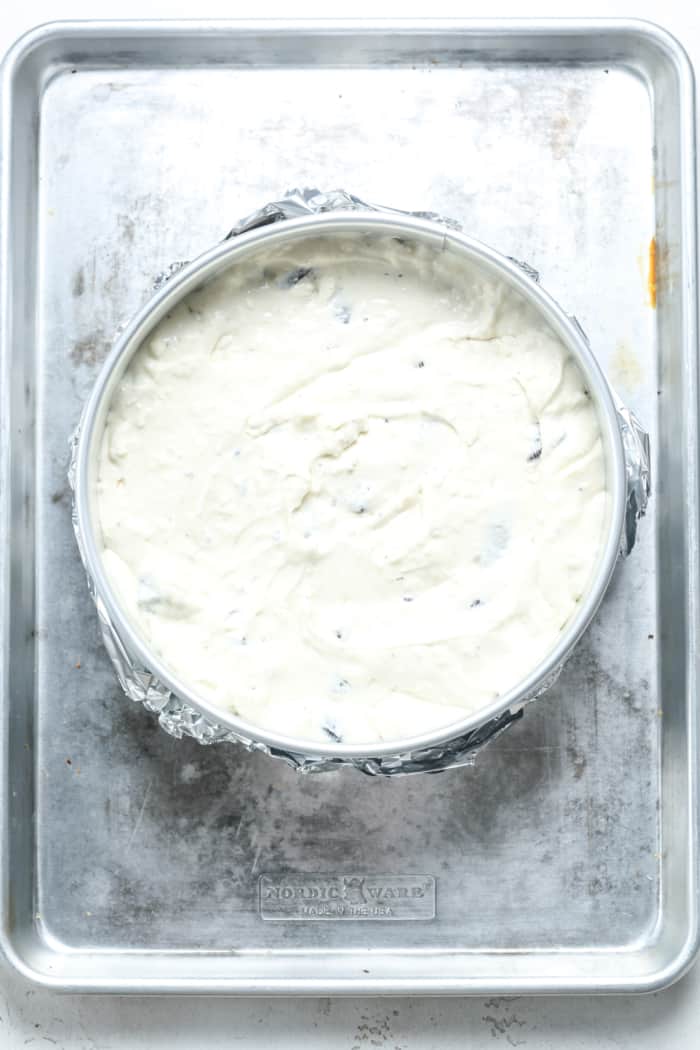
Pour this filling down into the springform pan. Spread into an even layer.
Step 9
Wrap 2 sheets of tin foil around the bottom edges of the pan.
Step 10
Make the water bath. Place springform pan in the middle of a rimmed baking pan or roasting pan. Pour enough hot water around the edges of the springform pan until water is 1 inch high.
Step 11
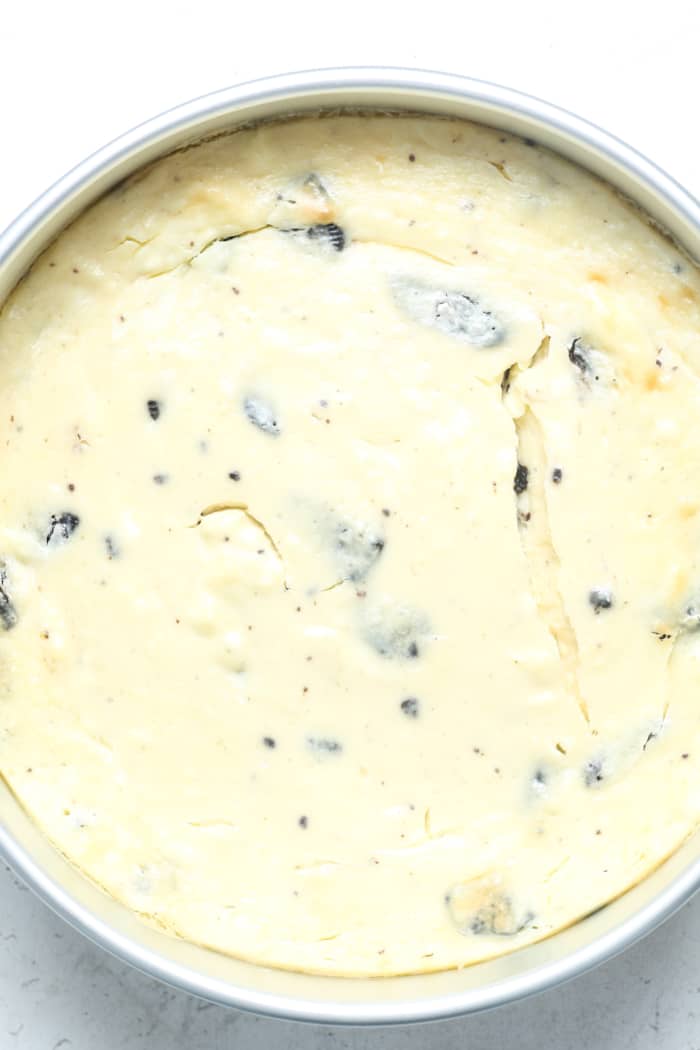
Very carefully transfer to the oven. Bake for 60 to 70 minutes or until cheesecake is slightly jiggly when shaken.
Step 12
Finally, when cheesecake is done baking, turn the oven off. Open the oven door but leave cheesecake inside oven for 1 hour.
Step 13
After an hour, remove cheesecake from the oven. Allow it to fully cool before making the chocolate topping.
Step 14
Once cheesecake is fully cooled, add chocolate chips and coconut oil to a bowl. Melt in microwave, stirring to prevent burning.
Step 15
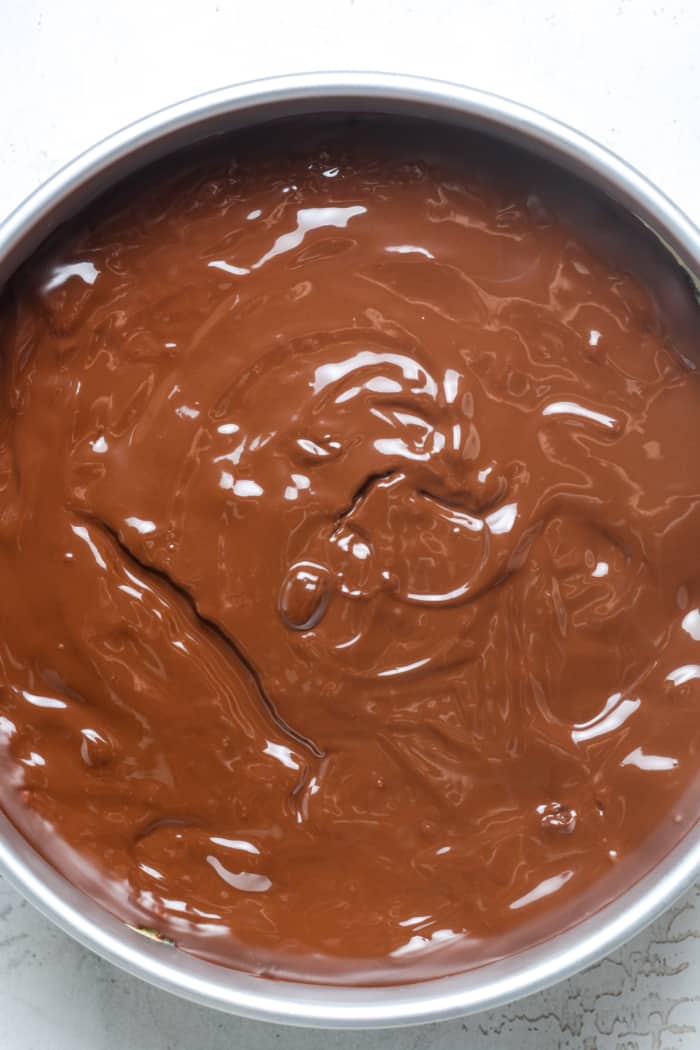
Pour this chocolate mixture down into springform pan. Chill for at least 1 hour, until topping has hardened.
Step 16
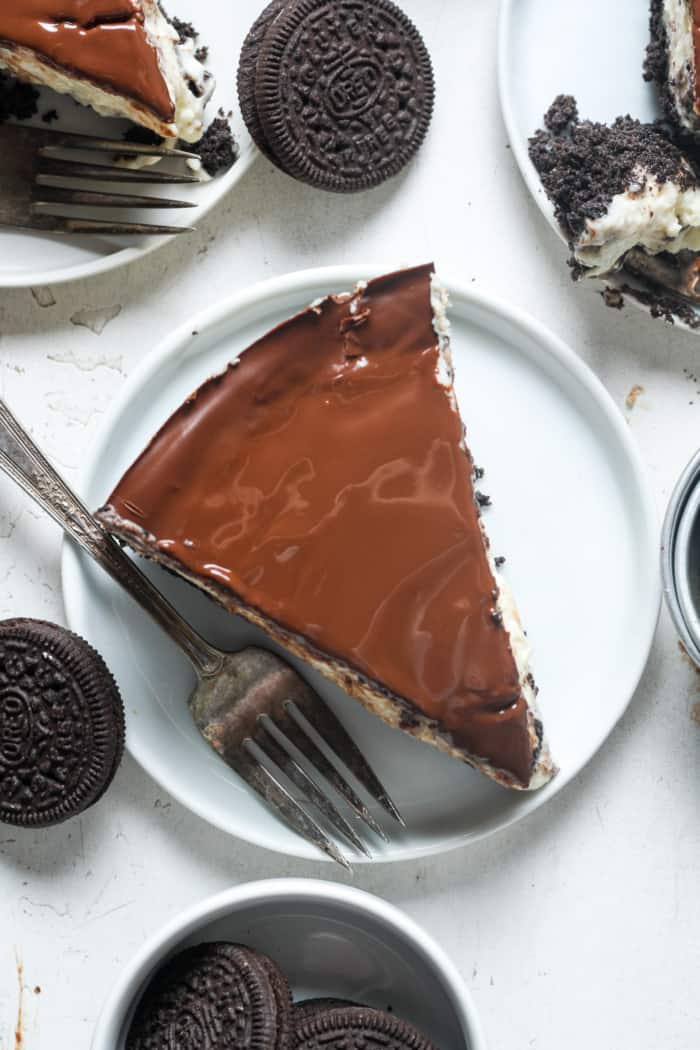
Very carefully separate cheesecake from edges of springform pan. Use a very sharp knife to slice into this Oreo cheesecake.
Expert Tips & Tricks
To make the perfect Oreo cheesecake, there are a few tips and tricks to keep in mind.
Use room temperature cream cheese and sour cream. This is key for the overall texture.
Beat cream cheese until fully creamy. Then, beat the filling until no lumps remain.
Do not over mix the eggs. Mix until just combined.
Use a springform pan. This will make it easier to remove the cheesecake from the pan without damaging the crust.
Bake in a water bath. This helps to prevent cracking.
Allow cheesecake to cool in the oven for 1 hour. This helps it cool down slowly.
Slice into fully cooled Oreo cheesecake. It will crack if still warm.
How to Prevent Cheesecake Cracks
Cracks on the surface of a cheesecake can be frustrating, but with a few simple tips, you can avoid them. First, make sure all the ingredients are at room temperature before mixing them. This will ensure that the batter is smooth and does not contain any lumps that can cause cracks. Over mixing the batter can also cause cracks, so be sure to mix it just enough to combine the ingredients.
Another common reason for cracks is over baking. Cheesecakes should be baked until the edges are set, but the center is still slightly jiggly. Over baking can cause the cake to dry out and crack. To avoid this, check the cheesecake early to prevent over baking.
The most effective way to prevent cracks is to bake the cheesecake in a water bath. This method involves placing the springform pan in a larger baking dish and filling it with hot water before baking. The water helps regulate the temperature and keeps the cake moist, preventing cracks.
Allow the cheesecake to cool down in the oven after baking. This allows the cheesecake to cool down slowly, thus preventing cracks.
Finally, wait until cheesecake is fully cooled down before slicing into. Do not cut warm cheesecake.
Water Bath
A cheesecake water bath is a method used to bake a cheesecake by placing the pan in a larger baking dish filled with hot water.
The water helps regulate the temperature and keep the cake moist, which prevents cracks from forming.
Wrap the springform pan with tin foil to prevent water from leaking into the cake.
To create a water bath, simply place the wrapped pan in the larger baking dish and fill it with hot water until it reaches about 1 inch up the side of the springform pan.
Toppings & Flavor Variations
While Oreo cheesecake is already delicious on its own, there are endless possibilities for flavor variations and toppings.
For example, you can add a layer of raspberry or strawberry jam between the crust and filling for a fruity twist.
Or, swirl in some caramel or chocolate sauce into the filling for added flavor.
As for toppings, whipped cream and crushed Oreos are a classic choice.
You can also top your cheesecake with fresh fruit, chocolate chips, or chopped nuts for added texture and flavor.
Use another flavor of Oreos to create a delicious Oreo cheesecake. Mint, peanut butter, red velvet or golden Oreos sound delicious!
Try this Gluten Free Chocolate Cheesecake too!
How to Serve & Store
Once your Oreo cheesecake is baked, let it cool completely before removing it from the pan.
Serve it chilled or at room temperature, depending on your preference.
To store the cheesecake, wrap it tightly with plastic wrap and store it in the refrigerator for up to 5 days.
Alternatively, you can freeze the cheesecake for up to 2 months by wrapping it tightly with plastic wrap and aluminum foil. I suggest wrapping each piece individually before freezing.
Frequently Asked Questions
A water bath helps the cheesecake cook at an even temperature while baking. It involves putting the springform pan inside a larger baking pan. Then pour water around the cheesecake pan.
Feel free to use any Oreos!
Use gluten free Oreos to keep this Oreo cheesecake gluten free.
Make these Mini Oreo Cheesecakes !
Equipment Needed
Hand Mixer: Use a hand mixer or stand mixer to beat the filling ingredients together.
KitchenAid Stand Mixer: This stand mixer is heavy duty and great for baking cheesecakes.
Food Processor: Use a food processor to process the Oreo crust ingredients.
Pyrex 3 Glass Mixing Bowls: These mixing bowls are great for baking.
Pyrex Glass Measuring Cups: These are my favorite glass measuring cups.
9 Inch Nonstick Springform Pan: Use a nonstick 9 inch springform pan for the perfect cheesecake.
You May Also Like
- Strawberry Cheesecake Cookies
- Mini Cheesecakes
- Chocolate Chip Cheesecake Cookies
- Oreo Cheesecake Cookies
- Chocolate Chip Cheesecake
If you make this Oreo cheesecake recipe, I would really appreciate a review! You can find me on Instagram, Facebook, and Pinterest. Join my exclusive Facebook Group for a behind the scenes look. I would love for you to follow along! For more ideas, check out these Dessert Recipes.

Get the Recipe: Oreo Cheesecake
Ingredients
Oreo Crust
- 30 Oreo cookies, regular or gluten free
- 4 tbsp melted butter
Cheesecake Filling
- 32 ounces cream cheese, room temperature
- 1 cup sour cream, room temperature
- ¾ cup granulated sugar
- 2 tsp vanilla extract
- 3 eggs, room temperature
- 1 cup lightly crushed Oreos, regular or gluten free
Chocolate Topping
- ½ cup chocolate chips
- 1 tbsp coconut oil
Instructions
- First, preheat oven to 350 degrees Fahrenheit. Lightly spray a 9 inch springform pan with nonstick spray.
- Make crust. Add Oreo cookies and melted butter to a food processor. Process until mixture becomes fine crumbs.
- Use a spatula or the bottom of a mug to press this mixture into an even layer in the springform pan. Bake for 8 minutes. Remove from oven and set aside.
- Then, make filling. Add room temperature cream cheese to a stand mixer. Beat for 3 minutes or until creamy.
- Add in sour cream, sugar and vanilla. Beat for 2 to 3 minutes, until no lumps remain.
- Add in eggs and mix until just combined. Do not over mix.
- Fold in crushed Oreos.
- Pour this filling down into the springform pan. Spread into an even layer.
- Wrap 2 sheets of tin foil around the bottom edges of the pan. This prevents any liquid from the water bath seeping into the cheesecake.
- Make water bath. Place springform pan in the middle of a rimmed baking pan or roasting pan. Pour enough hot water around the edges of the springform pan until water is 1 inch high.
- Very carefully transfer to the oven. Bake for 60 to 70 minutes or until cheesecake is slightly jiggly when shaken.
- Finally, when cheesecake is done baking, turn oven off. Open the oven door but leave cheesecake inside oven for 1 hour.
- After an hour, remove cheesecake from oven. Allow it to fully cool before making chocolate topping.
- Once cheesecake is fully cooled, add chocolate chips and coconut oil to a bowl. Melt in microwave.
- Pour this chocolate mixture down into springform pan. Chill for at least 1 hour, until topping has hardened.
- Very carefully separate cheesecake from edges of springform pan. Use a very sharp knife to slice cheesecake.
Notes
- Both regular and gluten free Oreos can be used. I used gluten free for this recipe.
- Cream cheese, sour cream and eggs must be room temperature. Do not use cold ingredients for this recipe.
- Fully beat cream cheese until creamy. There should be no lumps left.
- Bake cheesecake until slightly jiggly when shaken. It will set as it cools.
- The chocolate topping is totally optional but highly recommended.
- It is better to chill the cheesecake longer. It will solidify and be easier to slice.
- Store leftovers in the fridge for up to 5 days.
- Store in freezer for up to 2 months. Wrap pieces individually.
Love this creamy Oreo cheesecake? You can sign up here to receive healthy meal plans, exclusive new recipes and updates!

9 Comments on “Oreo Cheesecake”
I’m getting ready to make this. Do you use 30 cookies for the.crust and then another 1cup to add into the filling?
Thanks, looking forward to enjoying this!
Hi Mary Beth! Yes, that is correct. You’ll need 30 cookies for the crust then 1 cup of crushed Oreos for the filling. This provides a nice thick base crust. Enjoy!
OMG! You call yourselves “organic”!!!? Look at the ingredients of OREO cookies and take me off your email list.
Where can I buy organic gluten free Oreos?
This Oreo cheesecake is so addicting! It is rich and chocolatey! Just added this to my go-to dessert recipes, thanks Addison!
This was just downright decadent and delicious! Made for a party and they were devoured. Can’t go wrong with Oreos!
Aaah, what a treat! This tasted like childhood. Everyone loved this cheesecake and asked for the recipe!
Such a rich and decadent dessert.
My kids love cheesecake, it is the dessert they ask for more than any other.
This cheesecake was perfect for them, easy to make, delicious and pretty!
Thank you
My husband’s cousin is a cheesecake freak – he also loves mint, so I subbed in mint Oreos in this recipe and I don’t think I’ll ever make another cheesecake recipe again. It was PERFECT. He’s already put in his order for one for the holidays LOL