Peanut Butter Rice Krispie Treats
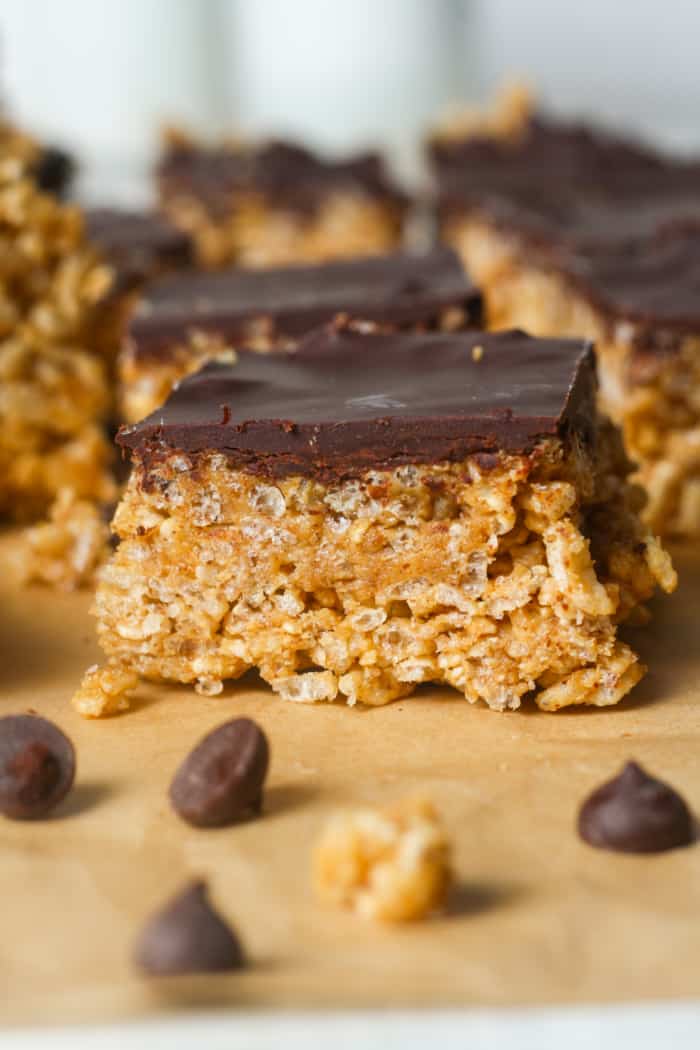
Rice Krispies treats are a timeless treat loved by people of all ages! Why settle for the ordinary when you can indulge in the irresistible combination of peanut butter and chocolate? These Peanut Butter Rice Krispie Treats are a delightful twist on the classic recipe, packed with the rich, nutty flavor of peanut butter and the crispy, airy texture of Rice Krispies. This no bake recipe takes only 10 minutes!
Why You’ll Love This Recipe
- This recipe for peanut butter rice krispie treats is incredibly simple to follow, requiring just a handful of ingredients and no baking.
- This recipe is no bake. These Healthy Peanut Butter Cups are no bake too!
- Forget about turning on the oven – these treats do not require any baking, making them perfect for a quick and easy snack or dessert.
- They are kid friendly. The combination of peanut butter and Rice Krispies is a hit with kids. This makes these treats a great after-school snack or lunchbox addition.
- These bars are customizable. With a variety of flavor variations and add-ins, you can easily personalize these treats to suit your taste. Try the classic Gluten Free Rice Krispies Treats and these fun Rice Krispie Cookies!
- They can be easily made gluten free by using gluten free rice cereal. I love Real Cereal Company. Read about Gluten Free Cereal!
- In addition, this recipe is dairy free and can be made vegan (use maple syrup instead of honey).
- Check out this Healthy Puppy Chow recipe for another fun cereal dessert!
Ingredients & Substitutes
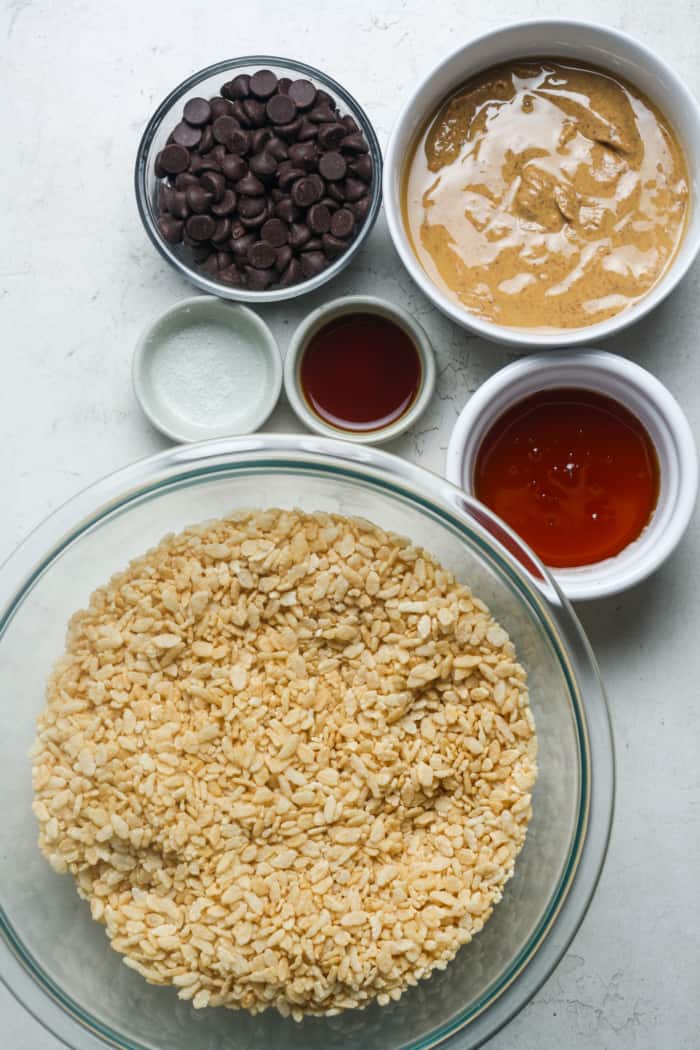
These are the main ingredients and substitutions for peanut butter rice krispie treats. Scroll down to the recipe card for full ingredients list and instructions.
Use brown rice cereal. Regular Kellogg’s Rice Krispies are no longer gluten free. Use gluten free brown rice cereal.
Use all natural creamy peanut butter for the bottom layer and chocolate coating. Stir well before using.
Honey helps the cereal layer stick together. Use pure maple syrup for a vegan option.
Add in a pinch of sea salt if your peanut butter is unsalted.
Vanilla extract adds a cozy flavor.
For the chocolate coating, use any type of chocolate chips. I prefer using naturally sweetened dark chocolate chips.
Taste and Texture
These Peanut Butter Rice Krispie Treats are a symphony of flavors and textures.
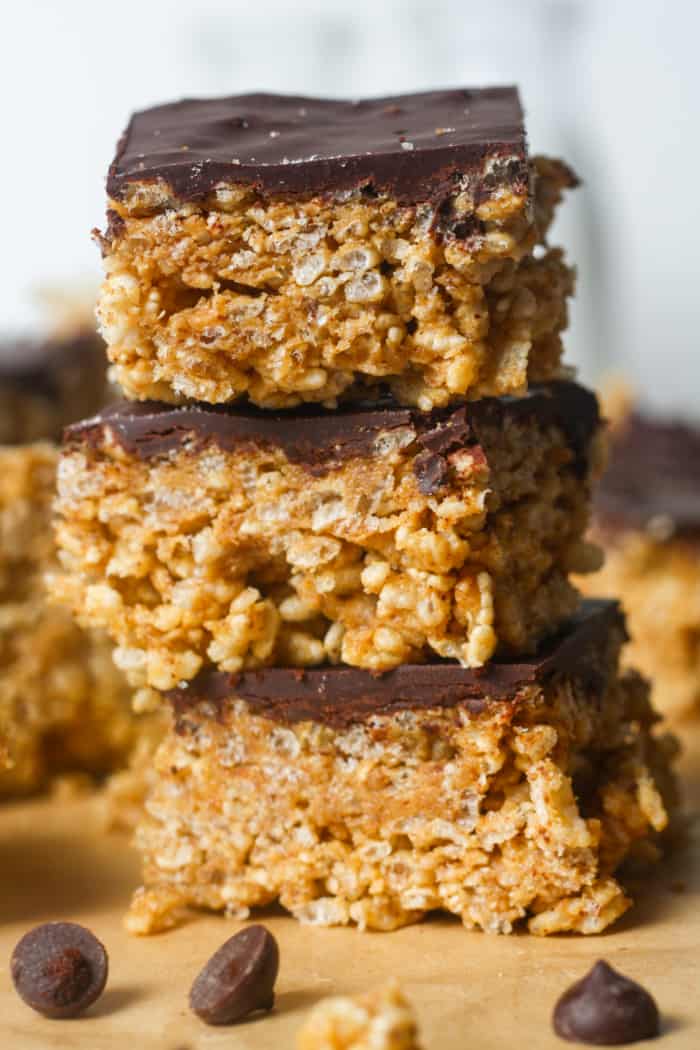
The rich, nutty flavor of peanut butter perfectly complements the sweetness of the chocolate coating, The crispy, airy texture of Rice Krispies adds a great crunch.
These are not as sweet as typical Rice Krispies treats. They taste mostly like peanut butter and chocolate.
How to Make
Step 1
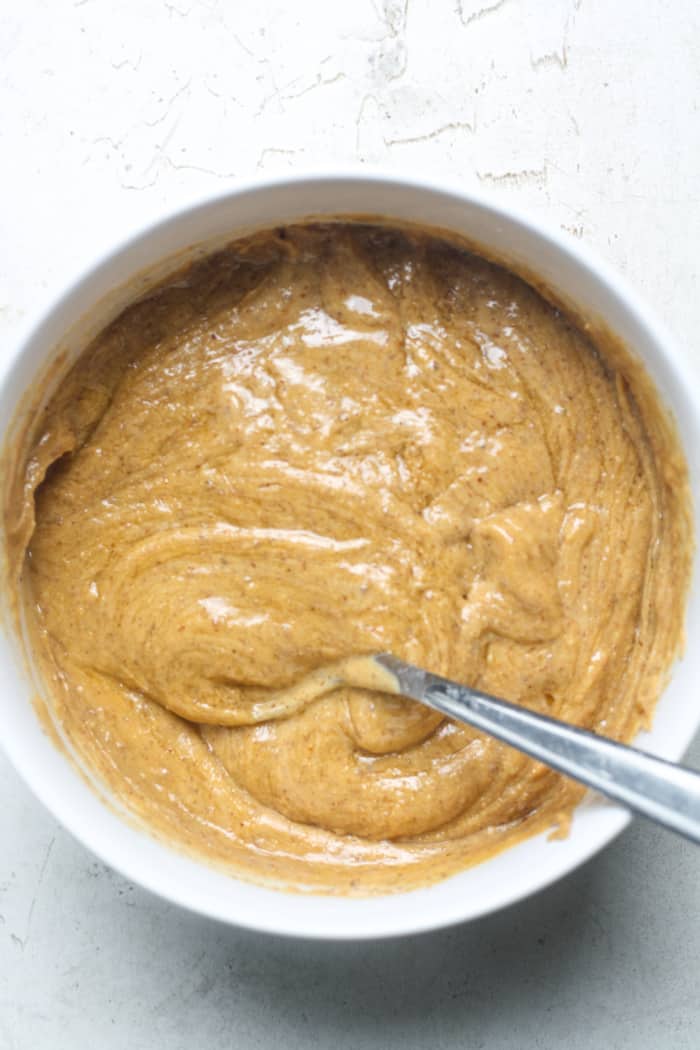
First, line an 8 inch square pan with parchment paper. In a large microwave safe bowl, add the creamy peanut butter and honey. Microwave in 10 second increments, stopping between each to stir, until creamy and melted.
Step 2
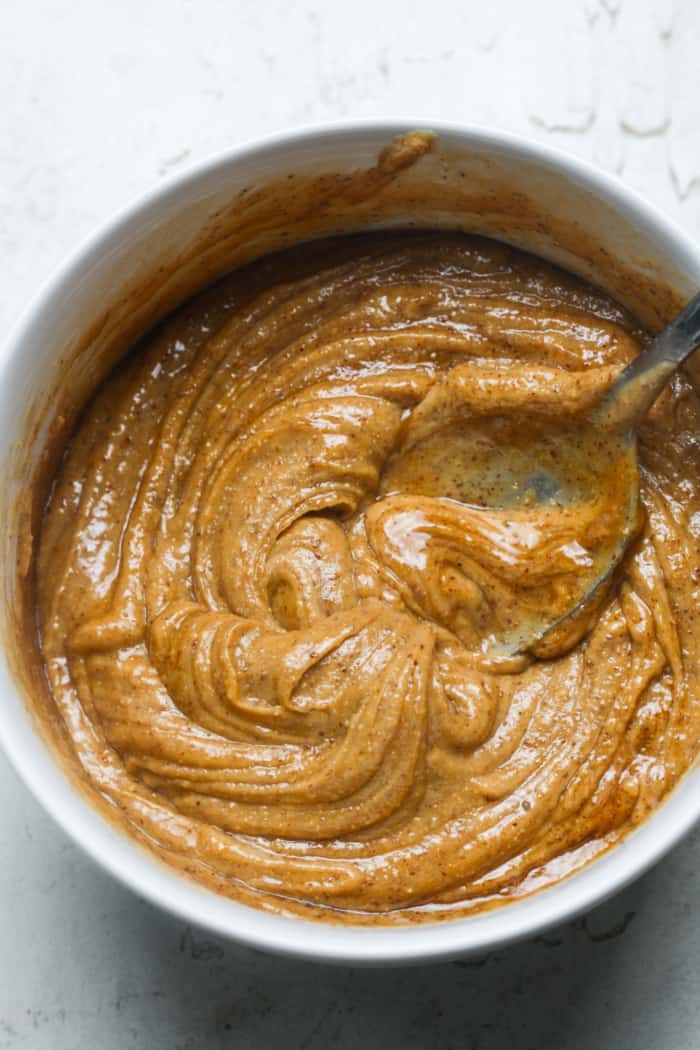
Stir in the sea salt and vanilla extract.
Step 3
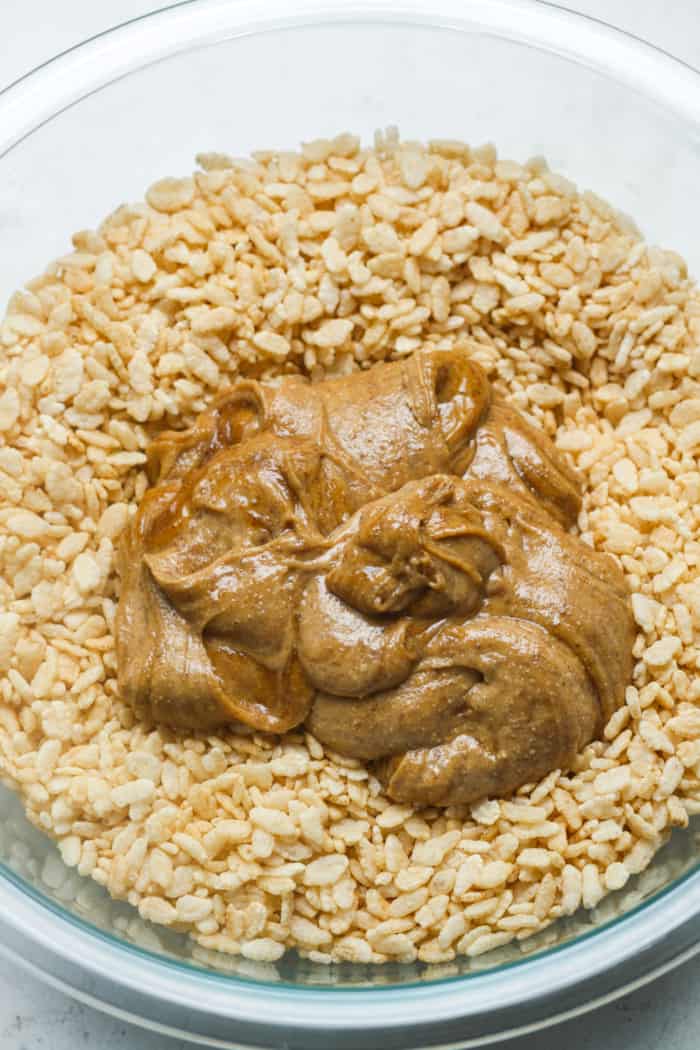
Pour the rice cereal into a large mixing bowl. Pour the melted peanut butter mixture on top.
Step 4
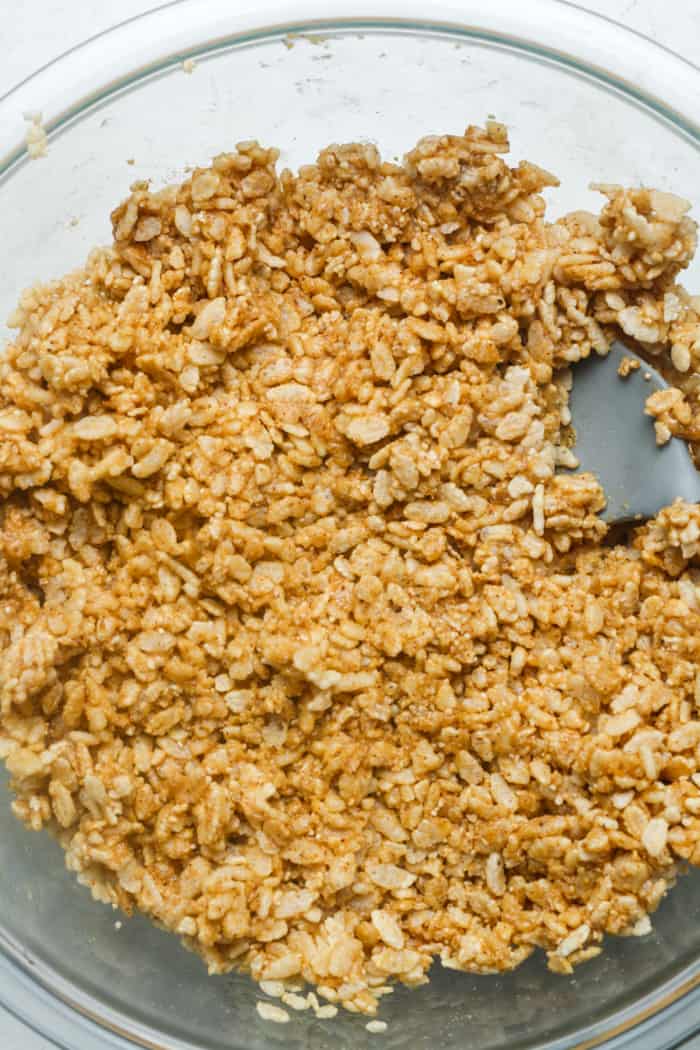
Then, gently stir until completely coated.
Step 5
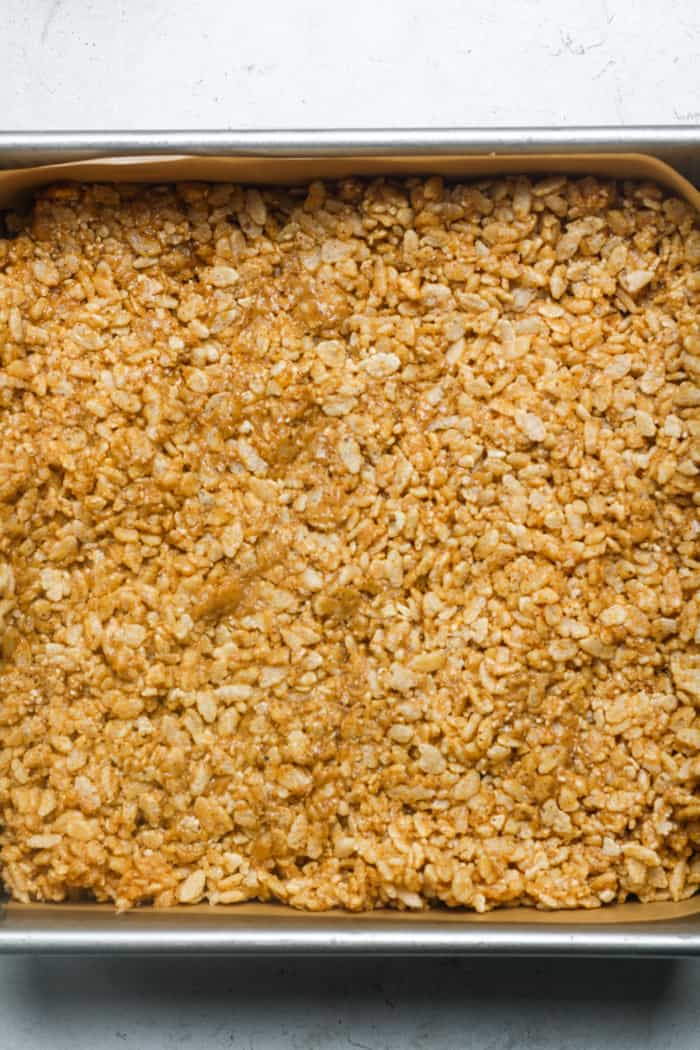
Add this mixture to the lined square pan. Gently smooth into an even layer.
Step 6
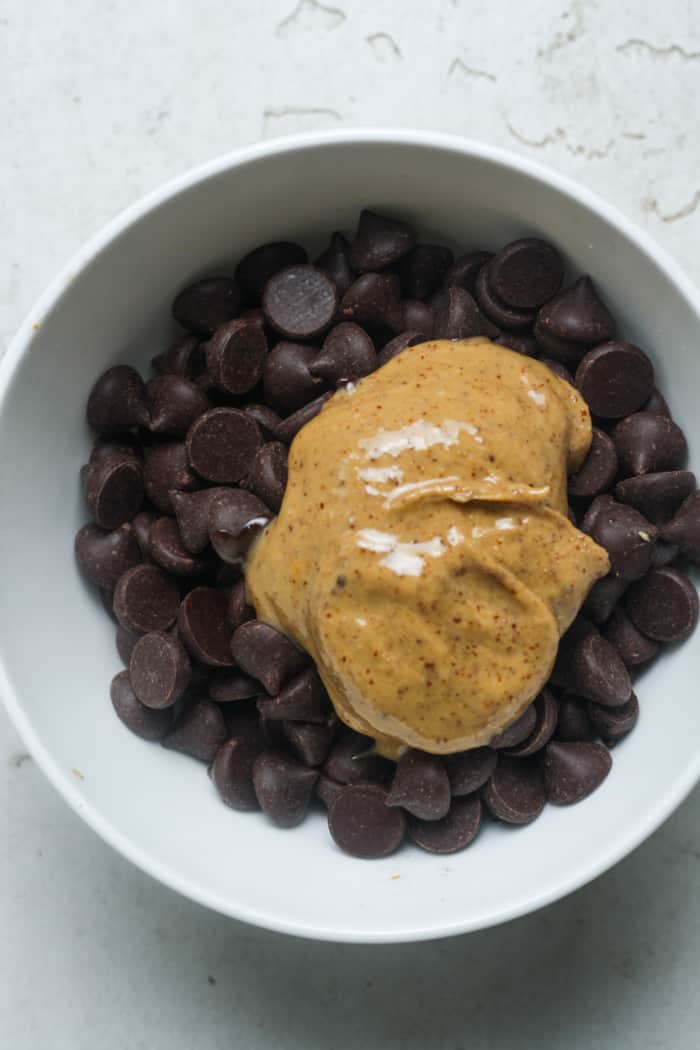
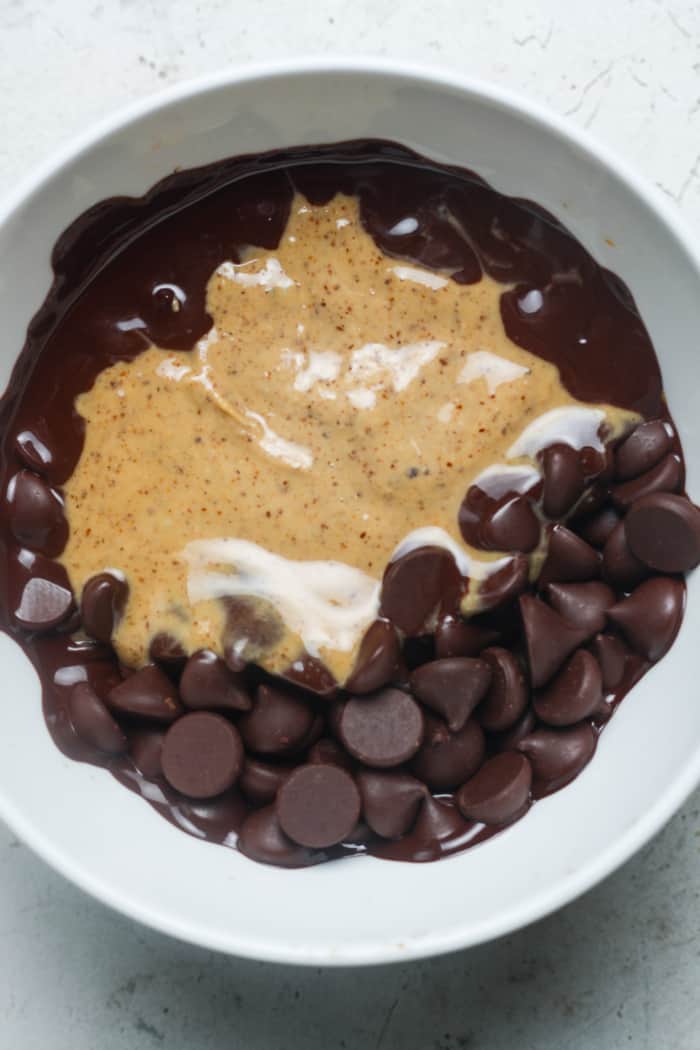
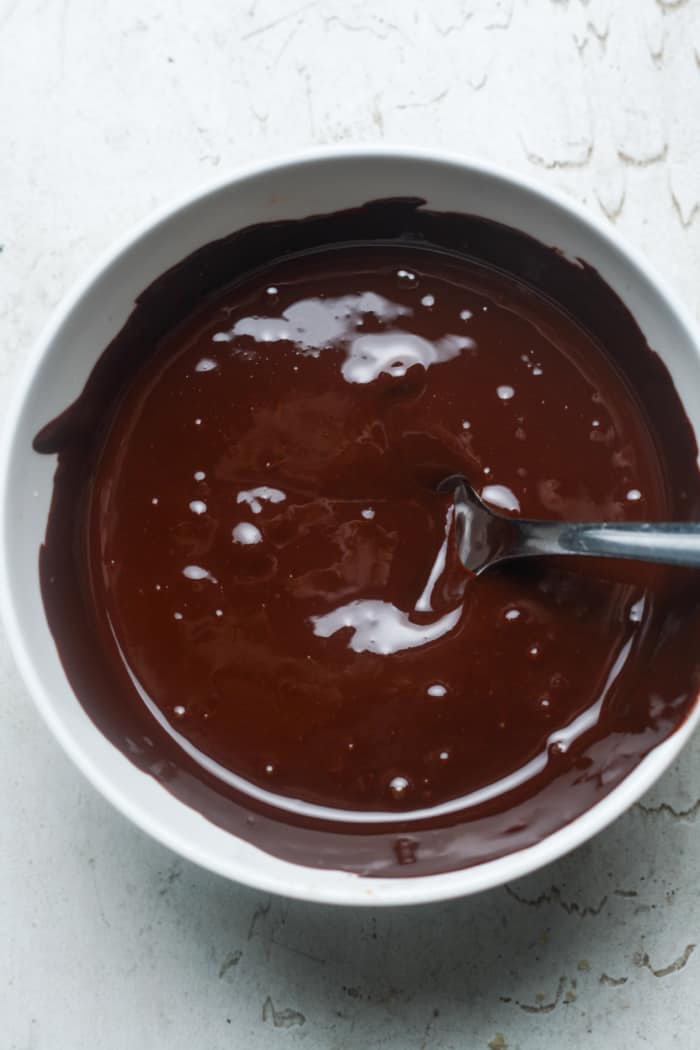
Then, microwave the chocolate chips and peanut butter together. Stir until fully melted and creamy.
Step 7
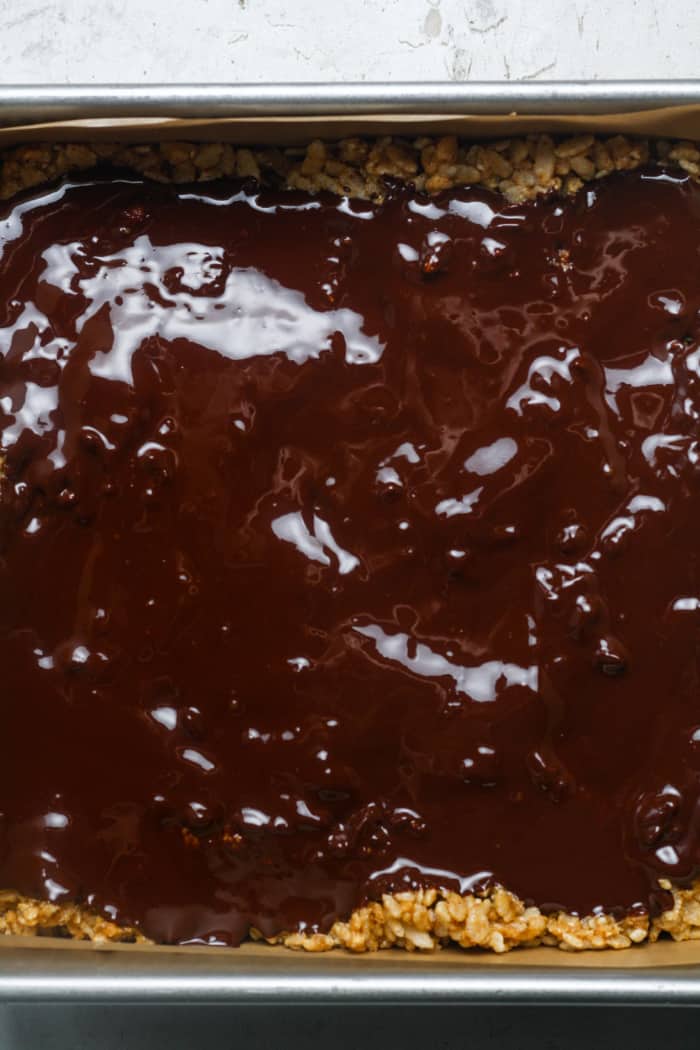
Pour this chocolate mixture on top. Smooth into an even layer.
Step 8
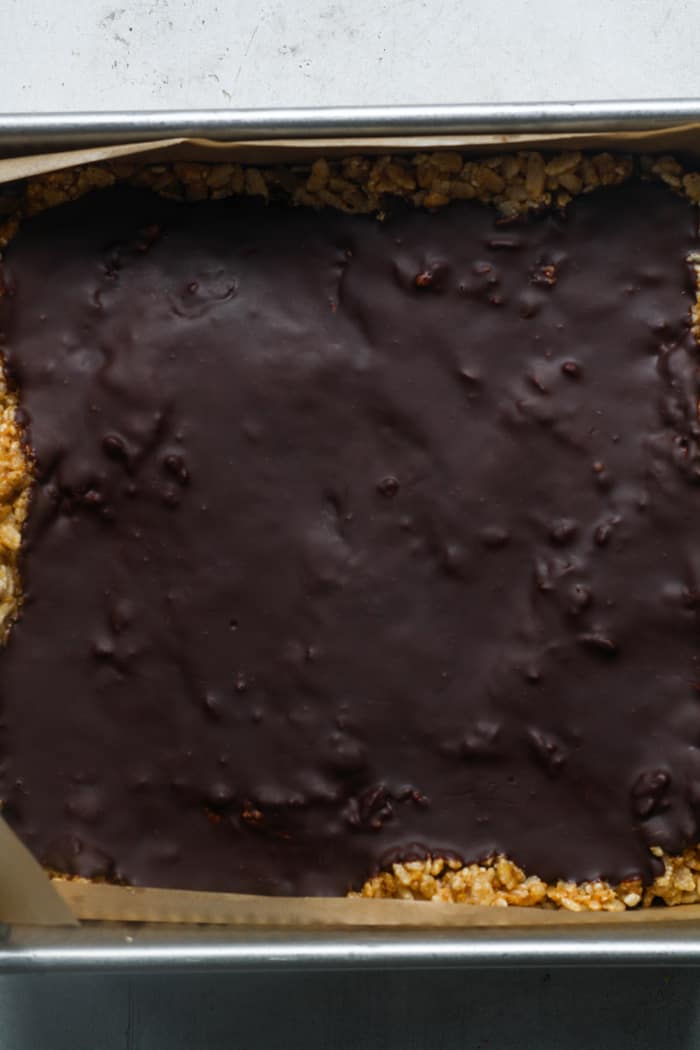
Chill in the fridge for 1 to 2 hours, until set. Finally, allow the peanut butter rice krispie treats to sit at room temperature for 5 minutes before slicing into.
Expert Tips for Success
Follow these tips and tricks to make the best peanut butter rice krispie treats.
Use creamy peanut butter: Creamy peanut butter provides a smooth, consistent texture, while crunchy peanut butter adds a bit of extra crunch.
Don’t overmix: Gently fold in the Rice Krispies until they are just evenly coated.
Press firmly into the pan: Pressing the mixture firmly into the pan will help the treats set into neat squares.
Chill before cutting: Chilling the treats for at least 60 minutes will make them easier to cut and prevent them from crumbling.
Flavor Variations & Add-Ins
Make your peanut butter rice krispie treats fun!
Chocolate drizzle: Drizzle melted chocolate over the chilled treats for a decadent chocolaty finish.
Peanut butter cup pieces: Chop peanut butter cups and fold them into the mixture for a burst of peanut butter and chocolate flavor.
Salty pretzel bits: Sprinkle salty gluten free pretzel bits on top of the treats for a sweet and salty contrast.
Dried fruit: Add dried cranberries, raisins, or chopped dates for a touch of sweetness and chewy texture.
How to Serve & Store
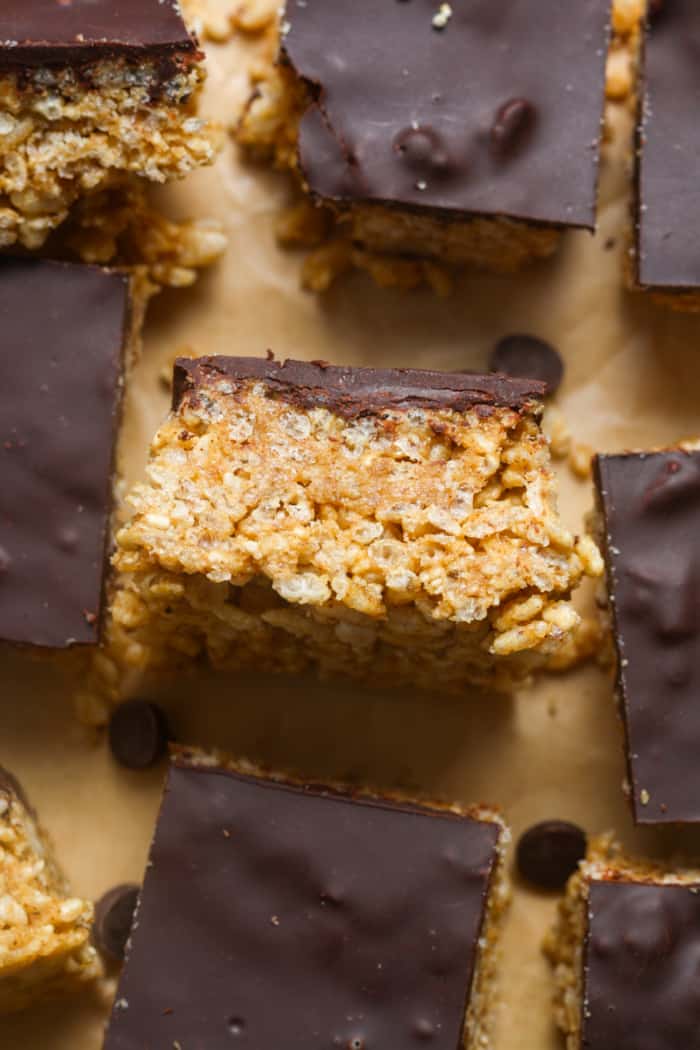
Serve at room temperature: These peanut butter rice krispie treats are best served at room temperature for the perfect balance of softness and crunch.
Store in an airtight container: Store the treats in an airtight container at room temperature for up to 4 days.
Try these Peanut Butter Blondies too!
Frequently Asked Questions (FAQs)
These peanut butter rice krispie treats do not require marshmallows. So, yes!
Yes, you can use other crispy cereal varieties, such as puffed rice or cornflakes.
Yes, use maple syrup and vegan chocolate chips.
Yes, you can make these treats up to 2 days in advance and store them in an airtight container.
Rice Krispie treats are not gluten free. Use gluten free rice cereal.
Yes, these peanut butter rice krispie treats can be frozen.
Rice Krispies Treats were invented in 1939 by Kellogg Company employees Malitta Jensen and Mildred Day. The recipe was originally created as a promotional vehicle for Rice Krispies cereal, which had been introduced in 1928. The treat quickly became popular, and Kellogg’s began commercially producing them in 1995.
Equipment Needed
8 Inch Square Pan: This square pan is great for making these bars.
Parchment Paper: Line the pan with parchment paper for easy removal.
Check out all of my kitchen favorites!
You May Also Enjoy
- Peanut Butter Chocolate Chip Cookies
- Chocolate Peanut Butter Pie
- Chocolate Peanut Butter Brownies
- Peanut Butter Chocolate Cookies
- Peanut Butter Cheesecake
- Lucky Charms Cookies
If you make this peanut butter cheesecake recipe, I would really appreciate a review! You can find me on Instagram, Facebook, and Pinterest. Join my exclusive Facebook Group for a behind the scenes look. I would love for you to follow along! For more ideas, check out these Dessert Recipes.

Get the Recipe: Peanut Butter Rice Krispie Treats
Ingredients
Rice Krispie Treats
- 3 cups brown rice cereal
- ¾ cup all natural creamy peanut butter
- ⅓ cup honey
- pinch sea salt
- 1 tsp vanilla extract
Chocolate Coating
- ⅔ cup dark chocolate chips
- 2 tbsp all natural creamy peanut butter
Instructions
- First, line an 8 inch square pan with parchment paper. In a large microwave safe bowl, add the creamy peanut butter and honey. Microwave in 10 second increments, stopping between each to stir, until creamy and melted.
- Stir in the sea salt and vanilla extract.
- Pour the rice cereal into a large mixing bowl. Pour the melted peanut butter mixture on top.
- Gently stir until completely coated.
- Add this mixture to the lined square pan. Gently smooth into an even layer.
- Then, microwave the chocolate chips and peanut butter together. Stir until fully melted and creamy.
- Pour this chocolate mixture on top. Smooth into an even layer.
- Chill in the fridge for 1 to 2 hours, until set. Allow the bars to sit at room temperature for 5 minutes before slicing into.
Notes
- Regular rice krispie cereal is NOT gluten free unfortunately. Therefore, I used Real Cereal Company!
- Do not burn the peanut butter and honey. Once it is creamy, stop microwaving.
- In addition, be careful microwaving the chocolate chips and peanut butter.
- Allow the chocolate coating to fully harden before eating.
- These bars are best eaten within 48 hours for maximum crispiness. However, store at room temperature for up to 4 days.
Love this easy peanut butter rice krispie treat recipe? You can sign up here to receive healthy meal plans, exclusive new recipes, and updates!
