Peanut Butter Cheesecake
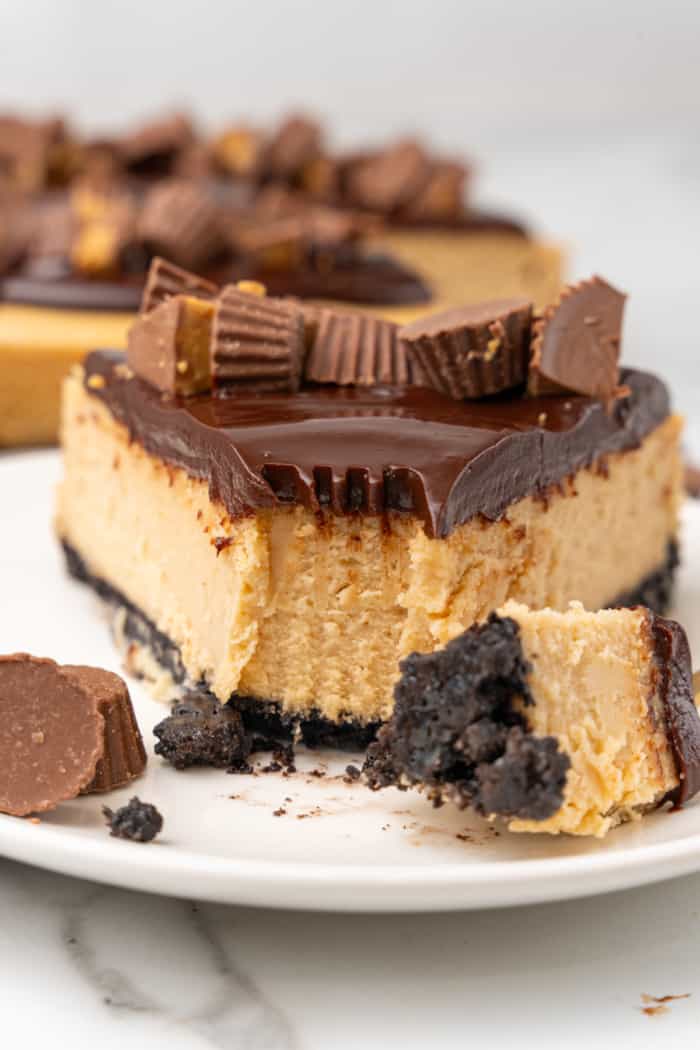
This peanut butter cheesecake is a classic dessert! It features a buttery Oreo cookie crust and silky smooth peanut butter filling. The creamy chocolate ganache adds a touch of elegance on top! For all peanut butter lovers, this recipe is the best combination of creamy peanut butter and silky chocolate. Great for Christmas, holidays, birthdays, parties, and more!
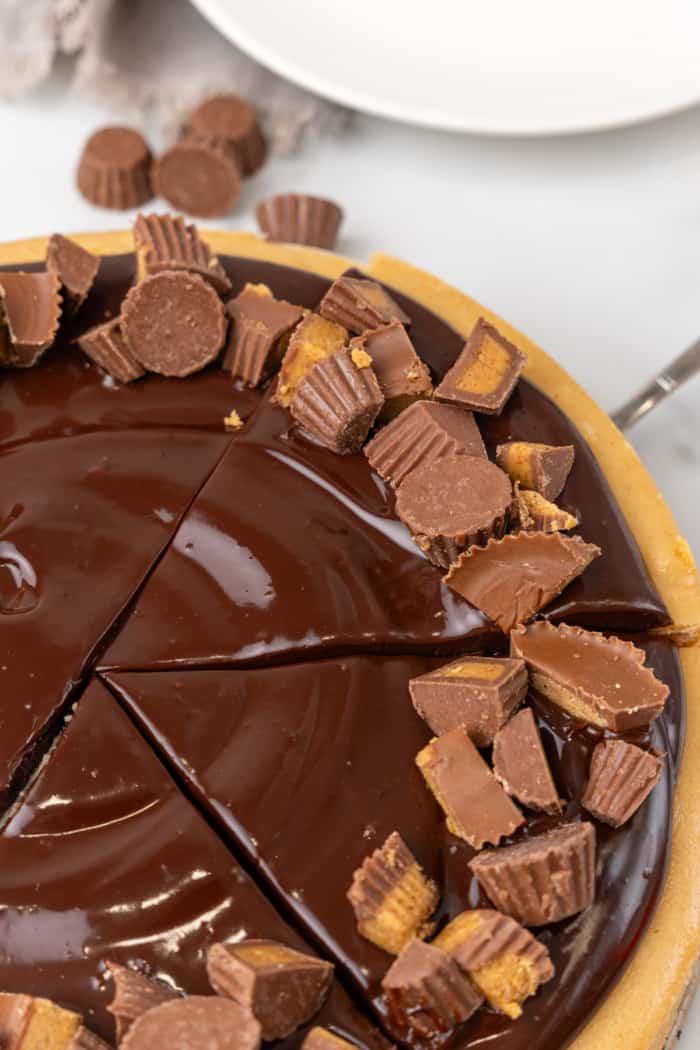
Why You’ll Love This Recipe
There are many reasons why you will love this recipe for homemade peanut butter cheesecake!
- This recipe is straightforward. It walks you through each step with step by step photos.
- The velvety smooth texture will melt in your mouth.
- It is delicious.
- The combination of the creamy peanut butter filling, the rich buttery crust, and the decadent chocolate ganache is simply irresistible.
- It is versatile.
- Chocolate peanut butter is one of my favorite flavors!
- You can customize the recipe to your liking by adding different flavors of toppings or mix-ins.
- It is perfect for any occasion. So are these Cheesecake Brownies and this Flourless Chocolate Torte!
- Peanut butter cheesecake is a great dessert for potlucks, parties, or simply a weeknight treat.
- This recipe can be easily made gluten free with gluten free Oreos.
- For other cheesecake recipes, try this Oreo cheesecake or these cute mini cheesecakes.
Ingredients & Substitutes
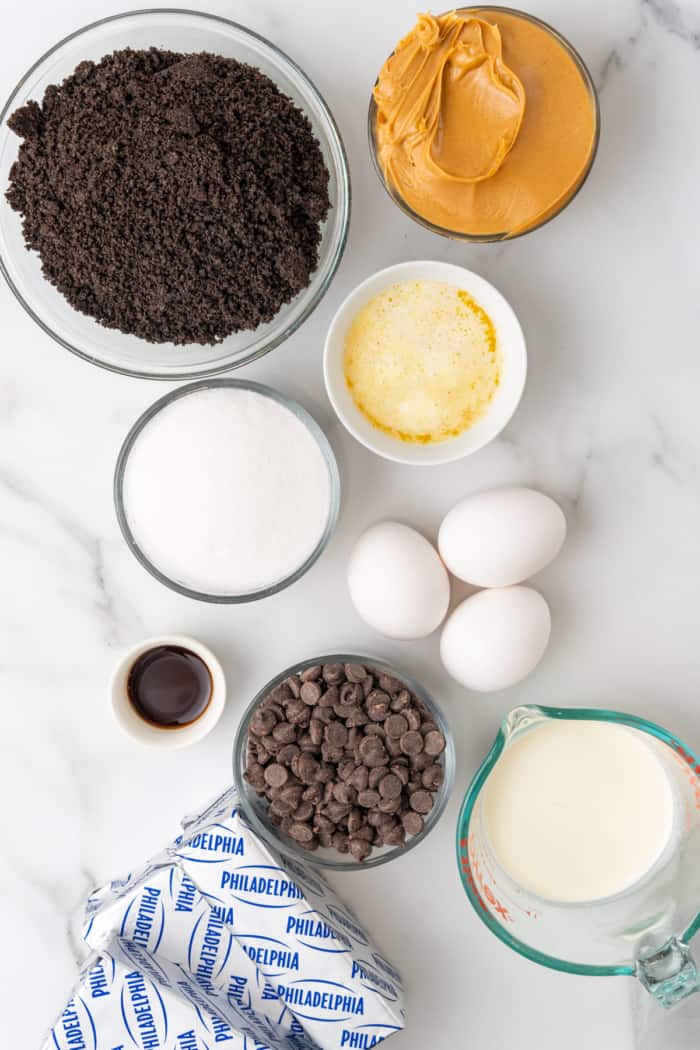
These are the ingredients and substitutions for peanut butter cheesecake. Scroll down to the bottom for the full recipe.
The crust of this homemade peanut butter cheesecake is made with a mixture of crushed Oreo crumbs and melted butter. For a gluten free peanut butter cheesecake, use gluten free Oreos. The rest of the ingredients are already gluten free.
Use softened full-fat cream cheese in the recipe. Place the blocks of cream cheese on the kitchen counter at least 2 hours before making this recipe. This gives them time to naturally soften.
Use creamy peanut butter. This recipe should work with all natural creamy peanut butter too.
Use regular granulated sugar in this cheesecake.
Use large eggs at room temperature for even mixing. They are the binding and setting agent in the recipe. They also add to the creamy texture.
Vanilla extract adds a delicious flavor to the cheesecake. Use pure vanilla if possible for the best taste.
For the ganache, choose high-quality, semi-sweet chocolate chips. A chopped bar of chocolate is a good alternative. The better the chocolate used, the tastier the ganache will be.
Use heavy cream for the ganache. This will make the ganache smooth, creamy, and easy to pour.
Taste and Texture
This peanut butter cheesecake recipe has a classic chocolate peanut butter taste! The flavors are indulgent, rich, and decadent.
This cheesecake has the perfect creamy and smooth texture to it. The crust is crumbly and moist. The filling is creamy. In addition, the chocolate ganache is incredibly smooth.
How to Make
Step 1
First, preheat your oven to 325°F (160°C). Wrap the outside of a 9-inch springform pan with aluminum foil to prepare for the water bath. Meanwhile, boil 3 cups of water for the water bath.
Step 2
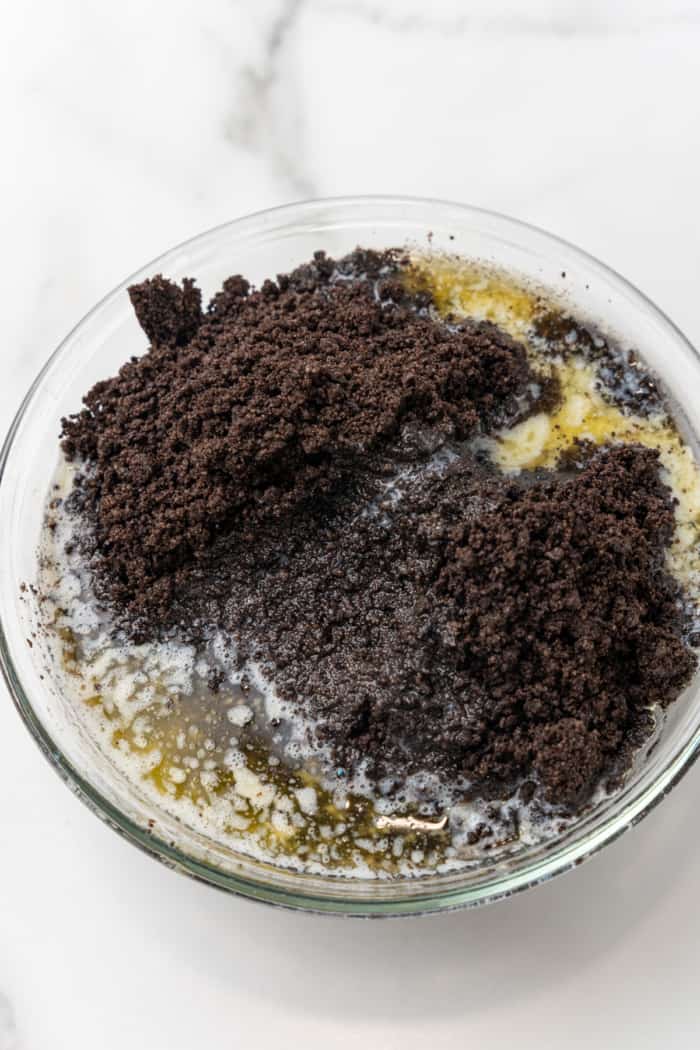
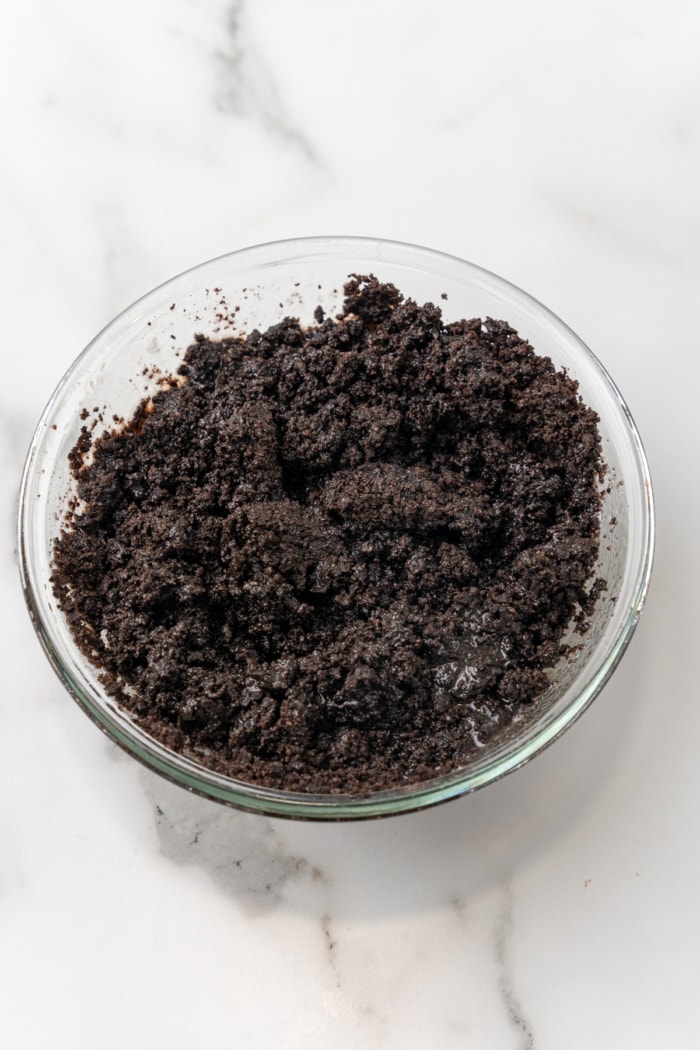
In a medium bowl, combine the crushed gluten free Oreo cookies and melted butter. Stir until evenly coated. Press this mixture into the bottom of the prepared springform pan to create an even crust. Place it in the fridge to chill.
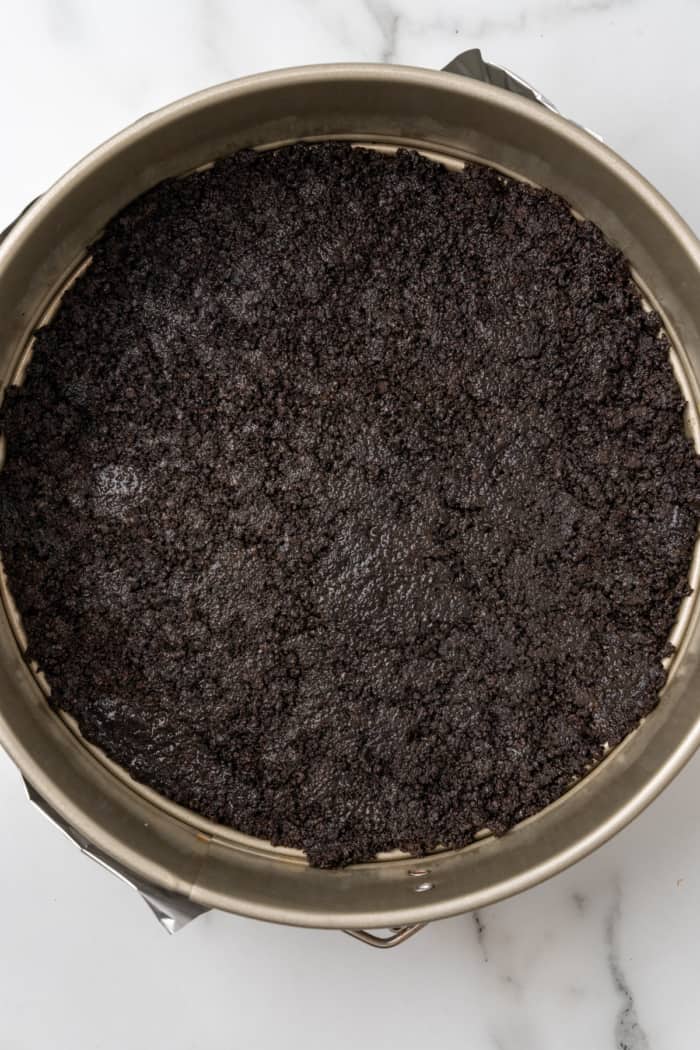
Step 3
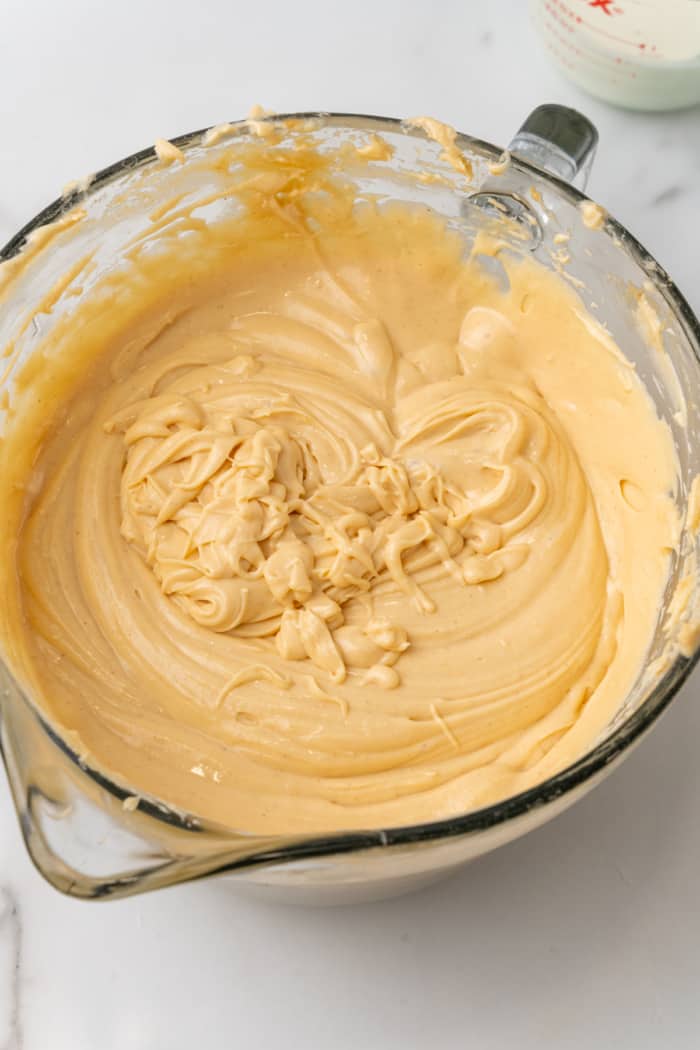
In a large mixing bowl, beat the softened cream cheese, peanut butter, and sugar until smooth and creamy. Add the eggs, one at a time, mixing well after each addition. Stir in the vanilla extract.
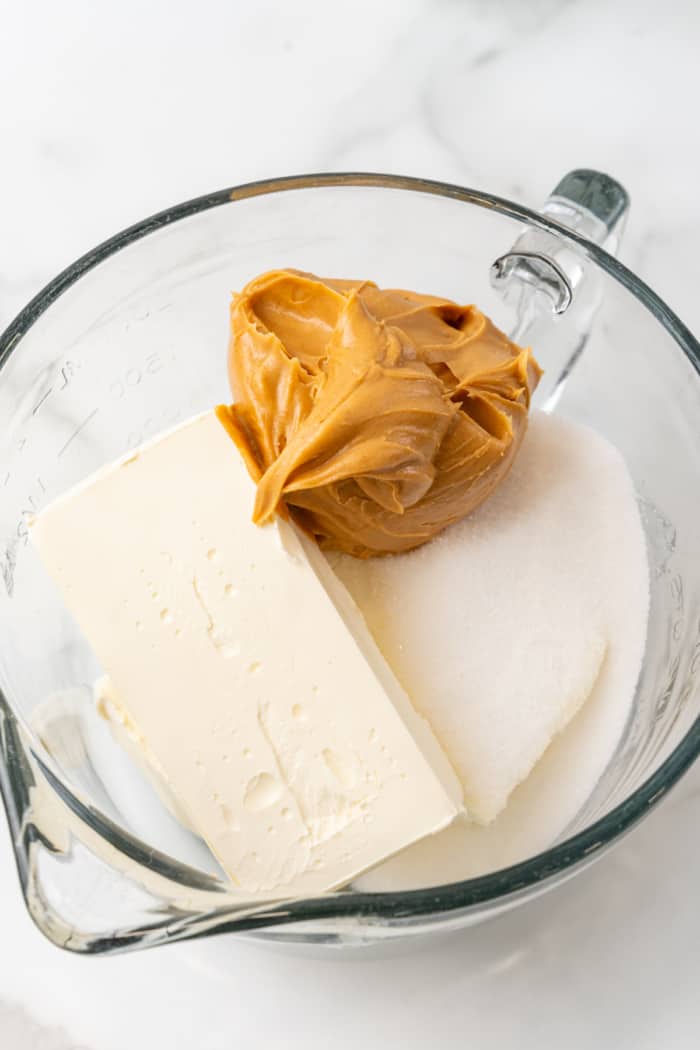
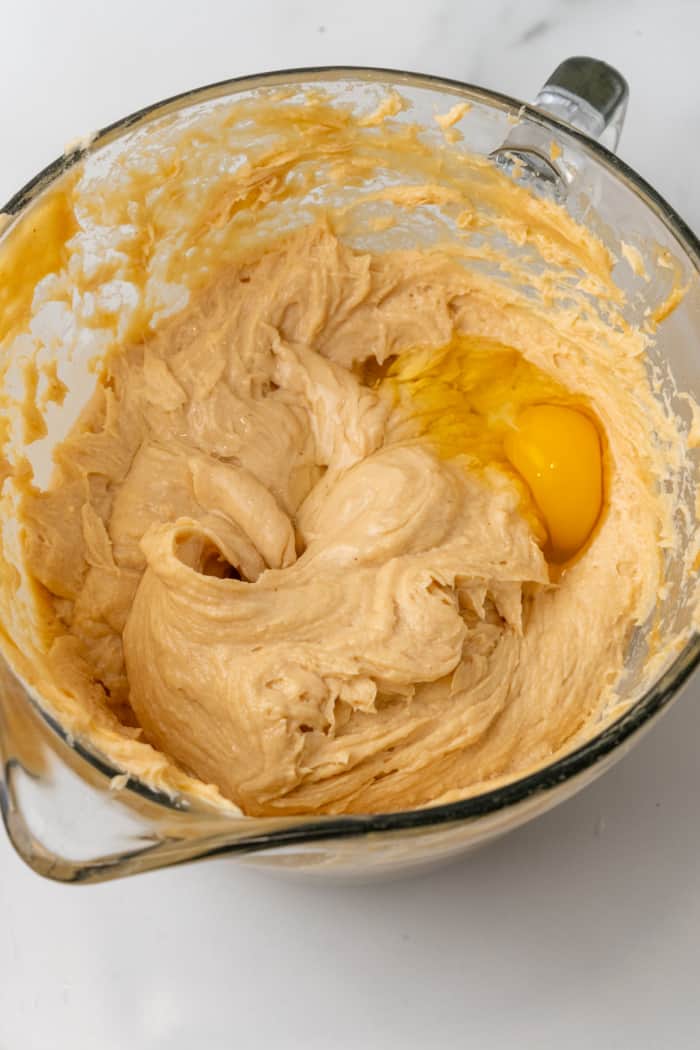
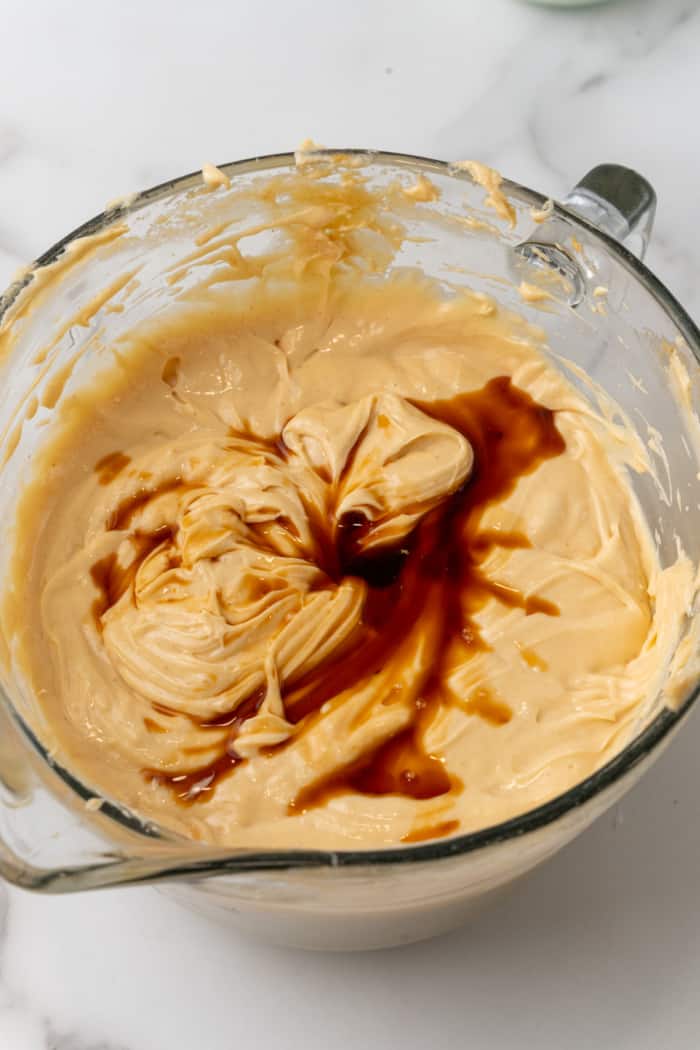
Step 4
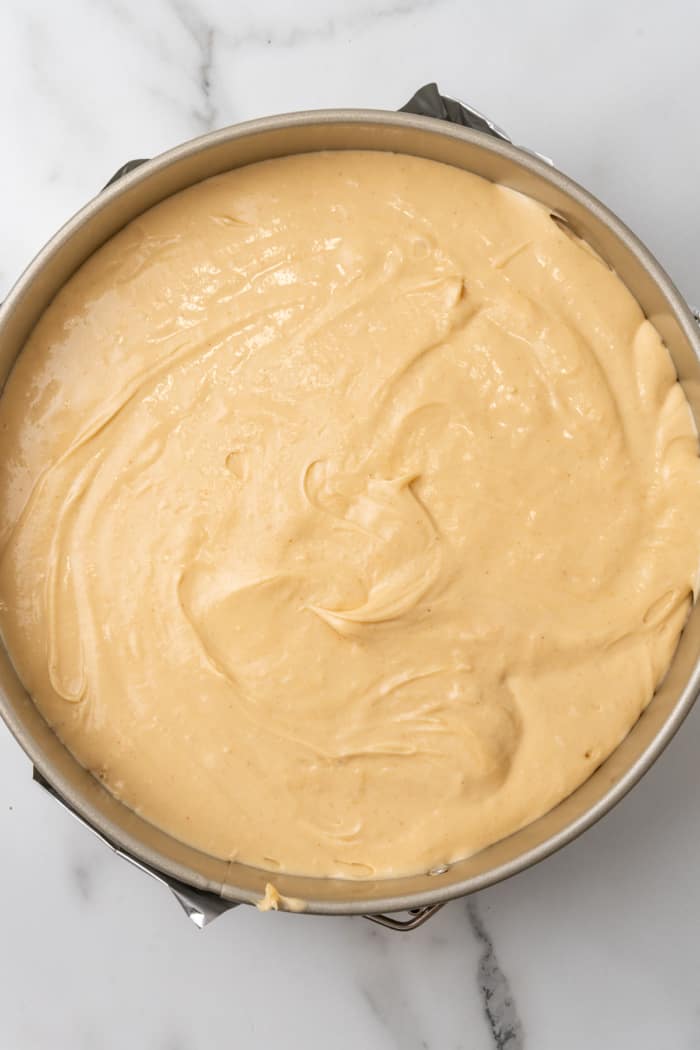
Take the crust out of the fridge and pour the cheesecake filling on top. Smooth the top with a spatula.
Step 5
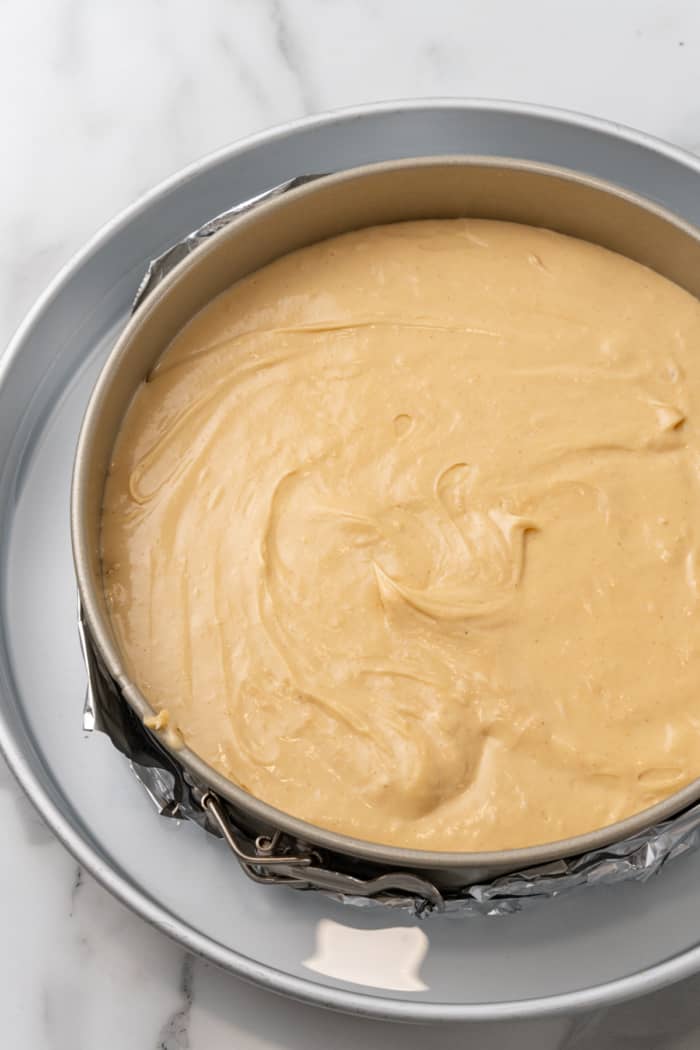
Prepare a large roasting pan and place the springform pan in the middle. Fill the roasting pan with enough hot water to reach about halfway up the sides of the springform pan.
Step 6
Carefully transfer the roasting pan with the cheesecake to the preheated oven. Bake for 1 hour or until the edges are set, but the center still jiggles slightly when gently shaken. Shut off the oven and leave the cheesecake in the oven with the door slightly ajar for about 1 hour.
Step 7
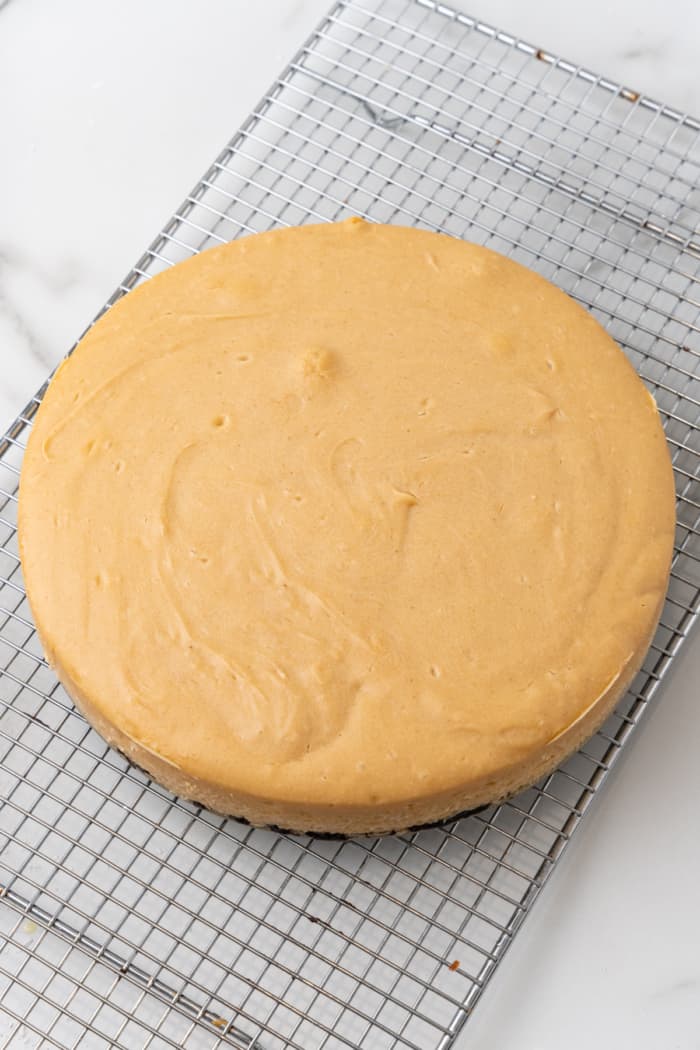
Remove the springform pan from the water bath and let the cheesecake cool completely on a wire rack. Once cooled, refrigerate for at least 4 hours or overnight to allow it to set. Although this photo shows no pan, keep the cheesecake in the springform pan until Step 9.
Step 8
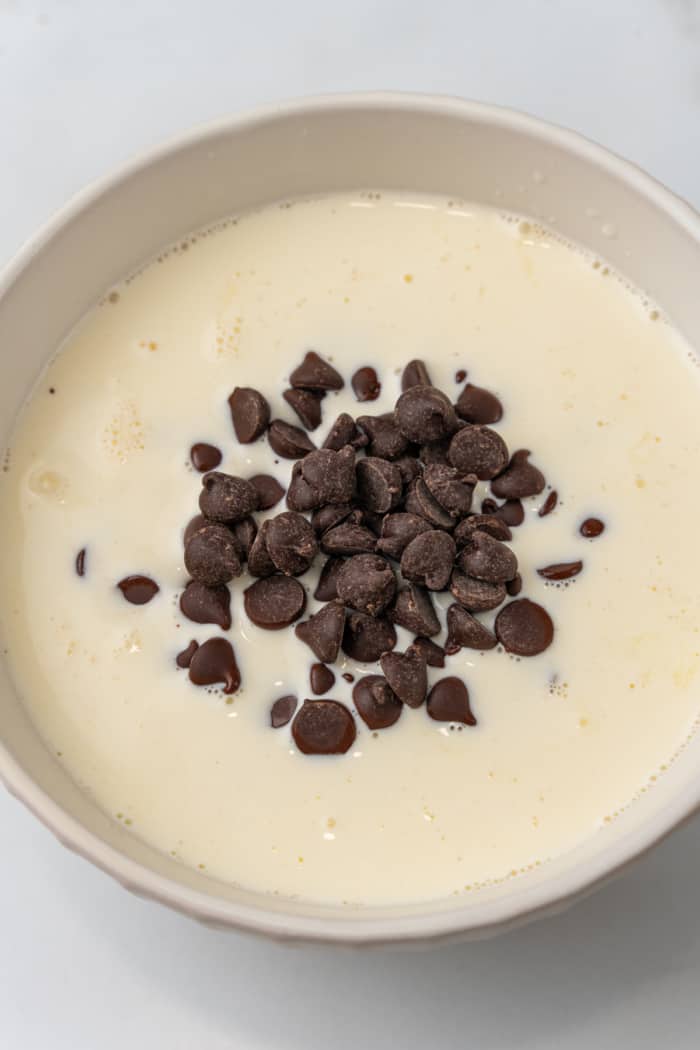
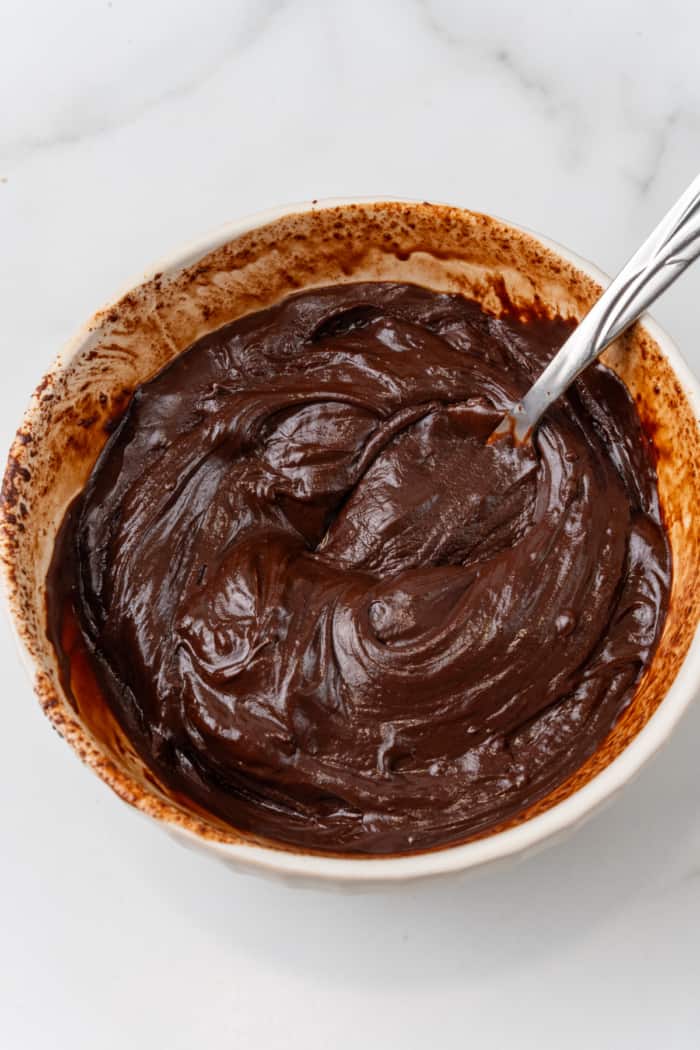
Just before serving, make the chocolate ganache. In a small saucepan, heat the heavy cream over medium heat until it starts to simmer. Remove from the heat and add in the chocolate chips. Let it sit for a minute, then whisk until smooth and shiny.
Step 9
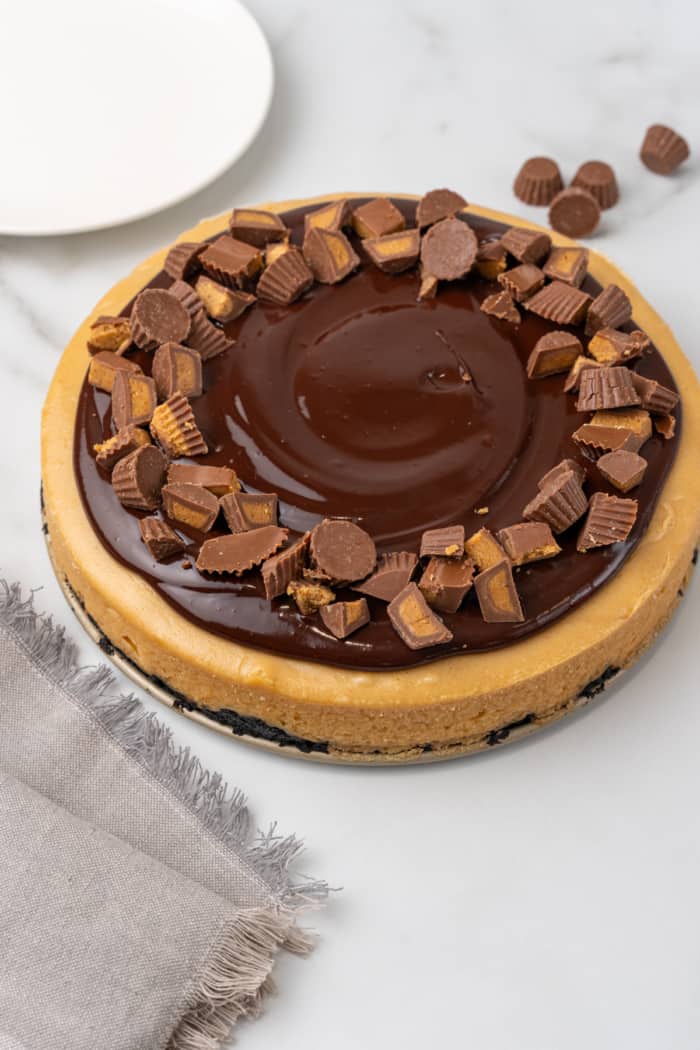
Take the chilled cheesecake out of the refrigerator and carefully remove the sides of the springform pan. Pour the chocolate ganache over the top of the cheesecake, allowing it to drip down the sides.
Step 10
Return the cheesecake to the refrigerator for another 30 minutes to allow the ganache to set.
Step 11
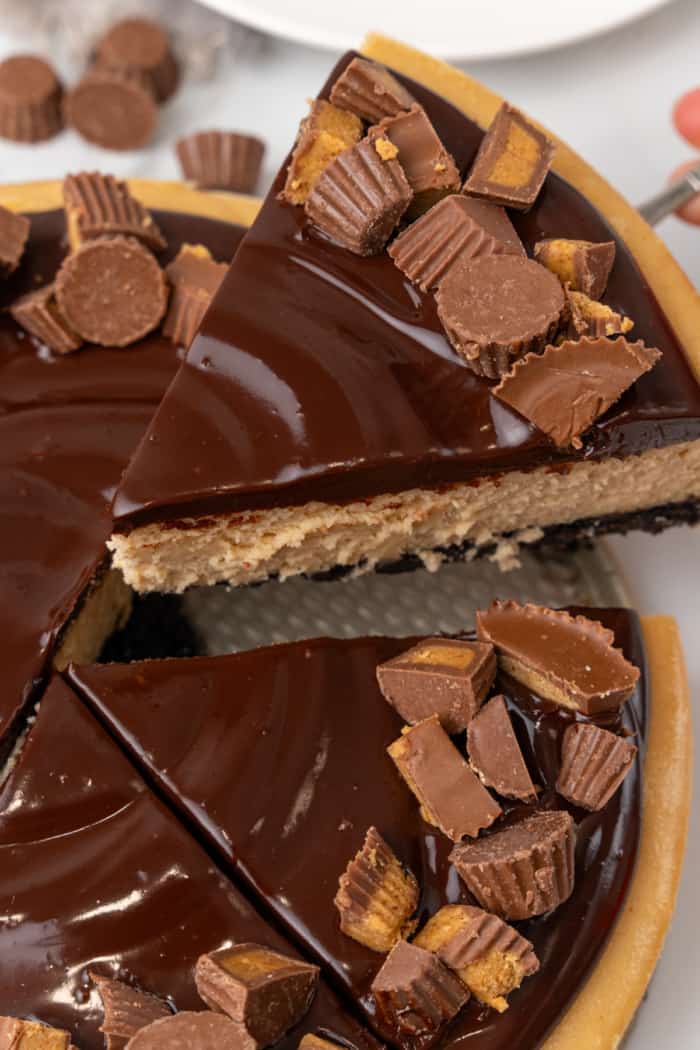
Once the ganache is set, slice the cheesecake and serve. Finally, top with chopped Reese’s peanut butter cups if desired!
Expert Tips for Success
Here are a few expert tips and tricks for making the best peanut butter cheesecake.
Use room temperature ingredients. This will help the cheesecake come together more easily.
Don’t overmix the batter. Overmixing will make the cheesecake tough.
Bake the cheesecake until it is set but still slightly jiggly in the center. This will help prevent the cheesecake from cracking.
Let the peanut butter cheesecake cool completely before frosting it. This will help prevent the frosting from melting.
Read more about Reese’s cups!
Flavor Variations & Add-Ins
This peanut butter cheesecake recipe is versatile and can be easily customized to your liking. Here are a few ideas for flavor variations and add-ins.
Top the cheesecake with Hershey’s Kisses instead.
Add chocolate chips to the cheesecake filling to make peanut butter chocolate chip cheesecake.
Add white chocolate chips to the cheesecake filling.
Top with white chocolate ganache instead.
Garnish with peanuts or other chopped nuts.
Top with Oreo pieces.
Add some Peanut Butter Balls or Homemade Peanut Butter Cups on top!
How to Serve & Store
Serve this peanut butter cheesecake once completely chilled.
Use a clean sharp knife, dipped in hot water to cut clean, neat slices. Wipe the knife down and dip it back into the hot water between cuts.
Serve the peanut butter cheesecake as is or with a dollop of whipped cream.
Try these other chocolate peanut butter desserts! I love these Chocolate Peanut Butter Brownies and Chocolate Peanut Butter Pie.
To store the cheesecake, place it in the refrigerator in an airtight container. If you do not have a big enough container, cover it loosely with plastic wrap.
This cheesecake can also be frozen. To thaw it out, leave it overnight in the fridge. It is best eaten within 4 days.
Frequently Asked Questions (FAQs)
Yes, you can make this cheesecake ahead of time and freeze it. Just let the cheesecake cool completely before freezing it. When you are ready to serve it, thaw it overnight in the refrigerator and then frost it.
To prevent the cheesecake from cracking, bake it until it is set but still slightly jiggly in the center. Use the water bath. This also prevents cracking. In addition, allow the cheesecake to cool down in the oven with the door ajar. The process of slowly cooling down allows the cheesecake to set properly.
You can decorate this cheesecake with a variety of different toppings, such as crushed peanuts, chocolate chips, or Reese’s Peanut Butter Cups.
New York style cheesecake uses more cream cheese for a denser texture. Regular cheesecake uses more sour cream and heavy cream which creates a silky creamy texture.
Yes! Cream cheese and peanut butter go well together.
The water bath helps prevent cracking and over baking. The water will never reach higher than 212 degrees Fahrenheit. A water bath, also known as a bain-marie, is often used to cook delicate foods, such as cheesecakes, custards, and puddings. It prevents them from overcooking or curdling.
Equipment Needed
Hand Mixer: Use a hand mixer or stand mixer to beat the cheesecake filling.
KitchenAid Stand Mixer: This stand mixer is powerful and great for baking cheesecakes.
Food Processor: Use a food processor to process the Oreo crust together.
Pyrex 3 Glass Mixing Bowls: These mixing bowls are great for baking.
Pyrex Glass Measuring Cups: These are my favorite glass measuring cups to use.
9 Inch Nonstick Springform Pan: Use a nonstick 9-inch springform pan for this peanut butter cheesecake.
Check out all of my kitchen favorites!
You May Also Enjoy
- Strawberry Cheesecake Cookies
- Instant Pot Cake
- Chocolate Chip Cheesecake Cookies
- Oreo Cheesecake Cookies
- Chocolate Chip Cheesecake
- Gluten Free Chocolate Cheesecake
If you make this peanut butter cheesecake recipe, I would really appreciate a review! You can find me on Instagram, Facebook, and Pinterest. Join my exclusive Facebook Group for a behind the scenes look. I would love for you to follow along! For more ideas, check out these Dessert Recipes.

Get the Recipe: Peanut Butter Cheesecake
Ingredients
For the crust:
- 2 cups Oreo cookie crumbles, about 20-25 cookies, regular or gluten free
- ¼ cup melted butter
For the filling:
- 24 ounces cream cheese, softened
- 1 cup creamy peanut butter
- 1 cup granulated sugar
- 3 large eggs
- 1 tsp vanilla extract
For the chocolate ganache:
- 1 cup semisweet chocolate chips
- ½ cup heavy cream
- peanut butter cups, to garnish
Instructions
- First, preheat your oven to 325°F (160°C). Wrap the outside of a 9-inch springform pan with aluminum foil to prepare for the water bath. This will prevent water from seeping into the pan. Meanwhile, boil 3 cups of water.
- In a medium bowl, combine the crushed Oreo cookies and melted butter. Stir until the crumbs are evenly coated. Press the mixture into the bottom of the prepared springform pan to create an even crust. Place it in the refrigerator to chill while you prepare the filling.
- In a large mixing bowl, beat the softened cream cheese, peanut butter, and sugar until smooth and creamy. Add the eggs, one at a time, mixing well after each addition. Finally, stir in the vanilla extract.
- Take the crust out of the refrigerator and pour the cheesecake filling over it. Smooth the top with a spatula.
- Prepare a large roasting pan and place the springform pan in the center. Fill the roasting pan with enough of the hot water to reach about halfway up the sides of the springform pan. This creates a water bath and helps ensure even baking and a creamy texture for the cheesecake.
- Carefully transfer the roasting pan with the cheesecake to the preheated oven. Bake for about 1 hour or until the edges are set, but the center still jiggles slightly when gently shaken. Turn off the oven and leave the cheesecake in the oven with the door slightly ajar for about 1 hour.
- Remove the springform pan from the water bath and let the cheesecake cool completely on a wire rack. Once cooled, refrigerate for at least 4 hours or overnight to allow it to set.
- Just before serving, prepare the chocolate ganache. In a small saucepan, heat the heavy cream over medium heat until it starts to simmer. Remove from heat and add the chocolate chips. Let it sit for a minute, then whisk until smooth and shiny.
- Take the chilled cheesecake out of the refrigerator and carefully remove the sides of the springform pan. Pour the chocolate ganache over the top of the cheesecake, allowing it to drip down the sides.
- Return the cheesecake to the refrigerator for another 30 minutes to allow the ganache to set.
- Once the ganache is set, slice the cheesecake and serve. Top with chopped Reese’s cups if desired!
Notes
- Both regular Oreos and gluten free Oreos work well.
- Use softened cream cheese. Do not use cold cream cheese. It will not cream well.
- I used Jif creamy peanut butter for this recipe. I have not tried it yet with all natural creamy peanut butter.
- Do not skip the water bath. This ensures that the cheesecake bakes through evenly.
- The cheesecake is done baking when the edges are set but the middle is still slightly jiggly when the pan is tapped.
- Allow the cheesecake to cool in the oven for 1 hour with the door open. This allows the cheesecake to slowly cool down, thus preventing cracks.
- Fully cool before slicing into.
- The chocolate ganache and peanut butter cup topping are optional, but highly encouraged.
- Store in the fridge for up to 5 days.
- Freeze for up to 2 months.
Love this easy peanut butter cheesecake recipe? You can sign up here to receive healthy meal plans, exclusive new recipes, and updates!
