Gluten Free Pie Crust Recipe
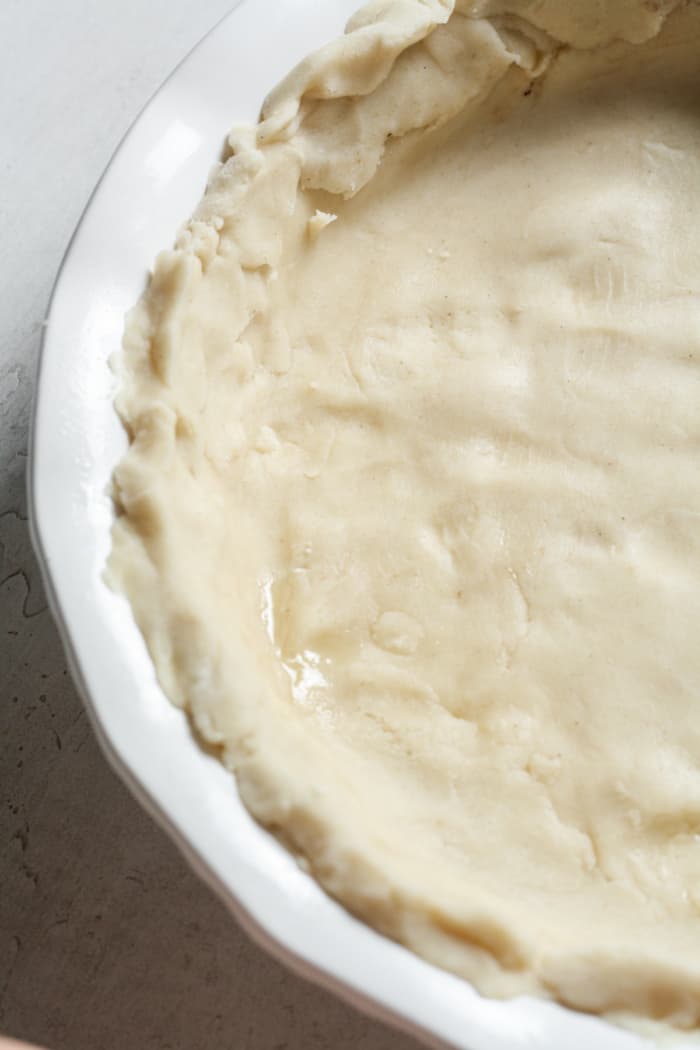
This gluten free pie crust recipe is flaky, buttery and perfect for any pie! Only 5 pantry staple ingredients needed. This pie crust is great for gluten free pumpkin pies, pecan pies, apple pies and holiday baking. The texture tastes like classic pie crusts!
Why You’ll Love This Recipe
- This gluten free pie crust recipe is straightforward.
- Follow the below step by step photos for reference.
- Great for Thanksgiving pies, Christmas desserts, birthdays and more!
- This pie crust is not overly sweet. Omit the sugar for a savory pie.
- Only 5 pantry staple ingredients needed.
- Everything is made in a food processor.
- This recipe is gluten free, nut free and egg free.
- The texture is exactly like regular pie crusts.
- Check out these Pecan Pie Bars or this Sweet Potato Pie for another holiday favorite!
Ingredients & Substitutions
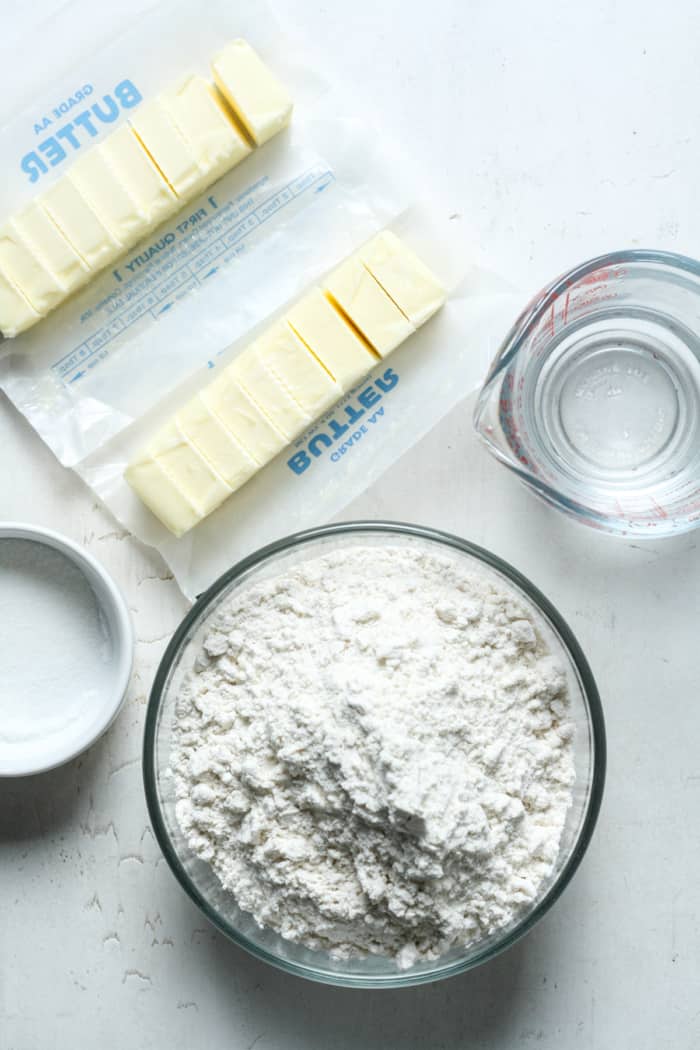
These are the main ingredients and substitutions for gluten free pie crust. Scroll down to the recipe card for full ingredients list and instructions.
Use gluten free 1 to 1 flour. I do not recommend trying to use almond flour, coconut flour, cassava flour or oat flour. King Arthur Flour and Bob’s Red Mill gluten free flours work well.
A little granulated sugar adds some sweetness. To make this refined sugar free, use coconut sugar. The pie crust color may be a little darker. Omit for a savory pie, like quiche.
A pinch of sea salt is totally optional.
Use cold unsalted butter straight from the fridge. Do not use softened, melted or room temperature butter. Cut into 1 inch sized cubes. This helps it process more easily.
Cold water helps thin out the dough. Use cold water, not room temperature or warm.
Taste & Texture
This gluten free pie crust recipe tastes like regular pie crusts! It is buttery, flaky and not overly sweet. For a savory pie like quiche, omit sugar.
The texture is flaky. When rolling out and forming the dough, it will likely break apart. Easily repair it with your hands! There is no gluten, so the dough will not taste overworked. It repairs beautifully!
How to Make
Step 1
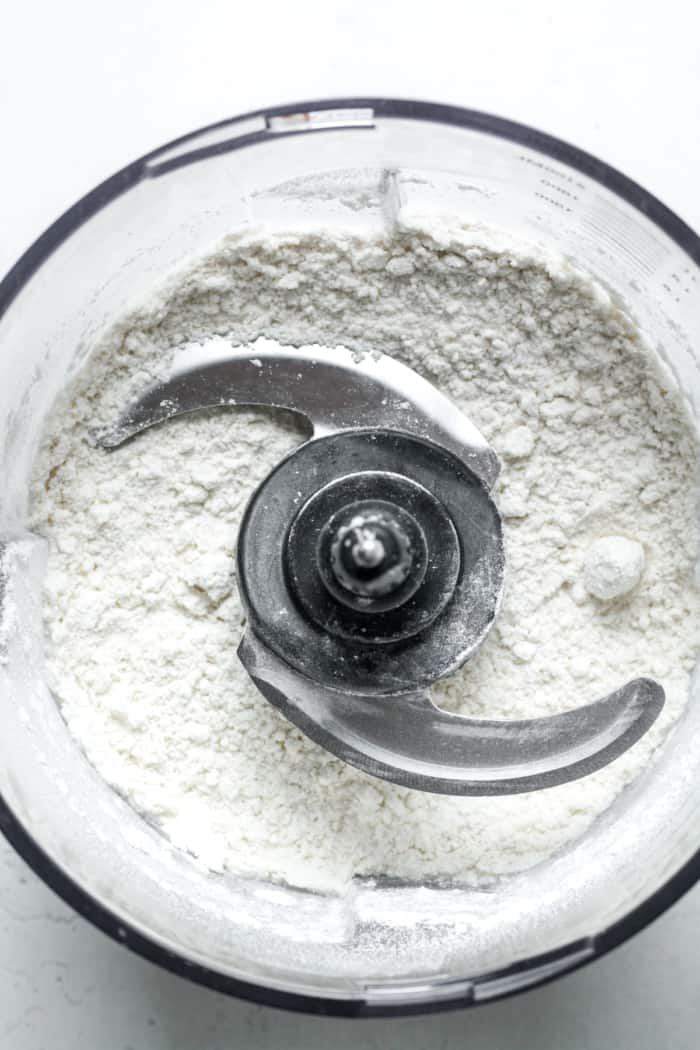
First, add gluten free flour, sugar and salt to a food processor. Pulse 2 or 3 times.
Step 2
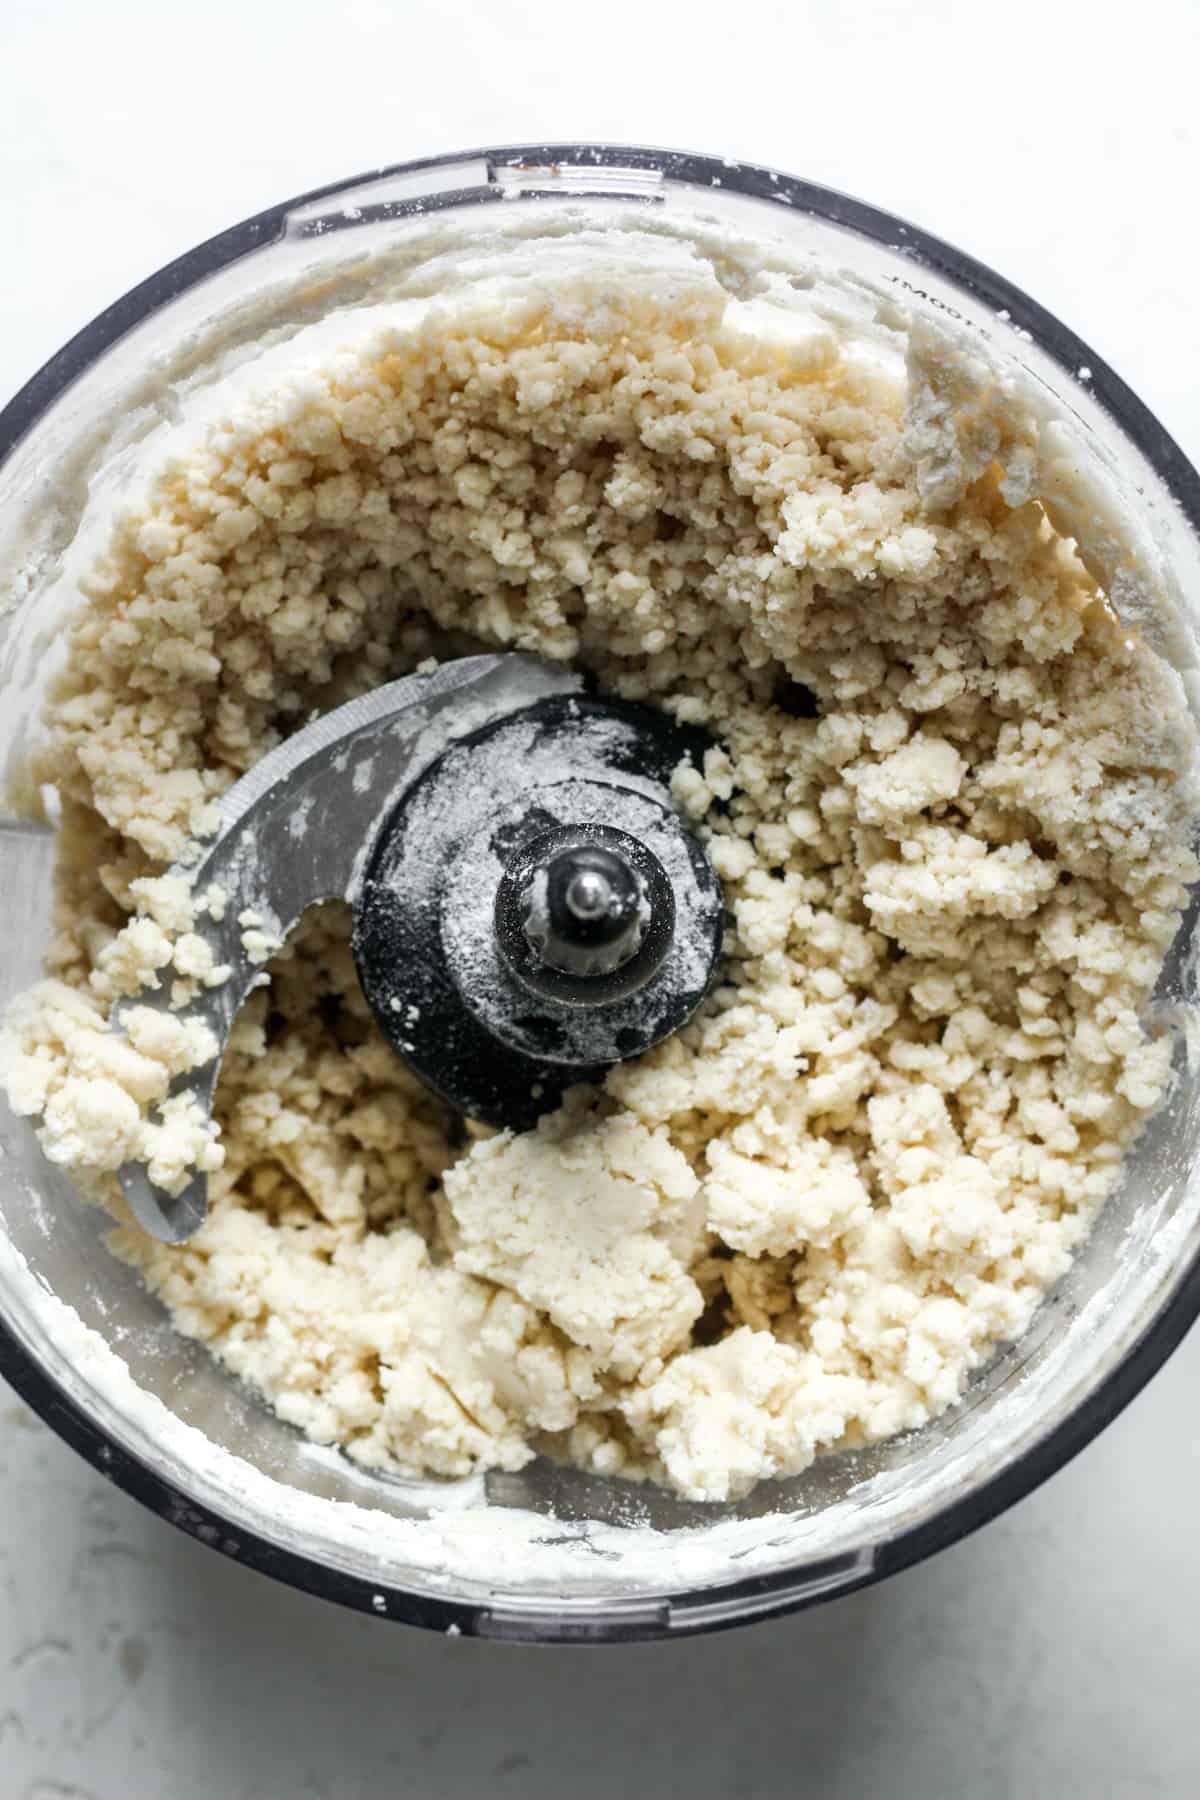
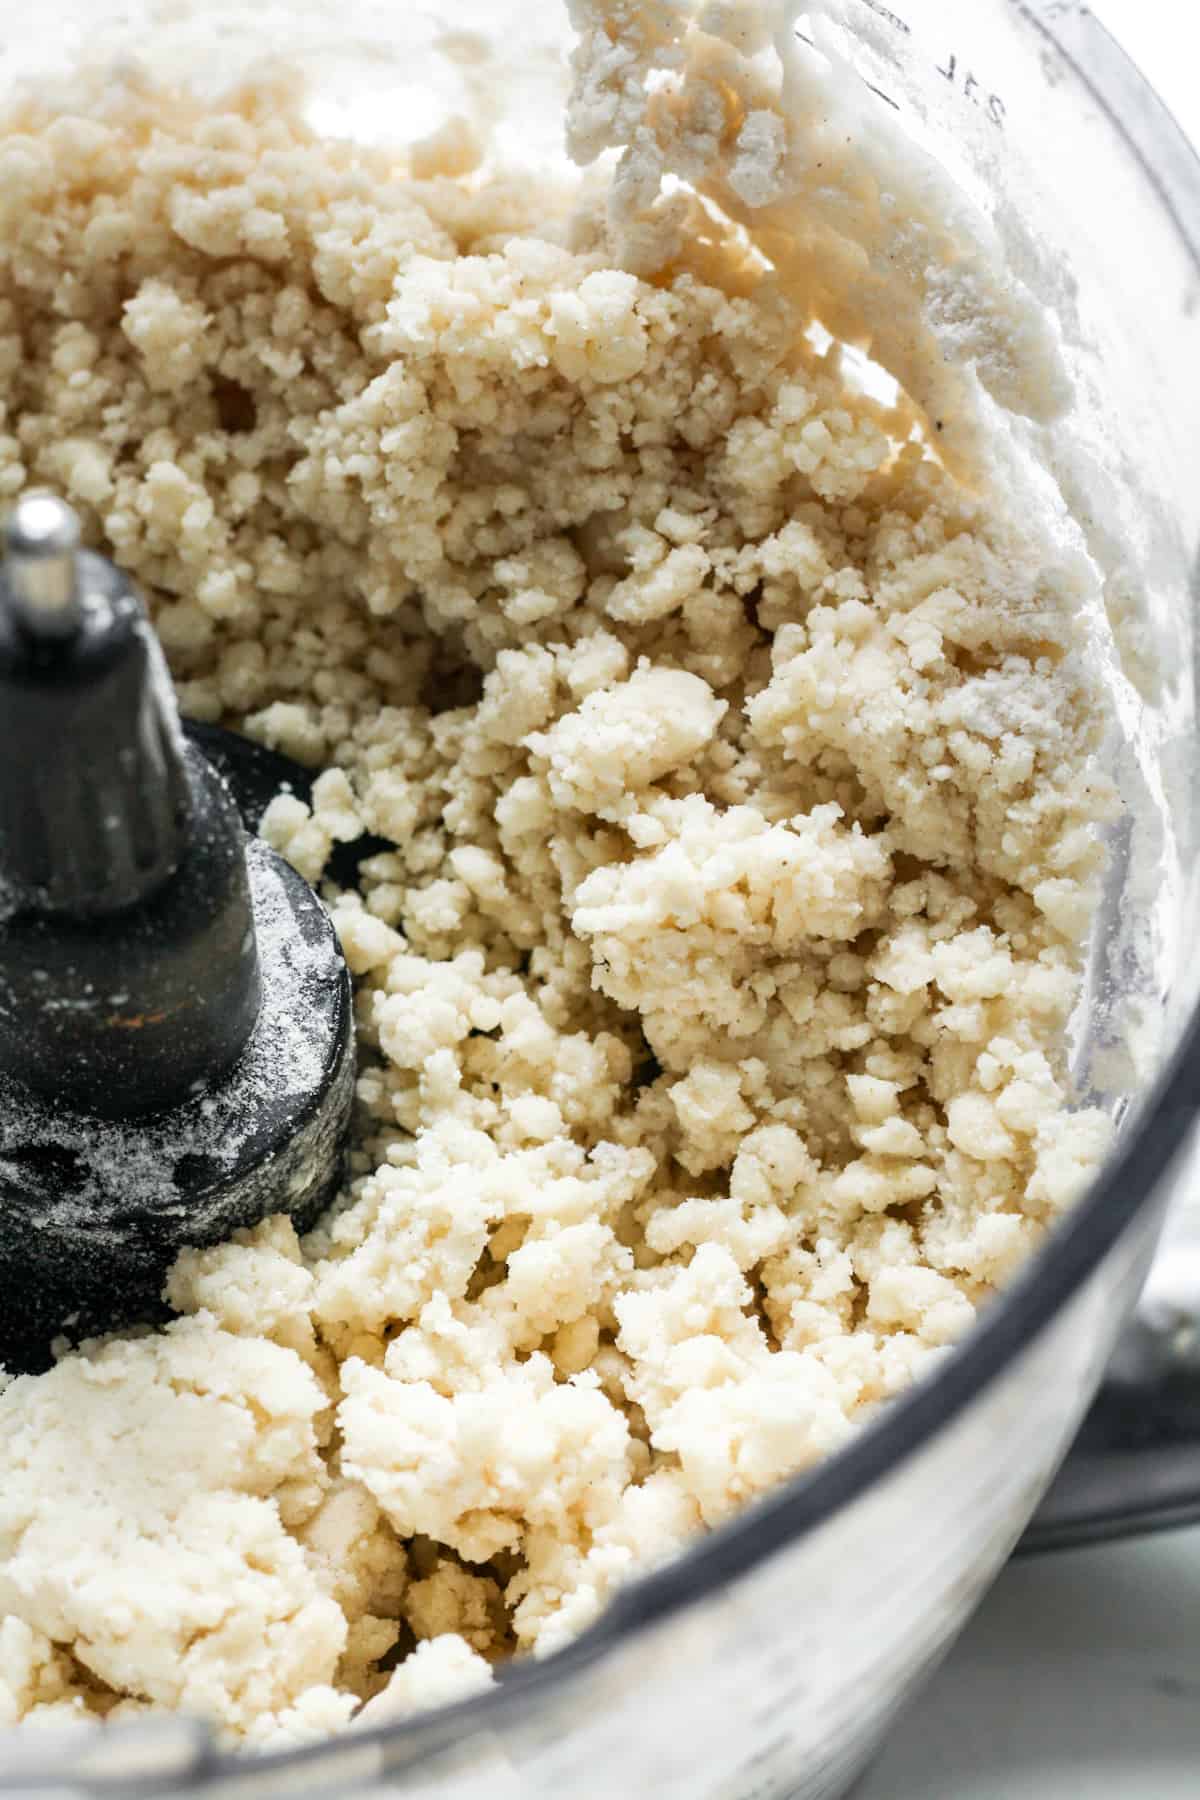
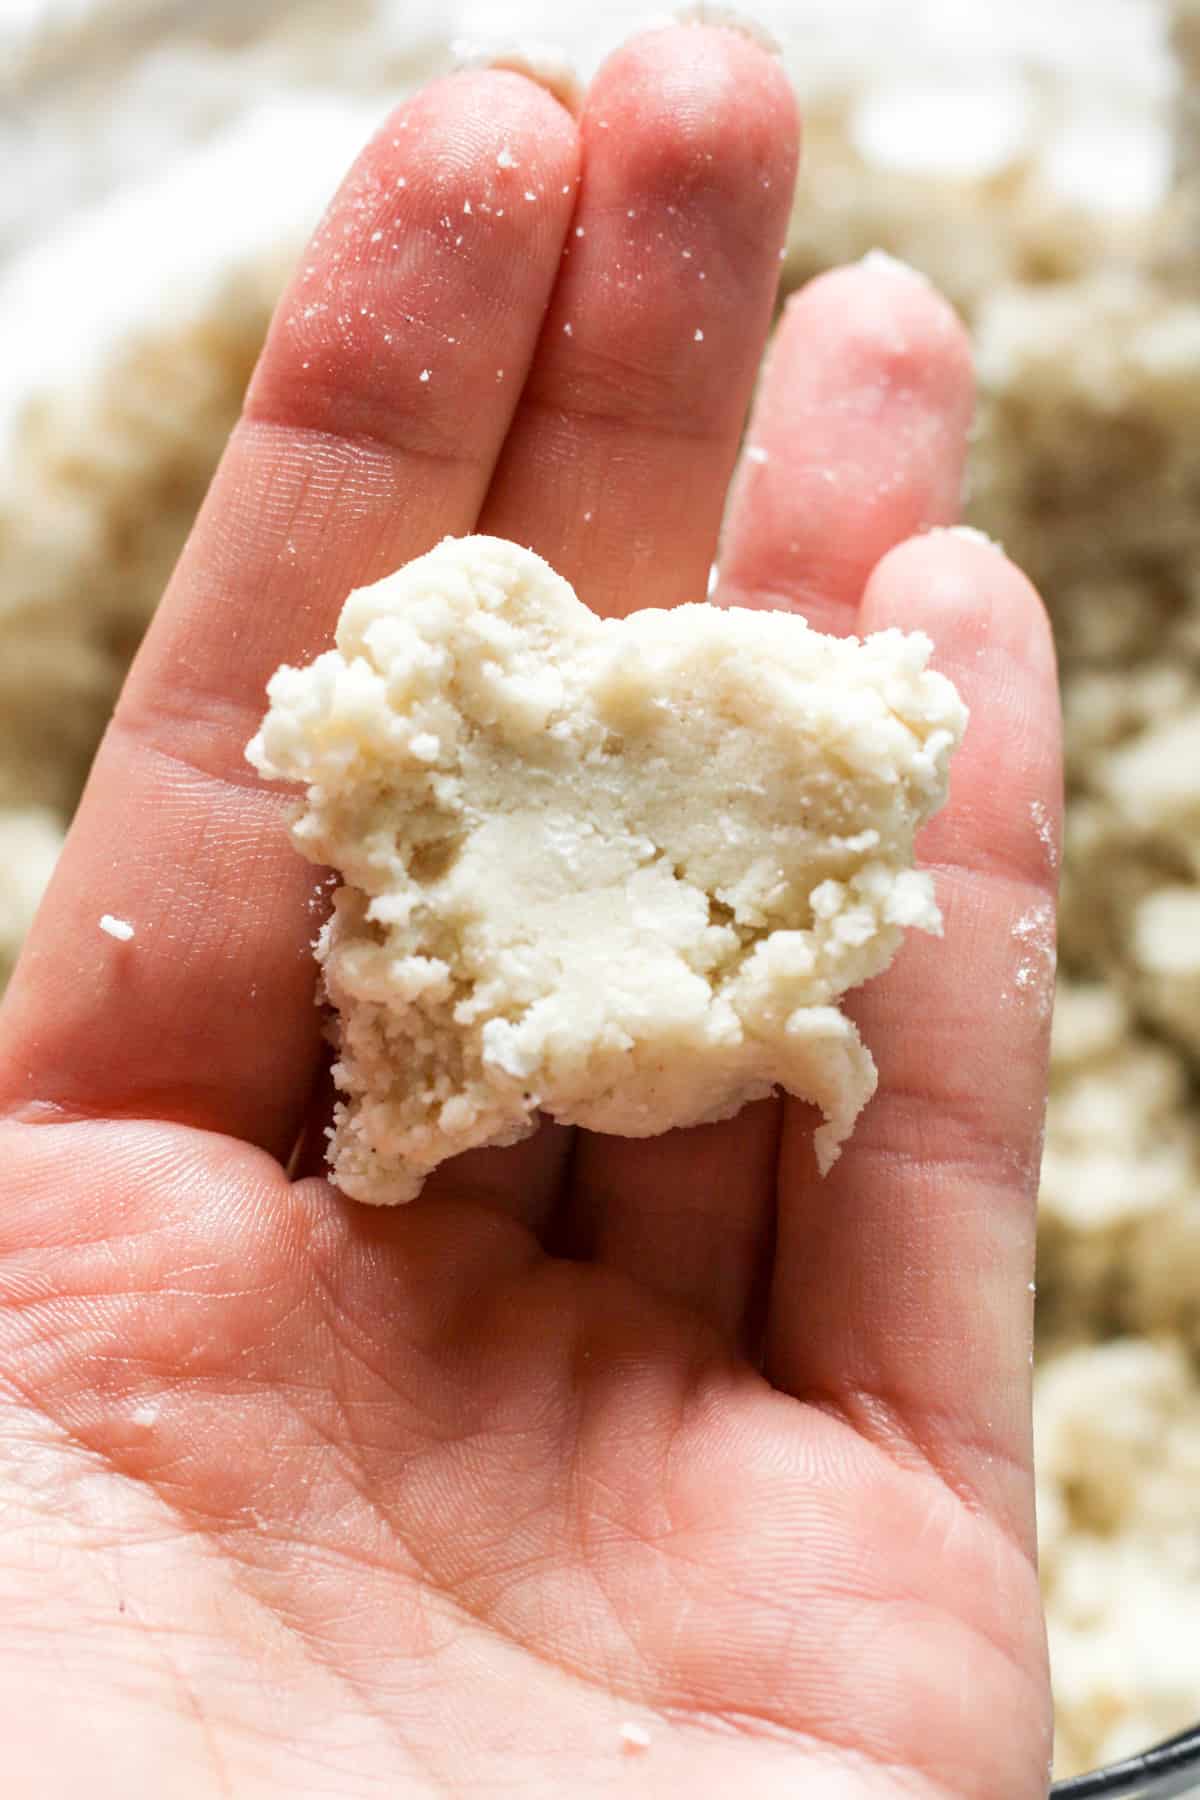
Then, add in cubed cold butter and cold water. Process until mixture becomes crumbly. When pinched between fingers, mixture should hold together.
Step 3
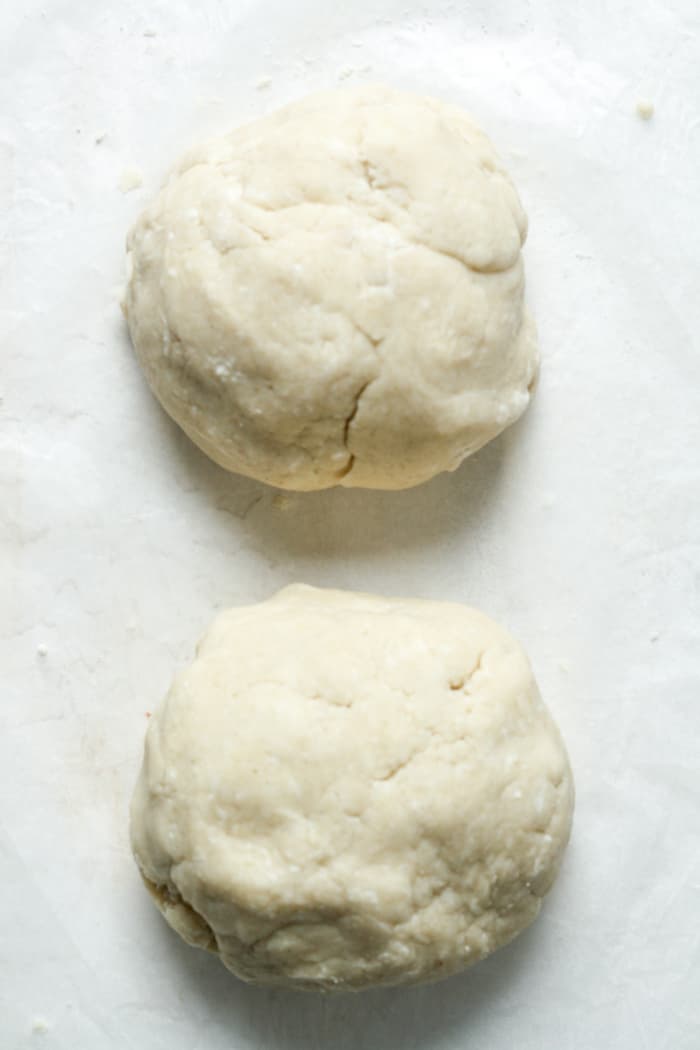
Remove dough from the food processor. Form into 2 equal sized balls of dough.
Step 4
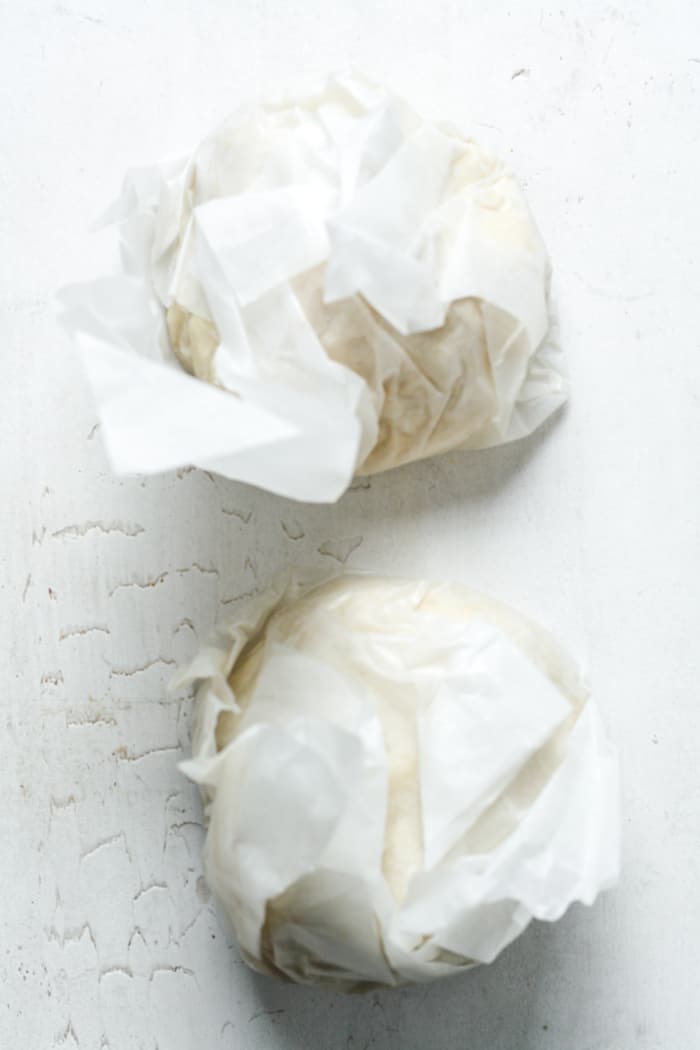
Wrap in cling wrap. Refrigerate dough balls for at least 1 hour, up to 48 hours.
Step 5
When it is time to bake the pie, remove dough from fridge. Unwrap from cling wrap.
Step 6
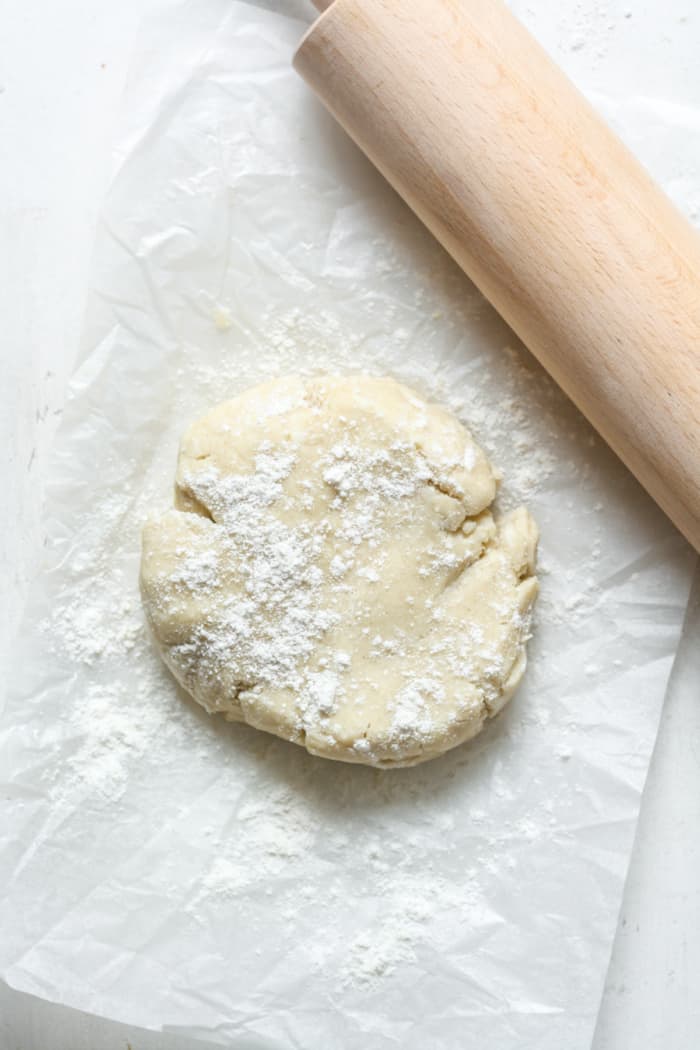
Place dough on a floured piece of parchment paper. Add gluten free flour to a rolling pin. Gently roll out into a large circle. If dough breaks apart, repair with fingers.
Step 7
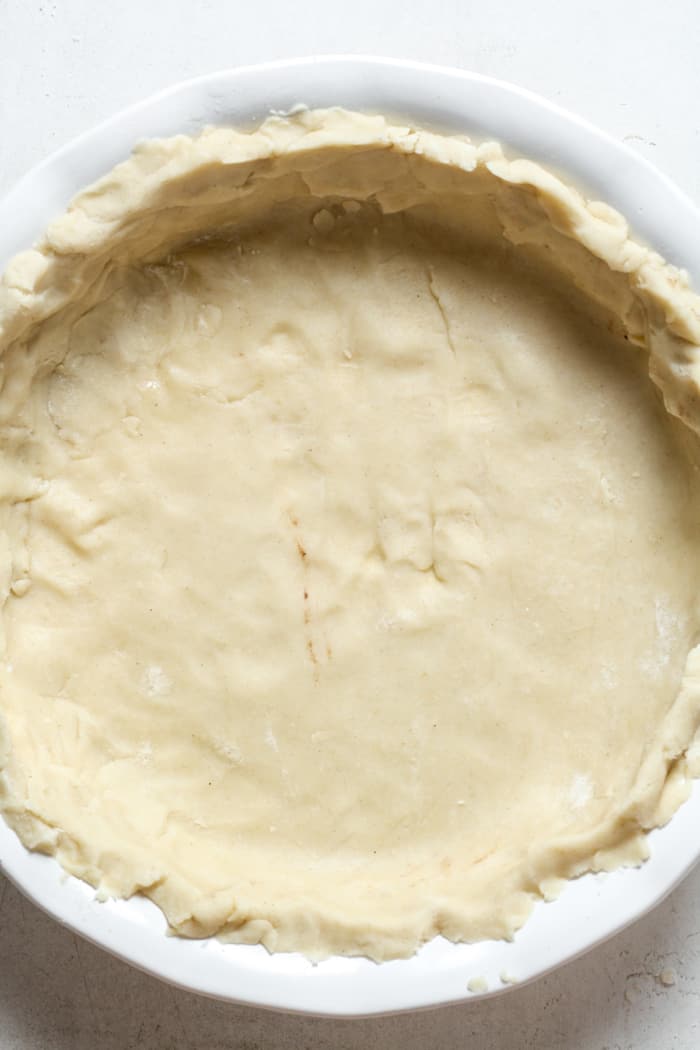
Gently transfer the large circle of dough to your nonstick sprayed pie plate.
Step 8
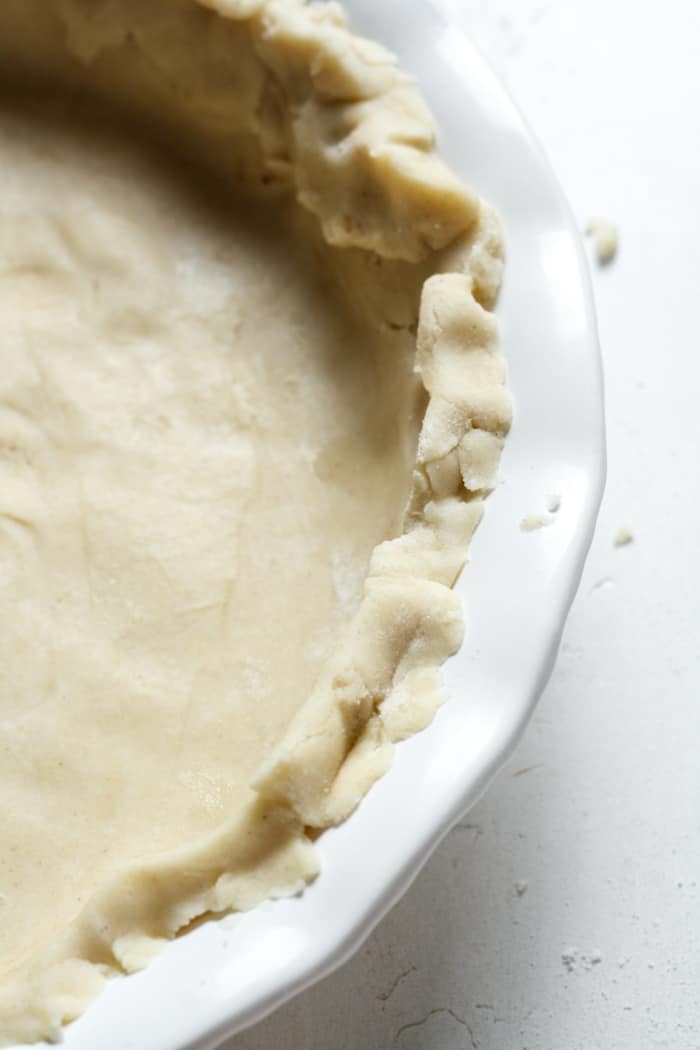
Crimp the edges of the pie crust. Pour in filling and continue with your recipe.
Step 9
If your recipe calls for par-baking the crust, poke small holes in the bottom of the pie crust with fork.
Step 10
Bake crust naked (no filling) for 15 minutes at 375 degrees Fahrenheit. Finally, remove from oven and add filling.
Expert Tips & Tricks
This recipe makes 2 regular sized crusts. If your pie utilizes only 1, such as pumpkin pie, cut recipe in half. This will make one dough ball.
I recommend using King Arthur Flour gluten free 1 to 1 flour. Alternatively, Bob’s Red Mill gluten free 1 to 1 baking flour works well.
Use cold butter straight from the fridge. Do not use softened or melted butter. Cut into 1 inch cubes.
Use ice cold water.
Pulse until mixture is crumbly.
Pinch mixture between two fingers. You want it to hold together.
Chill dough for at least 1 hour. This helps the ingredients really come together.
Follow step by step photos above.
Par-Baking Crust
Some recipes may call for par-baking the crust. This helps the crust bake a little before adding the filling.
To par-bake crust, add crust to a greased pie plate.
Poke light holes in the bottom of the crust with fork.
Bake at 375 degrees Fahrenheit for 15 minutes or so.
Making Ahead of Time
This gluten free pie crust recipe can be made ahead of time.
Chill dough for up to 48 hours in ball form.
Freeze dough balls for up to 1 month if needed.
How to Serve & Store
Serve gluten free pie crust once filling has been added and baked.
Store leftovers in the fridge for up to 2 to 3 days, depending on filling.
Depending on the pie, it may be able to freeze.
Frequently Asked Questions
Pie crust traditionally contains wheat flour, so it is not gluten free. This recipe is gluten free!
This gluten free pie crust recipe tastes like classic pie crusts.
The butter makes it extra flaky.
Use King Arthur Flour gluten free 1 to 1 flour. Or, use Bob’s Red Milll gluten free 1 to 1 baking flour.
Yes! Freeze dough balls for up to 1 month. Then, allow to thaw until completely thawed before rolling out.
Use dairy free Earth Balance sticks to make dairy free pie crusts.
If using a dairy free butter, this recipe is Vegan.
You May Also Like
- Paleo Pumpkin Pie
- The Best Paleo Pie Crust
- Paleo Maple Pecan Cookies
- Sweet Potato Blondies
- Vegan Snickerdoodles
If you make this gluten free pie crust recipe, I would really appreciate a review! You can find me on Instagram, Facebook, and Pinterest. I would love for you to follow along! For more ideas, check out these Gluten Free recipes.

Get the Recipe: Gluten Free Pie Crust Recipe
Ingredients
- 2 ½ cups gluten free 1 to 1 flour
- 1 ½ tbsp granulated sugar
- pinch sea salt
- 1 cup cold unsalted butter, cut into cubes
- ⅓ cup cold water
Instructions
- First, add gluten free flour, sugar and salt to a food processor. Pulse 2 or 3 times.
- Then, add in cubed cold butter and cold water. Process until mixture becomes crumbly. When pinched between fingers, mixture should hold together.
- Remove dough from the food processor. Form into 2 equal sized balls of dough.
- Wrap in cling wrap. Refrigerate for at least 1 hour, up to 48 hours.
- When it is time to bake the pie, remove dough from fridge. Unwrap from cling wrap.
- Place dough on a floured piece of parchment paper. Add gluten free flour to a rolling pin. Gently roll out into a large circle. If dough breaks apart, repair with fingers.
- Gently transfer the large circle of dough to your nonstick sprayed pie plate.
- Crimp the edges of the pie crust. Pour in filling and continue with your recipe.
- If your recipe calls for par-baking the crust, poke small holes in the bottom of the pie crust with fork.
- Bake crust naked (no filling) for 15 minutes at 375 degrees Fahrenheit. Finally, remove from oven and add filling.
Notes
- This recipe makes 2 regular sized pie crusts. If your pie only uses 1 crust (like a pumpkin or pecan pie), cut recipe in half.
- I recommend using King Arthur Flour gluten free 1 to 1 flour. I also love Bob’s Red Mill gluten free 1 to 1 baking flour.
- Use cold butter right from the fridge. Cut into 1 inch sized pieces.
- Use ice cold water.
- I do not recommend trying to stir this together with your hands.
- Refer to the step by step photos in the blog post for what the dough should look and feel like.
- This pie crust dough can be made up to 48 hours in advance and stored in the fridge unbaked.
- Freeze dough for up to 1 month if desired. Then, thaw before use.
- Nutrition facts are for 1 pie crust.
Love this gluten free pie crust recipe? You can sign up here to receive healthy meal plans, exclusive new recipes and updates!

9 Comments on “Gluten Free Pie Crust Recipe”
This is a great GF pie crust! I’ve tried so many and been disappointed but this came together perfectly and baked so well!
This is a staple for GF baking! Came out perfect and buttery just like a normal pie crust. Will be bookmarking this for the holidays!
I used this gluten-free pie crust last Thanksgiving and Christmas celebration, and it was a hit! They love the flavor and the texture. Since then, this is one of my go-to pie crust recipes!
I am so glad to hear this was a hit! Thank you!
This gluten-free pie crust came out buttery, flaky, and super delicious. My apple pie was perfect with it. Thanks for the recipe.
That’s what I was looking for. Easy steps to follow and pie crust that is stretchy and tasty. Thanks
Perfect! This is exactly what I was looking for! We are having guests this weekend and I need gluten-free recipes for them! One is now secured with this recipe! Thank you!
My daughter needs to be on a gluten-free diet so I tried your recipe. Mission completed, I don’t need to search anymore, this is what I was looking for, thanks!
Great tips for making the perfect gluten free pie crust, particularly the one about chilling for one hour!