Gluten Free Dairy Free Brownies
These gluten free dairy free brownies are gooey, fudge like and decadent! This homemade Paleo brownie recipe is the best. These brownies have crispy edges, a crackly top and a gooey center!
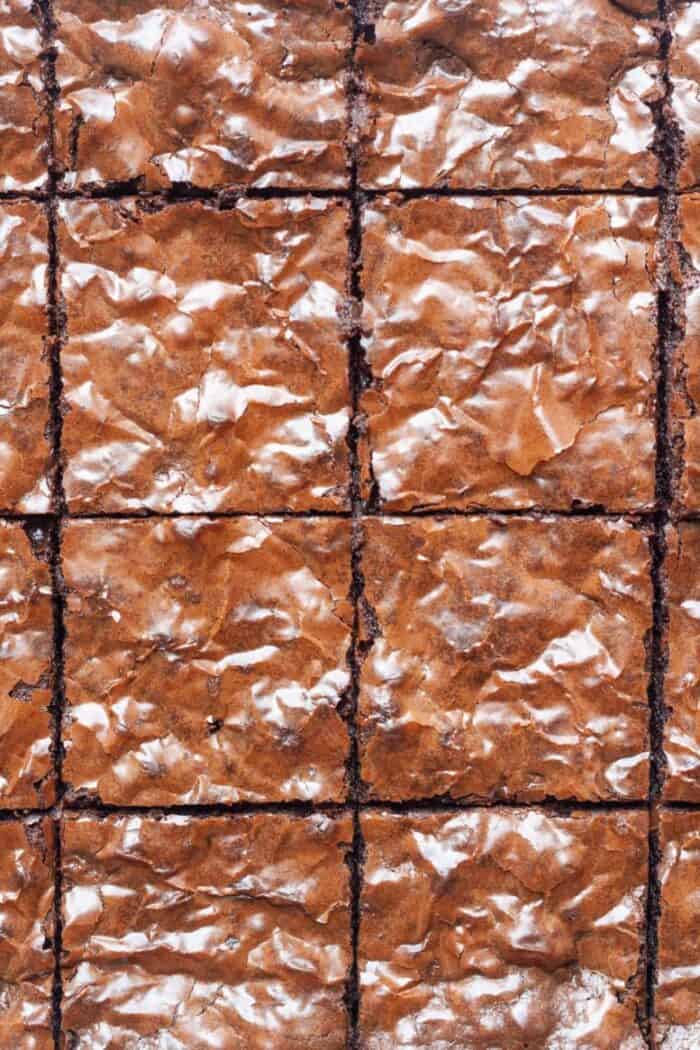
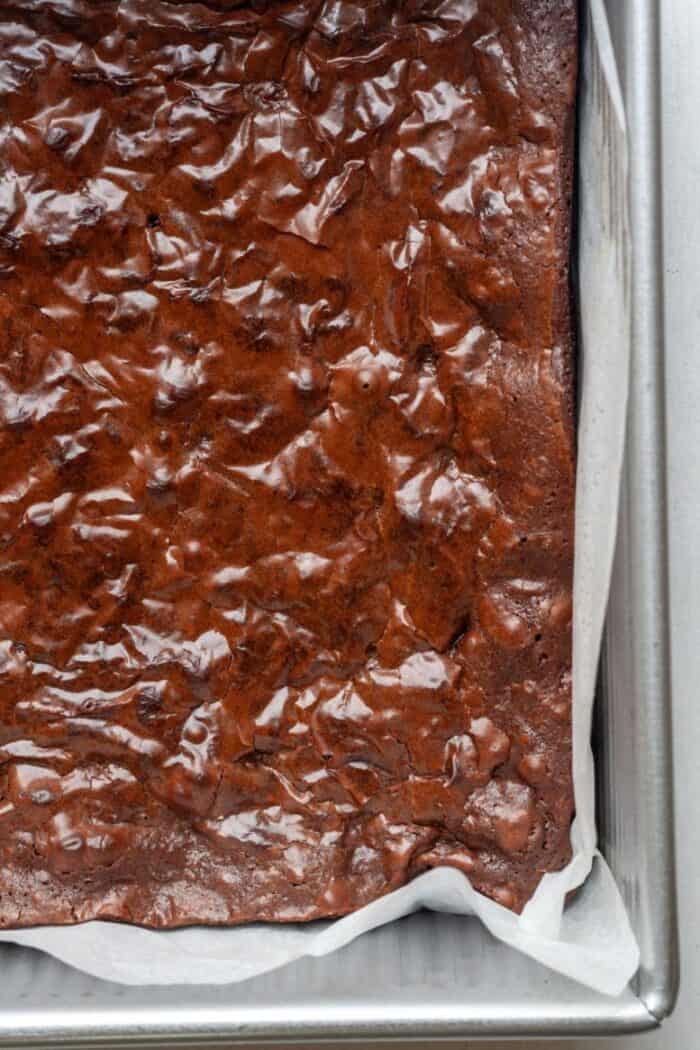
Look at that crackly top! Yes, these brownies are as delicious as they look.
Why You’ll Love This Recipe
- These gluten free dairy free brownies are made in one mixing bowl.
- No dough chilling needed.
- They require only 35 minutes from start to finish.
- This recipe uses a ton of chocolate! If you love chocolate, make these Dairy Free Chocolate Chip Cookies too.
- They have that sought after crackly top.
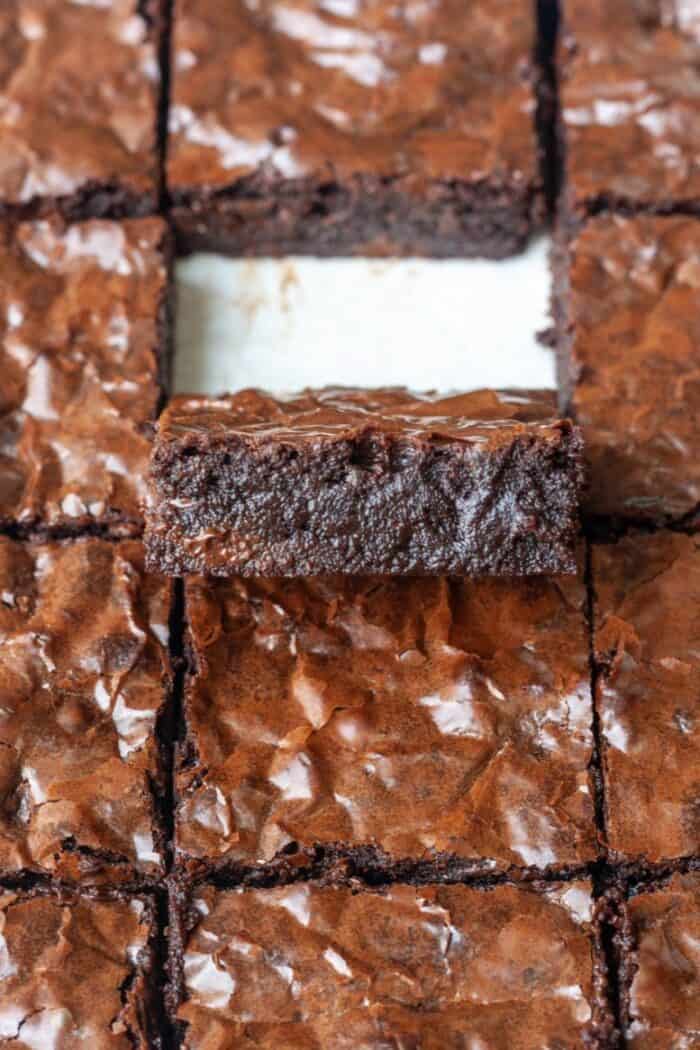
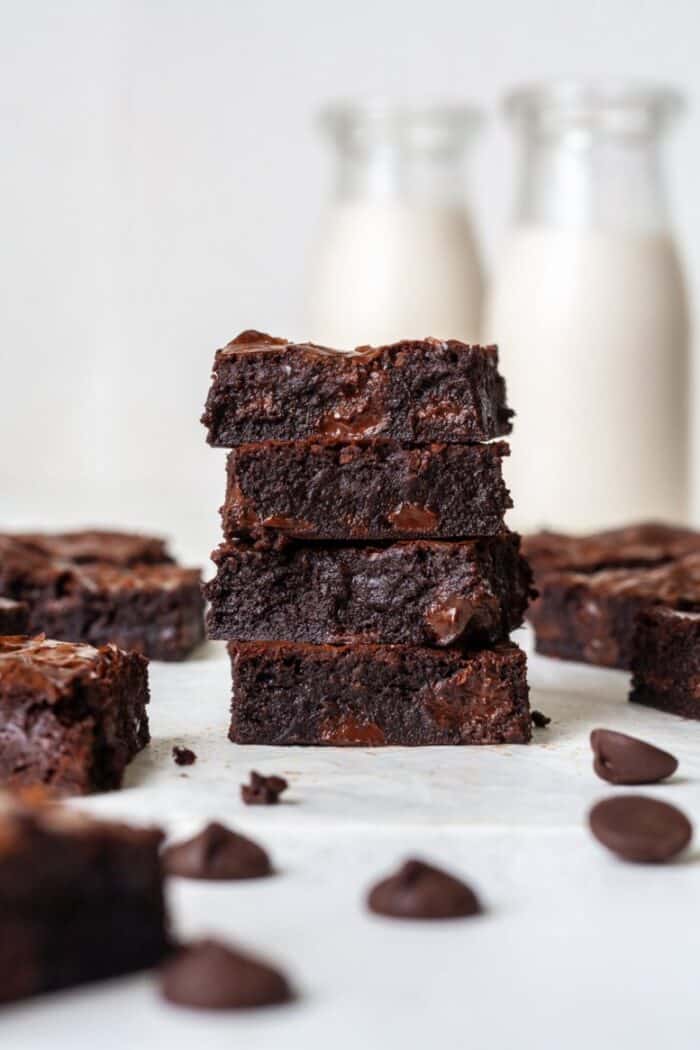
- The edges are crispy and chewy while the middle is gooey.
- Check out my Crinkle Top Brownies for another idea or Eggless Brownies for a Vegan option.
- These gluten free dairy free brownies are also Paleo and grain free.
Flour
These gluten free dairy free brownies are made with tapioca flour. Tapioca flour is a fine white powdery flour made from the starch of cassava root. This flour is great in gluten free baking for thickening sauces and batters.
Directly substitute cornstarch or arrowroot powder if needed. Check out my Guide to Gluten Free Flours and Gluten Free Baking for more helpful tips!
Baking with Coconut Oil
Coconut oil is a great dairy free and Vegan baking fat. It is often used in place of butter. This heart healthy fat can be used as a direct substitute for butter in most baking recipes.
Use refined coconut oil for a neutral taste. Unrefined coconut oil has a slight coconut flavor to it.
Measuring coconut oil can be tough since it is firm at room temperature. I usually add a little more coconut oil than needed before melting. Then, I’ll pour back in any excess coconut oil back into the jar and just use what the recipe calls for.
Cocoa Powder
The two types of cocoa powder are natural and Dutch processed. These have different flavors, properties and uses.
Cocoa power is made from cocoa beans. These beans are fermented before they are dried. After that, the beans are roasted and made into cacao nibs. Cacao nibs are pressed into chocolate liquor, which is ground into cocoa powder.
Dutch processed cocoa is also known as alkalized cocoa. Therefore, its taste is not quite as intense as natural cocoa powder.
Natural cocoa powder has not been alkalized. It is very intense in flavor! I used Hershey’s dark cocoa powder for this recipe because it has a blend of natural and Dutch process. It is dark and has a slight intense bitter flavor.
Dairy Free Chocolate
Most chocolate sold in grocery stores contains milk. Milk and semi sweet chocolate chips almost always contain dairy. Some dark chocolate is dairy free.
There are several great brands of dairy free chocolate chips. These are brands I have tried, tested, and loved. They taste great, melt well, and have great flavor.
Enjoy Life dark chocolate chips
Theo Chocolate
Whole Foods
Check out these Dairy Free Chocolate Chip Cookies with all your dairy free chocolate chips!
How to Make
Step 1
First, preheat oven to 350 degrees Fahrenheit. Line an 8 inch by 8 inch baking pan with parchment paper.
Step 2
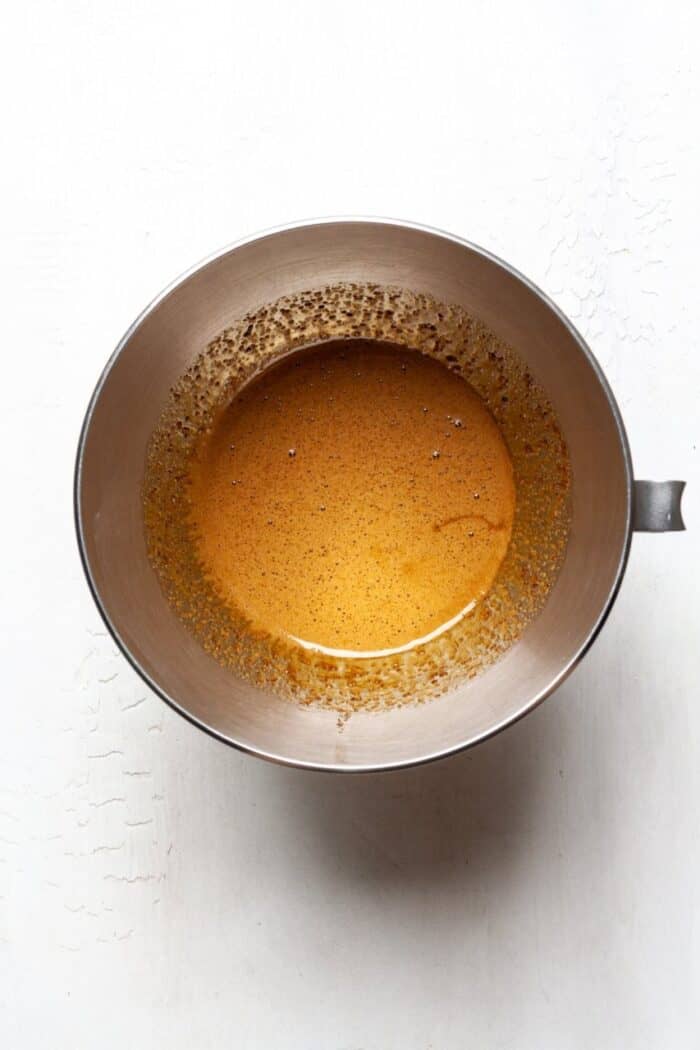
Beat eggs and coconut sugar for 2 minutes. Beat until light and frothy.
Step 3
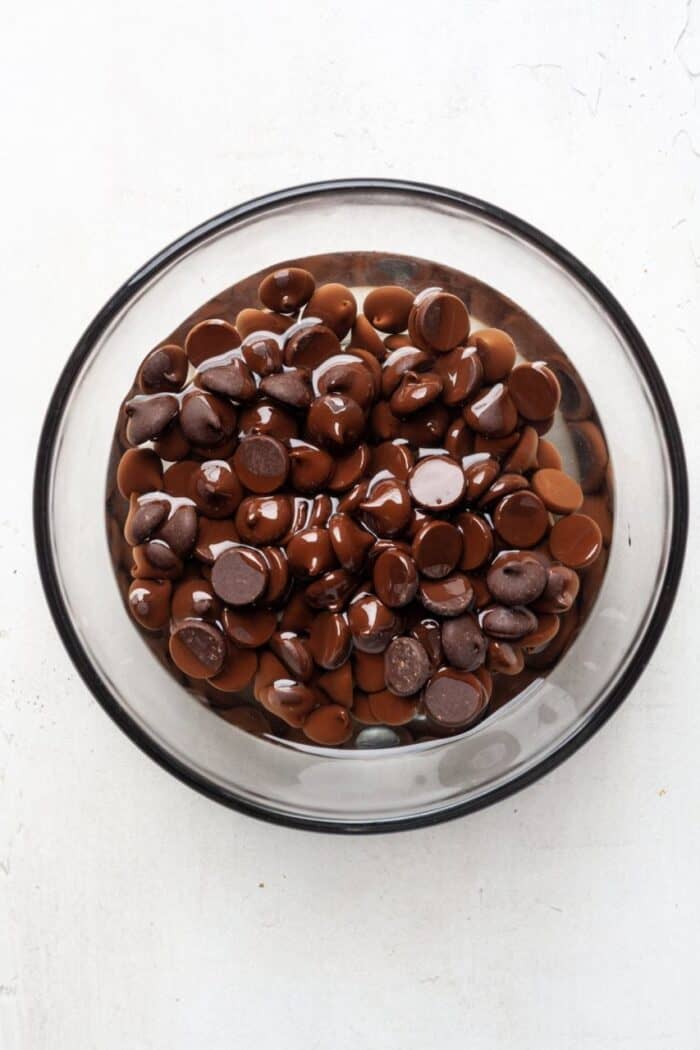
Melt coconut oil. Stir in chocolate chips. Stir until smooth and creamy.
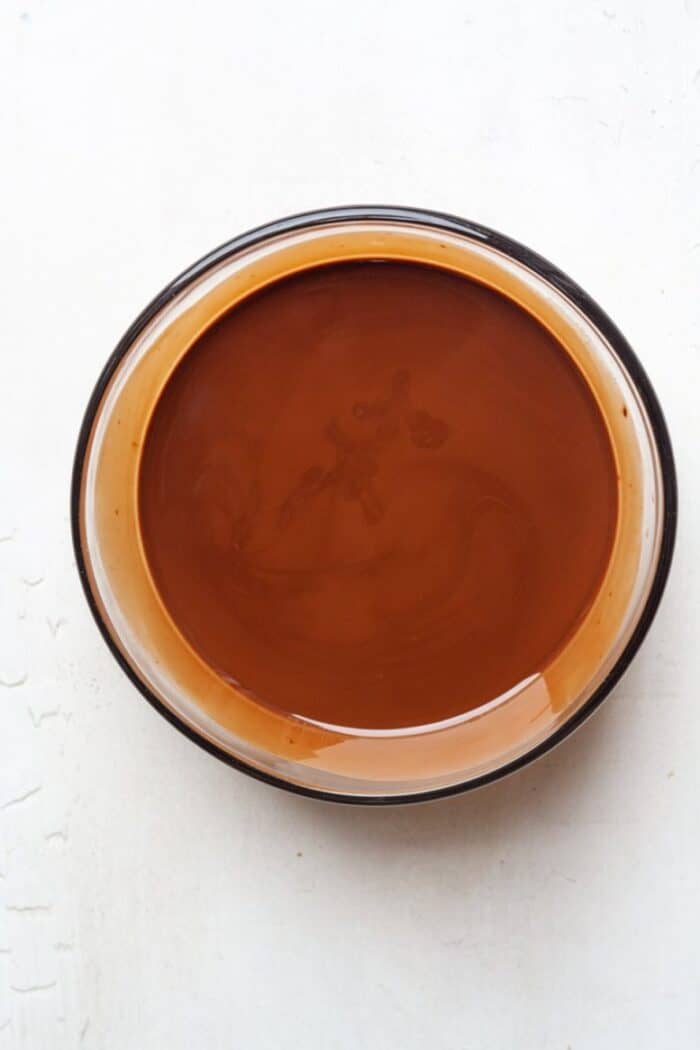
Step 4
Then, add melted chocolate mixture into stand mixer. Stir to combine.
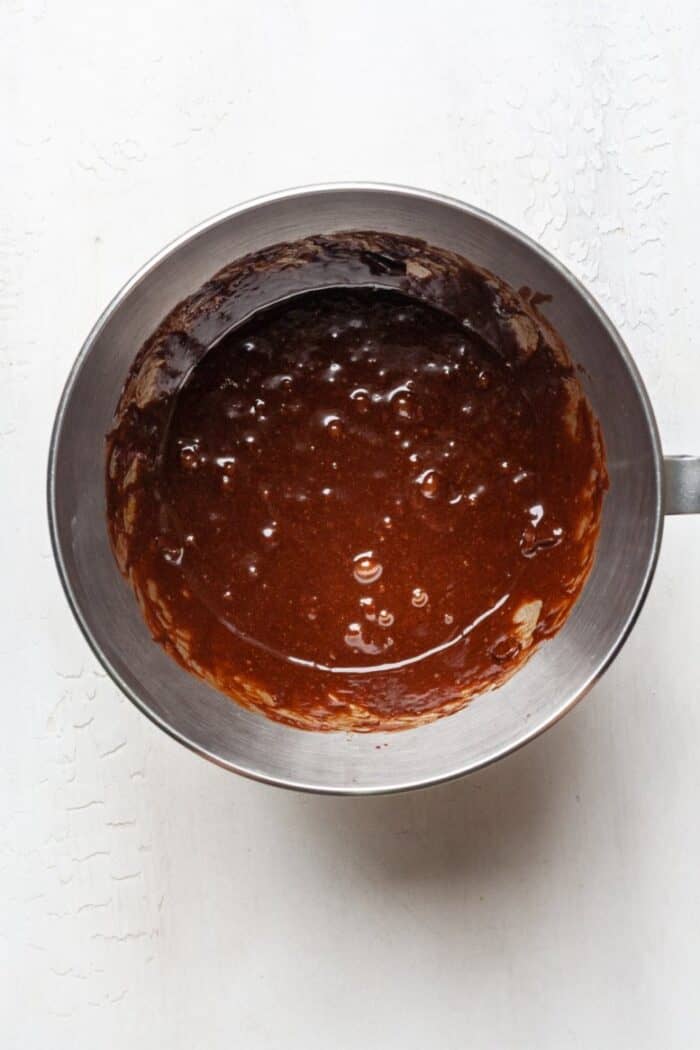
Step 5
Add in cocoa powder, tapioca flour, and vanilla extract. Stir.
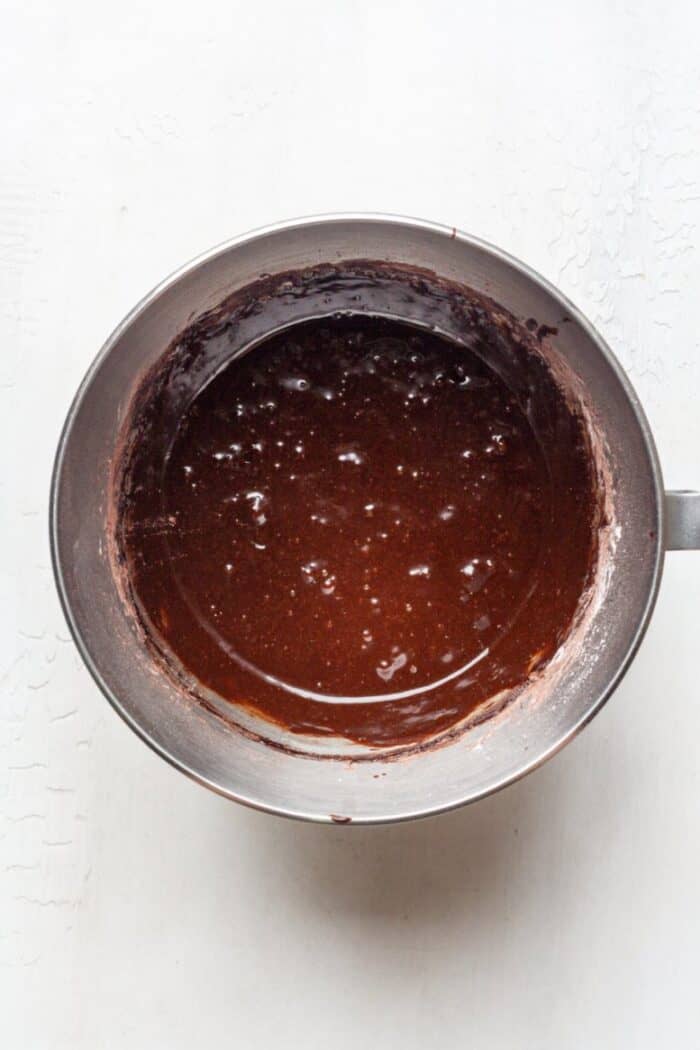
Step 6
Fold in additional chocolate chips if desired.
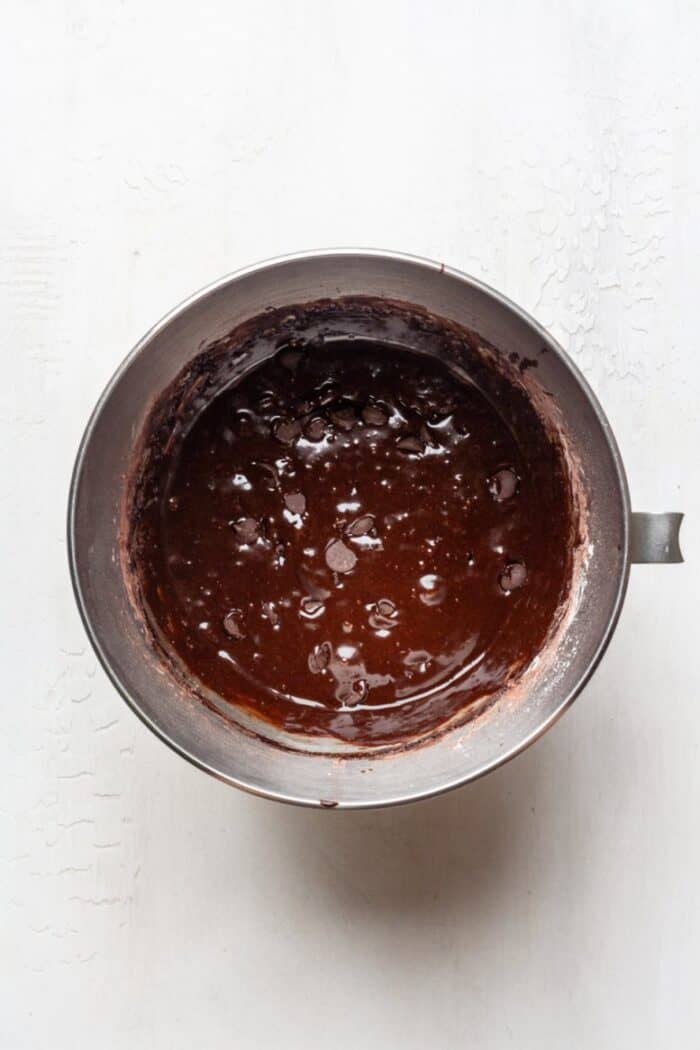
Step 7
Bake for 15 minutes. Remove pan from oven and carefully bang on countertop 2 to 3 times. Return to oven for another 10 to 12 minutes or until toothpick inserted comes out clean.
Step 8
Finally, cool gluten free dairy free brownies completely before slicing and serving.
Expert Tips & Tricks
Beat eggs and sugar until light and frothy. This yields a crackly top.
Mix melted coconut oil and chocolate until completely smooth and creamy. No chocolate clumps should remain.
Fold in the “optional” chocolate chips. Life is short.
After the initial 15 minute baking time, bang pan on countertop. This releases air bubbles.
Bake until just done. Do not over bake!
Wait until gluten free dairy free brownies are completely cooled to dig in. They are gooey!
How to Serve & Store
Serve cooled gluten free dairy free brownies. Serve alongside some almond milk!
Store gluten free dairy free brownies covered at room temperature for up to 4 days. Additionally, store in fridge for up to 6 days if desired.
I haven’t tried freezing these, but imagine they’d do well.
Frequently Asked Questions
Typically, brownies are not dairy free since they usually contain butter. This recipe is completely dairy free!
Yes, the coconut oil replaces butter in these brownies.
Pure chocolate is dairy free. Most chocolate sold in stores contains dairy in some form.
No, these brownies do not taste like coconut oil. Use refined coconut oil for a neutral taste.
Eggs are not dairy. Dairy is defined as products coming from the milk of mammals. Therefore, eggs are not dairy.
You May Also Like
If you make this gluten free dairy free brownies recipe, I would really appreciate a review! You can find me on Instagram, Facebook, and Pinterest. I would love for you to follow along! For more sweet treats, check out these Dessert Recipes.

Get the Recipe: Gluten Free Dairy Free Brownies
Ingredients
- 1 cup coconut sugar, or granulated white sugar
- 2 eggs, room temperature
- ½ cup melted coconut oil
- 1 cup dairy free chocolate chips
- 2 tbsp cocoa powder
- 1 tsp vanilla extract
- ¼ cup tapioca flour, see note
- ¼ cup dairy free chocolate chips, optional
Instructions
- First, preheat oven to 350 degrees Fahrenheit. Line 8 inch by 8 inch baking pan with parchment paper.
- In a stand mixer or large mixing bowl, mix coconut sugar and eggs for 2 minutes on high, until light and frothy.
- In a microwave safe bowl, melt coconut oil. Then, stir in 1 cup chocolate chips. Mix until smooth and creamy. If needed, microwave the whole bowl for another 10 seconds to get chocolate fully melted.
- Then, add melted chocolate mixture to stand mixer. Mix until combined.
- Stir in cocoa powder, tapioca flour, and vanilla extract.
- Optional but highly recommended: fold in an additional ¼ cup chocolate chips to the batter.
- Pour batter into lined baking pan.
- Bake for 15 minutes. Remove pan from oven and bang on countertop 2 to 3 times to release any air bubbles.
- Return pan to oven. Bake for 10 to 12 minutes or until a toothpick inserted comes out clean.
- Finally, cool brownies completely before slicing and serving.
Notes
- Use coconut sugar for Paleo. White granulated sugar works as well.
- Tapioca flour can be replaced with cornstarch or arrowroot powder.
- Brownie batter will be just slightly thicker than traditional boxed brownie mix.
- To bang pan on countertop after initial baking time, wear oven mitts. Lightly drop pan onto countertop, about 2 inches in depth. This releases any air bubbles.
- My brownies were done after 25 minutes total. Check doneness by inserting toothpick into middle of brownies. If it comes out clean, they are done.
- These brownies are gooey! Allow them to cool before digging into!
- My favorite dairy free chocolate chips are Enjoy Life dark chocolate chips.
- These brownies do not taste like coconut. If you’re concerned about that, I suggest using refined coconut oil which is neutral tasting.
Love these gluten free dairy free brownies? You can sign up here to receive healthy meal plans and new recipes!

17 Comments on “Gluten Free Dairy Free Brownies”
Thank you for the recipe! I made these brownies and followed the directions to a T (even added the optional chocolate chips), but I put my batter into a cupcake pan so I adjusted the baking time a little. I took my pan out at 10 min to bang the bubbles out instead of 15 min since I did mine in a cupcake pan. The bubbles wouldn’t bang out so I just put it back in. When they came out, the tops had a lot of air bubbles/pockets all on top, and it didn’t look like a brownie on top at all. Looked kind of tough, and after cooling, the top was a hard chewy crust which was unpleasant. The rest of the brownie was ok, but was a little chewy like how some cassava products can be. Can anyone help me? I greatly appreciate any help. Thanks. 🙂
Hi September! I have not tried baking these in a muffin pan. Was the oven too hot? Were they baked too long?
SO GOOD!!! You really get the crackly top! I used cassava flour instead of tapioca and they turned out great!
These are so yummy.
I used half caster sugar and brown sugar as I didn’t want to overload on coconut. Did a swirl of peanut butter on the top.
So addictive.
Could you make these with an egg replacer?
Hi Tina! I am so glad to hear that. I have vegan brownies on my blog that you might enjoy! Just search “vegan brownies”.
I haven’t made these but am sure the are delicious because this is similar to my recipe. My question is that I need to send these to my niece at college. It wouldn’t get there for a few days so they can’t be kept refrigerated, would that still work?
Hi Lynda! I have not tried to mail these before. They usually last a few days at room temperature. I’m not sure I can recommend sending them. I apologize!
Can cane sugar and sugar free cocoa powder be used in this recipe? If so would you know the measurements for the cocoa powder?
Thank you!
Those should both work! Keep the sugar amount and the cocoa amount the same. So 1 cup cane sugar and 2 tablespoons sugar free cocoa powder. Enjoy!
I double this recipe and made in a mini brownie bite sqare pan. They are perfect! The cracks tops have me drooling!
Hi Jamie! I am so happy to hear that. Thank you for commenting!
These are really good brownies! I had to leave a review because I have made dozens of healthy brownies and they always turn out cakey and dry. These were so delicious, gooey but totally fully cooked, and tasted like “regular unhealthy” brownies. I followed all the instructions. I substituted arrowroot starch/flour for tapioca because I didn’t have it. I also baked mine for 40 minutes. I was not sure if they were done because the inside still seemed wet but after they fully cooled they firmed up considerably. They may have been done at the 27 minute mark that is listed, but the extra time didn’t harm them at all! Delicious! Definitely recommend this recipe!
Hi Deni! I am so happy to hear that you loved these brownies! Thank you for making them and taking the time to leave such a detailed comment. I really appreciate it!
I used your Hershey’s link to Amazon but it linked to regular Hershey’s, not dark. Is the one you use just “Dark” or “Special Dark”?
Hi Eileen! I use Special Dark for a rich and decadent chocolate flavor, but regular or Dark work too. Hope you love them!
My four year old is GF/DF, so I’m constantly looking for recipes, especially ones for the “treats” that you want to actually feel like you’re eating a treat and not missing out. These.brownies.are.it! They were absolutely phenomenal and no one had any idea they were GF/DF. My husband (who typically isn’t a huge brownie fan- because apparently that’s a thing ) could not stop eating them. Put a few in freezer to see how they would hold up (treat prep ideas) and after thawing at room temp for a bit, they were still absolutely perfect. This was the first recipe I’ve tried from OA and I will definitely be trying more. THANK YOU!
Hi Dianna! Sorry I’m just now seeing this. What an amazing review!! Thank you so much for taking the time to leave the review. So happy to hear they were a success!