Gluten Free Crème Brûlée (Paleo)
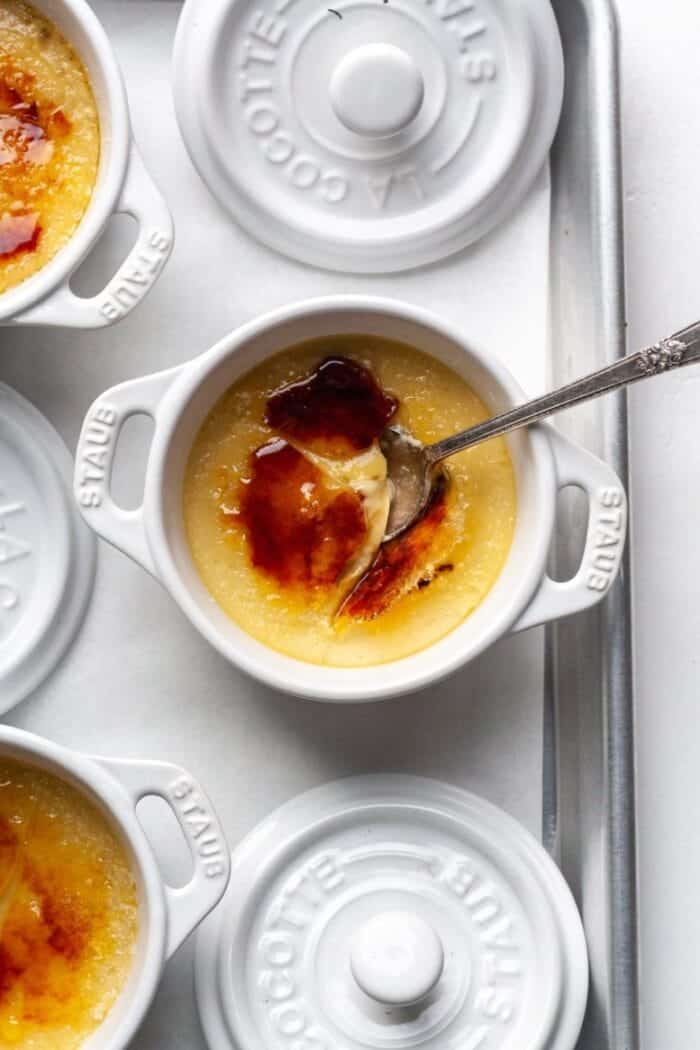
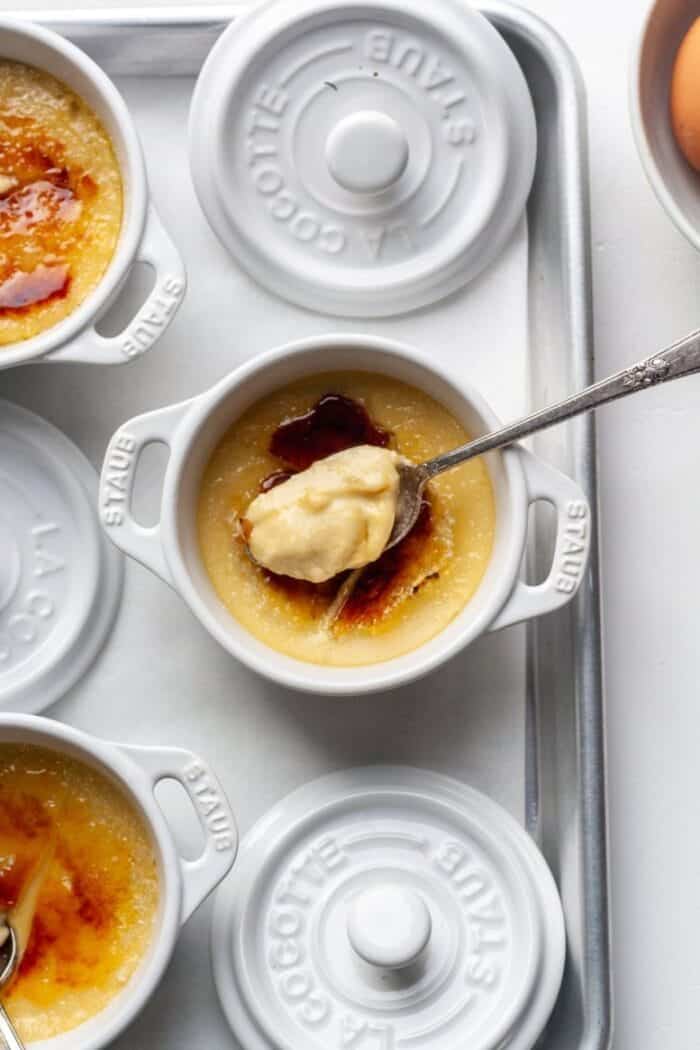
This Gluten Free Crème Brûlée has a smooth and creamy custard topped with burnt sugar! It is every bit as decadent and rich as the traditional version, but it’s gluten free and dairy free. In addition, this Crème Brulée is made with just a few ingredients. It is great for dessert!
Why You’ll Love This Recipe
- This recipe is the best! This Gluten Free Crème Brûlée is smooth, creamy, and has the best burnt cream taste.
- This gluten free and dairy free recipe is made without heavy cream, without white sugar, and without alcohol.
- The coconut cream is a great alternative to heavy cream.
- This is Paleo, Grain Free, Gluten Free, and Dairy Free.
What is Crème Brûlée?
Traditionally, Crème Brûlée is a custard base dessert made with heavy cream. It translates to “burnt cream” or “burned cream” in French. There is a layer of hardened caramelized sugar on top. The heat from the caramelization of the sugar warms up the custard. The center is cool, with a light vanilla flavor.
Ingredient List
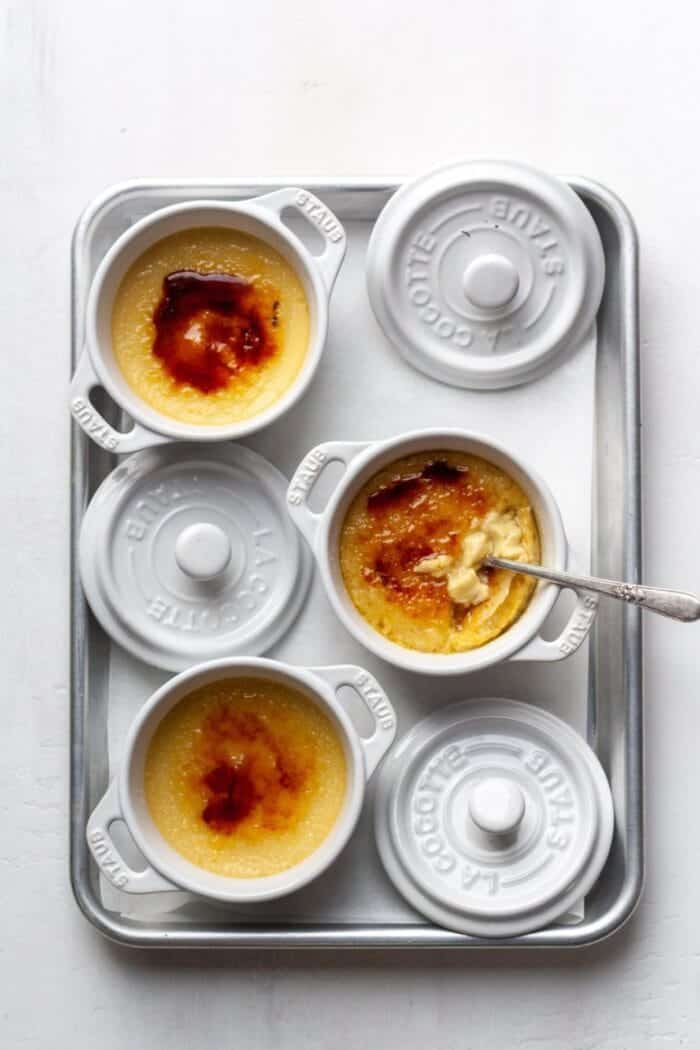
PURE MAPLE SYRUP: Maple syrup is a common natural sweetener for Paleo baking. In this Crème Brûlée, it is used to sweeten the custard.
COCONUT CREAM: Coconut cream is essentially full fat canned coconut milk. It comes in a can and is thick and creamy like heavy cream.
VANILLA EXTRACT: Just a little bit of vanilla extract is needed for a little flavor in the custards.
EGG YOLKS: Just the egg yolks are needed! Discard egg whites or save for another use.
MAPLE SUGAR: Maple sugar is the perfect Paleo topping for this Crème Brûlée because it’s light in color. Substitute coconut sugar for a slightly darker (but equally delicious!) topping.
Recipe Steps
Step 1
First, preheat oven to 300 degrees and place a kitchen towel on a rimmed baking sheet.
Step 2
In a large skillet, add maple syrup, coconut cream and vanilla extract over medium heat. Stir mixture until very lightly boiling (do NOT let it fully boil). Cook for 5 minutes, stirring every 30 seconds or so. Remove from heat.
Step 3
Then, whisk egg yolks in a small bowl.
Step 4
Add coconut cream mixture to a KitchenAid or large stand mixer. Slowly whisk mixture. VERY slowly pour in whisked eggs while KitchenAid is still on low speed. This pouring of whisked egg yolks should take at least 1 full minute.
Step 5
Then, pour mixture through a strainer. After that, pour equally into 3 ramekins.
Step 6
Take 1 cup of hot water and pour over the towel that is placed in the baking sheet.
Then, place ramekins on top of towel.
Step 7
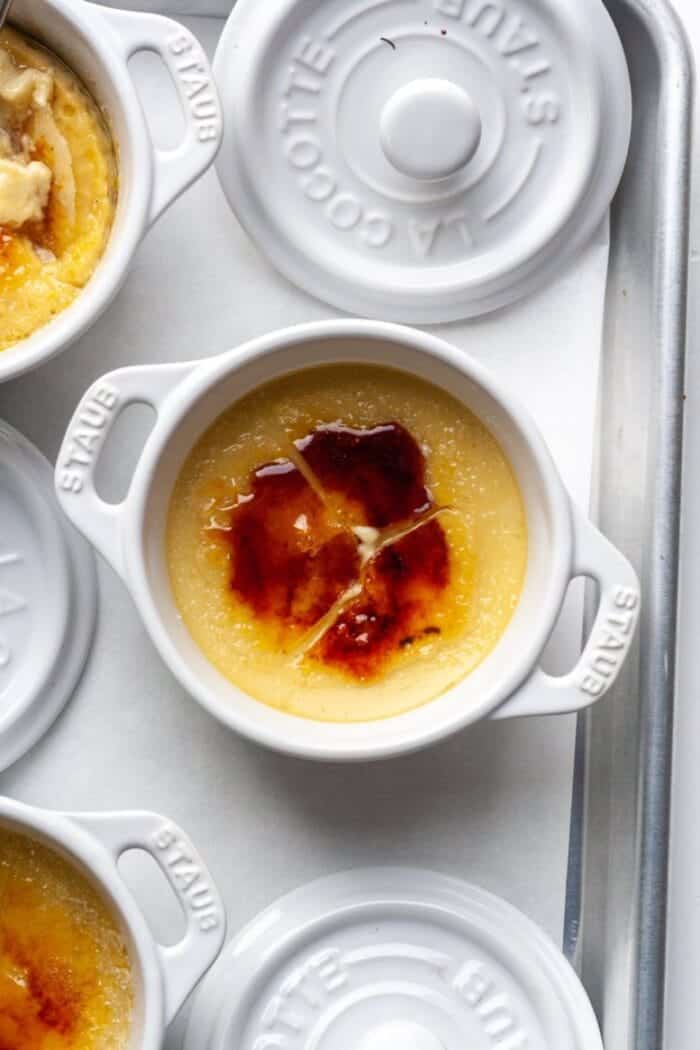
Bake for 40 to 45 minutes, or until middle is slightly jiggly but edges are set. Then, remove from oven.
Once cool enough to handle, place in fridge to cool overnight.
Step 8
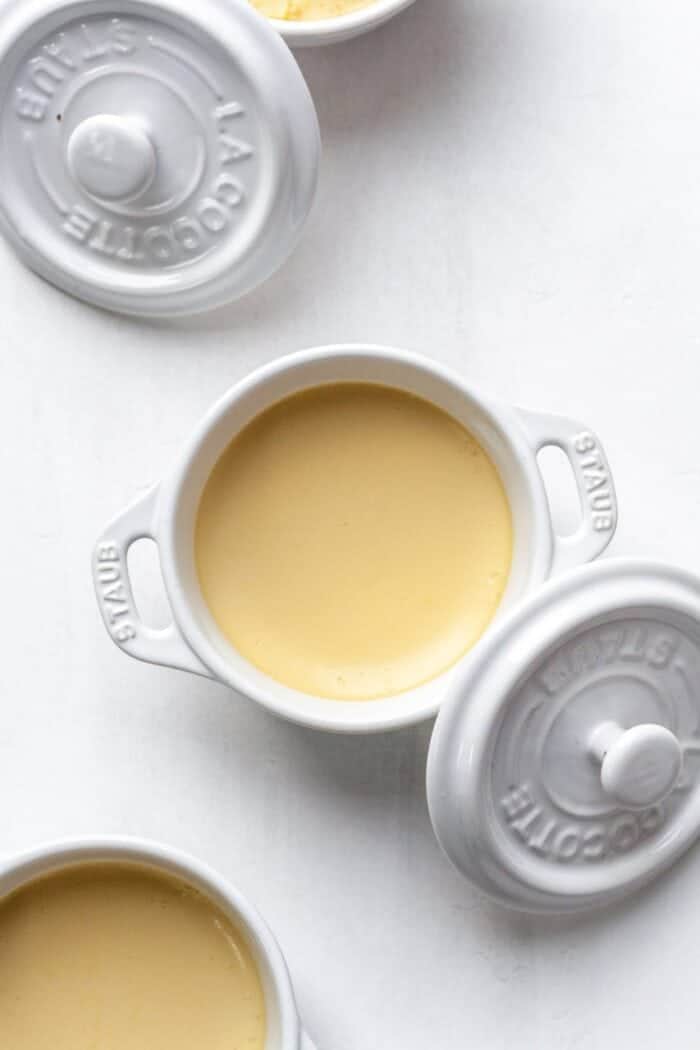
Once chilled, add 2 tablespoons of maple sugar on top of each custard.
Using a kitchen torch, burn the sugar for 1 to 2 minutes, or until crispy but not burnt.
Alternatively, add sugar on top of custards then broil for 2 to 3 minutes, or until sugar is crispy.
Finally, serve and enjoy!
Frequently Asked Questions (FAQs)
This Gluten Free Crème Brûlée recipe is both gluten free and dairy free. A dairy free alternative to heavy cream is coconut cream. This canned full fat coconut milk is thick and creamy.
Yes! Crème Brulée is naturally gluten free. Check all ingredient labels to be safe.
Although a kitchen torch will yield the best results, feel free to use your oven. Simply broil the Crème Brulée for a few minutes. In addition, watch closely so they don’t burn.
Typically, it is served slightly chilled.
Yes, this Gluten Free Crème Brulée is simple and straightforward. Follow the recipe steps for a foolproof dessert!
This recipe has 3 servings, but can be made for 2. Simply divide the batter between 2 ramekins and cook an additional 5 to 10 minutes in the oven.
Wrap aluminum foil over leftover ramekins. Keep in fridge for up to 3 days.
Yes, reheat leftovers in the oven at 300 degrees Fahrenheit until warmed, about 7 to 8 minutes. Feel free to broil for 1 to 2 minutes or torch coconut sugar on top.
Sure! Use a shallow bowl, mug or oven safe container. I used mini cocottes for this.
You May Also Like
If you make this recipe, I would love to see it! You can find me on Instagram, Facebook, and Pinterest. I would love for you to follow along! Find more Dairy Free recipes here.

Get the Recipe: Gluten Free Crème Brûlée (Paleo)
Ingredients
- 2 tbsp pure maple syrup
- 1 can coconut cream
- 1 tsp vanilla extract
- 2 egg yolks
- 6 tbsp maple sugar, or coconut sugar
Instructions
- First, preheat oven to 300 degrees and place a kitchen towel inside a rimmed baking sheet.
- In a large skillet, add maple syrup, coconut cream and vanilla extract over medium heat. Stir mixture until very lightly boiling (do NOT let it fully boil). Cook for 5 minutes, stirring every 30 seconds or so. Remove from heat.
- Then, add egg yolks to a small bowl and whisk.
- Add coconut cream mixture to a KitchenAid or large stand mixer. Slowly whisk mixture. VERY slowly pour in whisked eggs while KitchenAid is still on low speed. The pouring of the eggs should take at least 1 full minute.
- Once combined, mixture should be smooth and creamy. Then, pour mixture through a strainer.
- Once strained, pour mixture equally into 3 greased ramekins.
- Take 1 cup of hot water and pour over towel that's placed in the baking sheet.
- Then, place ramekins on top of towel.
- Bake for 40 to 45 minutes, or until middle is slightly jiggly and edges are set. Then, remove from oven.
- Once cool enough to handle, place in fridge to cool overnight.
- Once chilled, add 2 tablespoons of maple sugar on top of each custard.
- Using a kitchen torch, burn the sugar for 1 to 2 minutes, or until crispy but not burnt.
- Alternatively, add sugar on top of custards then broil for 2 to 3 minutes, or until sugar is crispy.
- Finally, serve and enjoy!
Notes
- I used a kitchen torch and butane gas for this recipe.
Have you signed up for my free newsletter? You can sign up here to receive healthy meal plans and new recipes!

18 Comments on “Gluten Free Crème Brûlée (Paleo)”
How big a can of the coconut cream? There are a couple of sizes. Thanks
Hi
I plan on making this recipe, what size can of coconut cream do I use?
Thank you
Joanne
Creme Brulee is definitely one of my guilty pleasures. Your recipe is super simple to make and love that it is a vegan version.
I love crème brûlée! And your gluten-free version I find especially great! I have to try that soon!!! Thanks for sharing!
This is such a fabulous idea! I need to try and find a method to get rid of the egg altogether for my egg-intolerant partner!
Love creme brûlée! This is a fantastic version with coconut creme. Good to keep this in mind. Thanks
I absolutely love creme brulee and more when it comes with enough sugar on top perfectly melted with a torch.
I love creme brulee and this is a must-make recipe, and that coconut cream sounds delicious