Gluten Free Pear Crisp
This Gluten Free Pear Crisp has a sweet pear filling and a crumbly crunchy crisp topping! This recipe can be made on the stovetop or in an oven. Either way, it is pure comfort food!
This post is sponsored by Octonuts. I only work with brands I truly love. Thank you for supporting my blog!
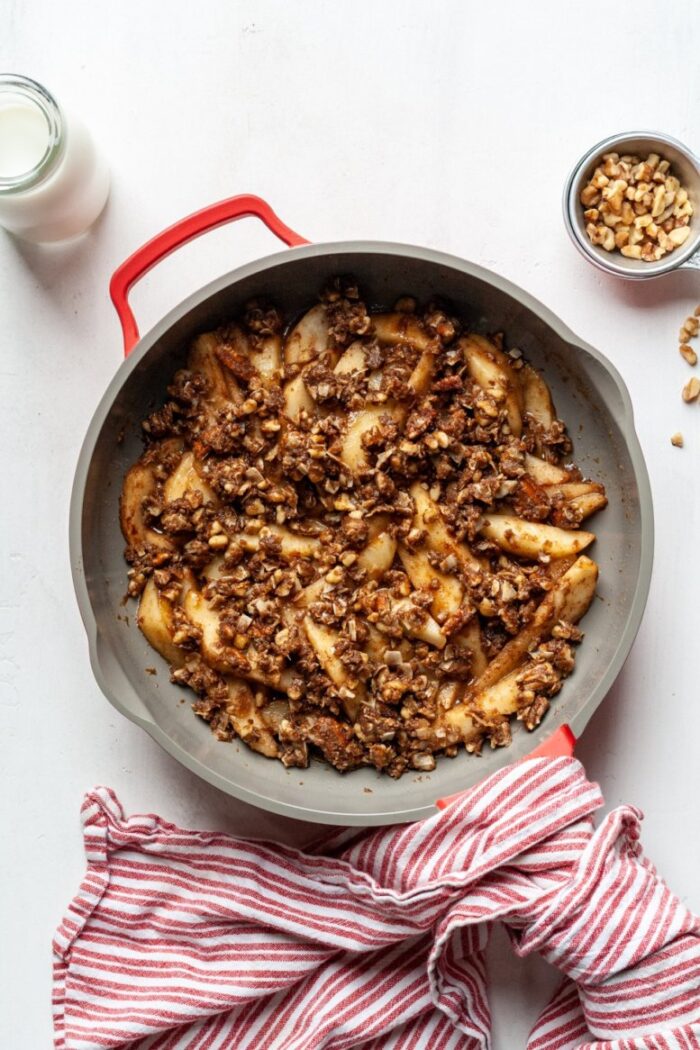
Why You’ll Love This Recipe
This Gluten Free Pear Crisp has a soft and tender filling and the best topping! Here is why you’ll love it:
- The filling is warm cinnamon tender pears.
- A crispy topping is the perfect complement to the soft pears.
- This pear crisp is a great alternative to the classic apple crisp.
- It is delicious warm from the oven or stovetop. It is equally as delicious chilled from the fridge.
- This recipe is even better as leftovers.
- There is a strong cinnamon flavor throughout.
- The nuts are a great source of healthy fats and protein.
- This recipe is Paleo, Grain Free, Gluten Free, and made without oats and without oatmeal.
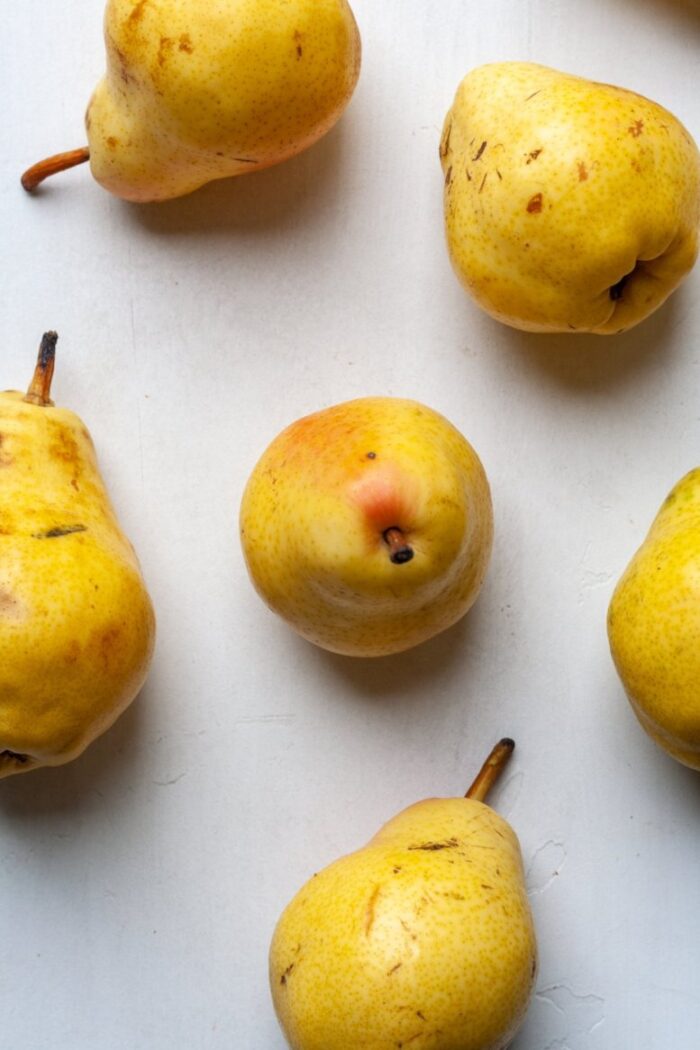
Types of Pears & Choosing The Right Pears
Bartlett: Bartlett pears are very naturally sweet and soft. They are great in cobblers, crisps and crumbles because they become even sweeter and softer when baking. I used Bartlett pears in this crisp.
Green Anjou: Green Anjou pears are moderately sweet and soft. They are slightly more crisp than Bartlett pears, but they are a great option for baking.
Red Anjou: Red Anjou are very similar to Green Anjou, but they are red in color. In addition, they are great for baking.
Bosc: Bosc pears are much less sweet. They are more crispy than other pears. These pears are great for poaching or baking in recipes where they maintain their shape.
Other: Forelle, Comice, Seckel
For this recipe, Bartlett or Anjou pears work best. They are easy to peel, naturally very sweet and juicy, and great for pear crisp.
Recipe Steps
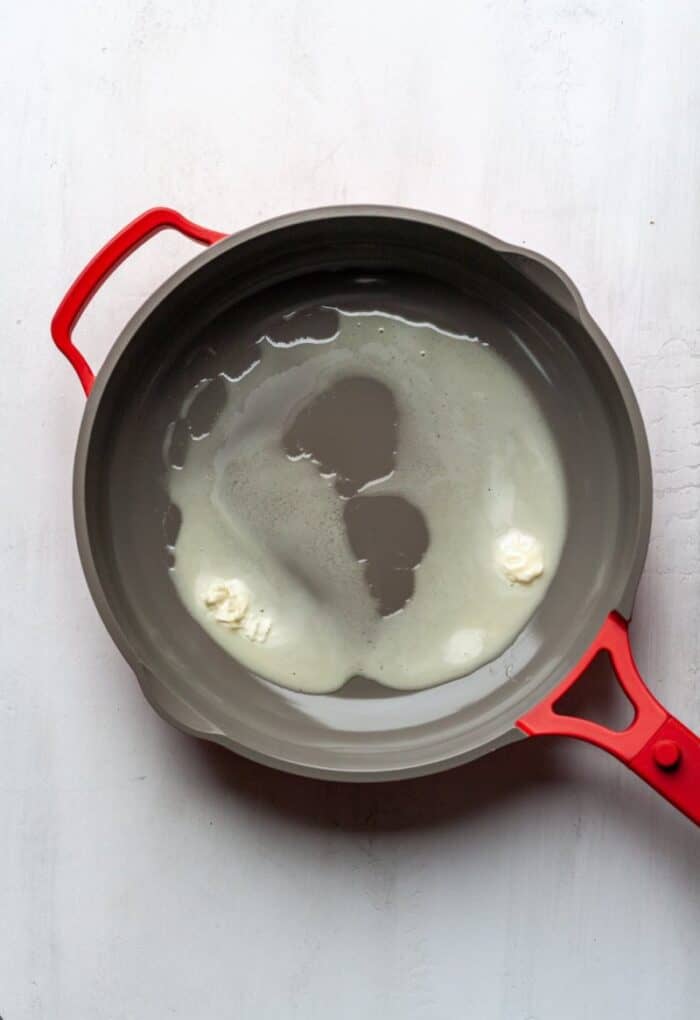
Step 1
First, add 2 tablespoons butter to a large skillet over low medium heat.
Step 2
Then, make the crisp topping. Add all topping ingredients to a mixing bowl. Use your fingers or a fork to incorporate the cold butter into dough.
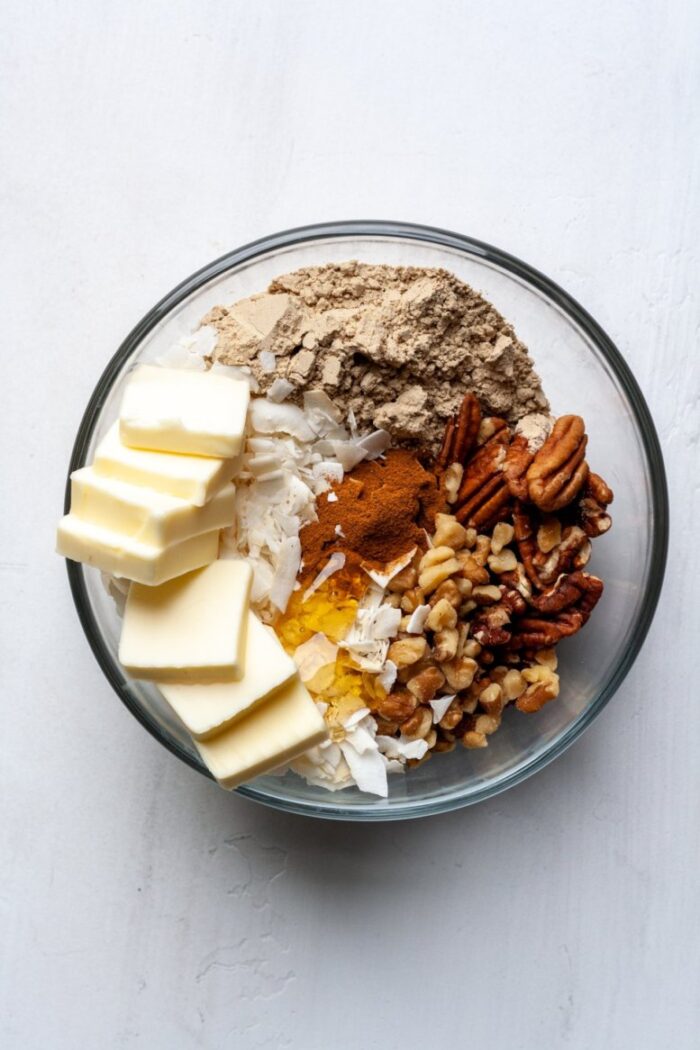
Step 3
Once a crumbly dough has formed, add to skillet.
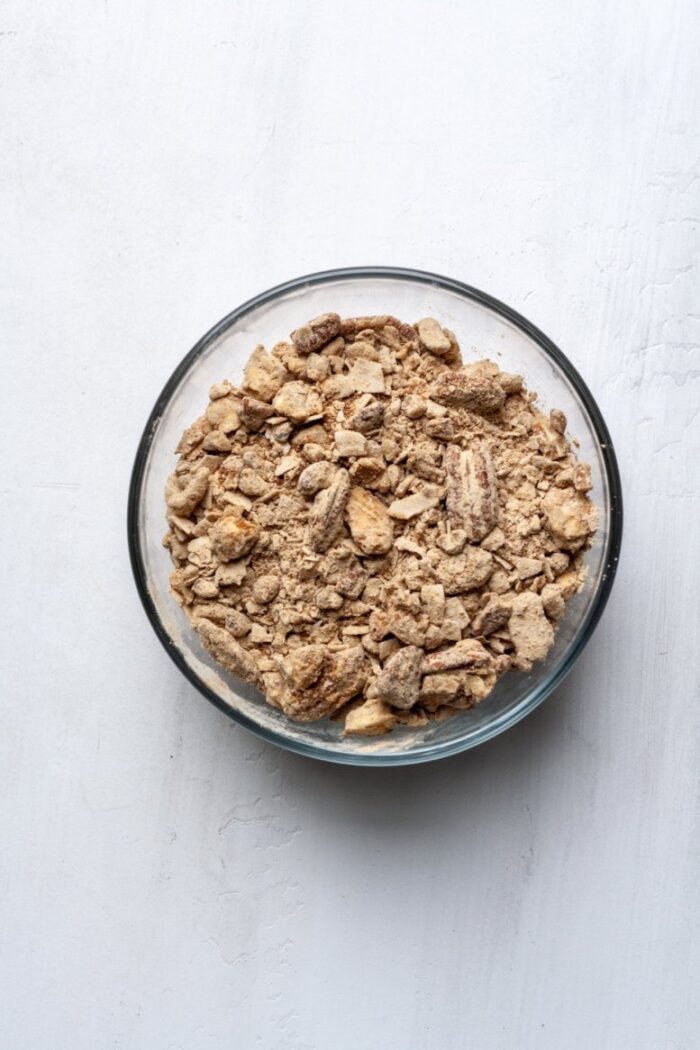
Step 4
Cook for 7 to 8 minutes or until crispy. Stir frequently to prevent burning. Then, remove to a plate.
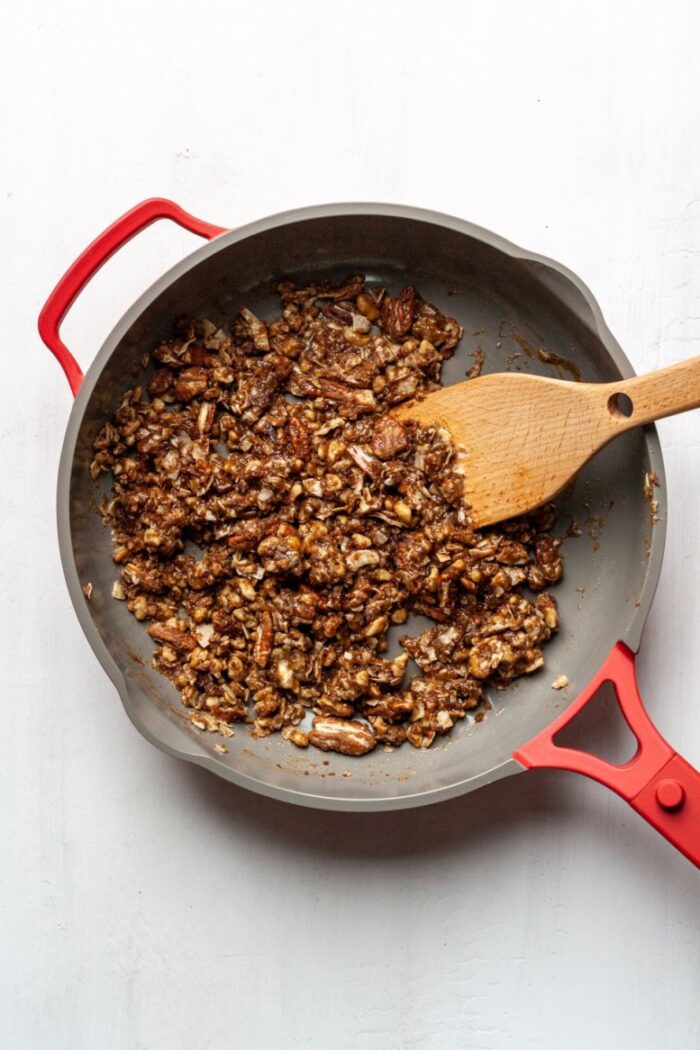
Step 5
Next, add peeled and sliced pears, tapioca flour, cinnamon and coconut sugar to a mixing bowl. Toss until pears are fully coated.
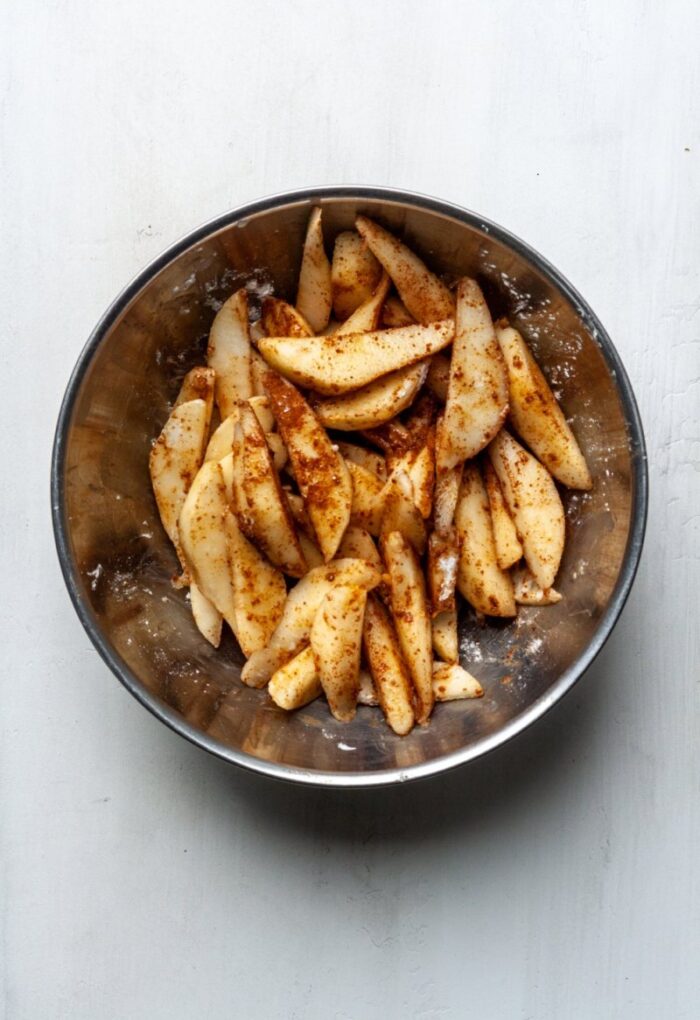
Step 6
Add 1 tablespoon butter into skillet. Then, add pear mixture. Cook for 7 to 8 minutes or until pears are softened. Stir occasionally to prevent burning.
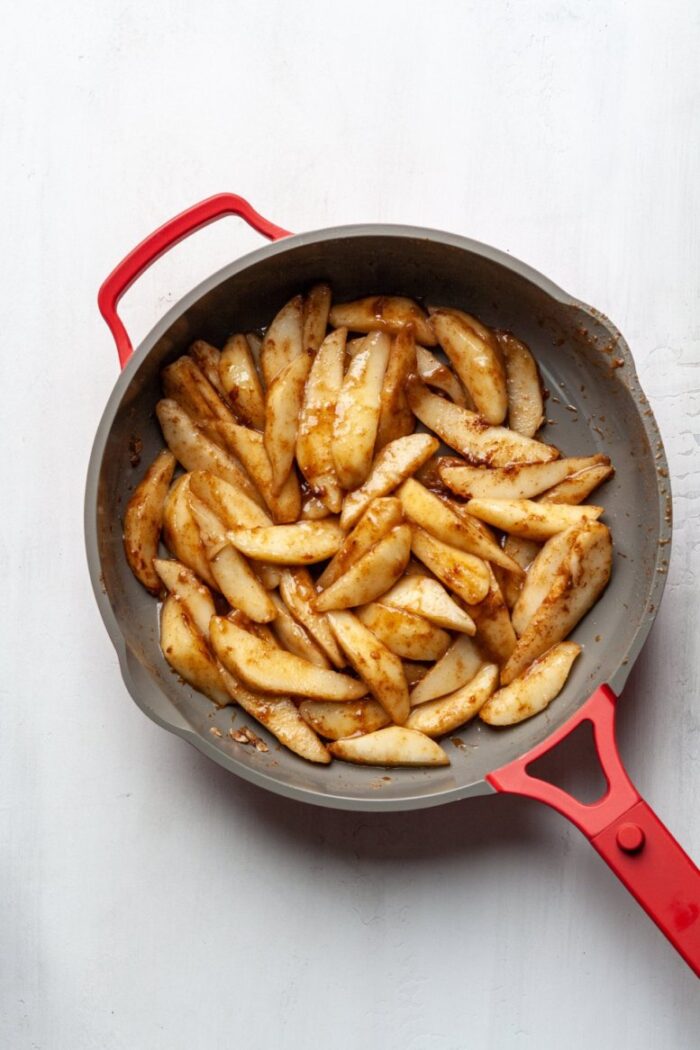
Step 7
Once pears are softened, sprinkle topping onto pears. Cook for 1 to 2 minutes or until warmed through.
Step 8
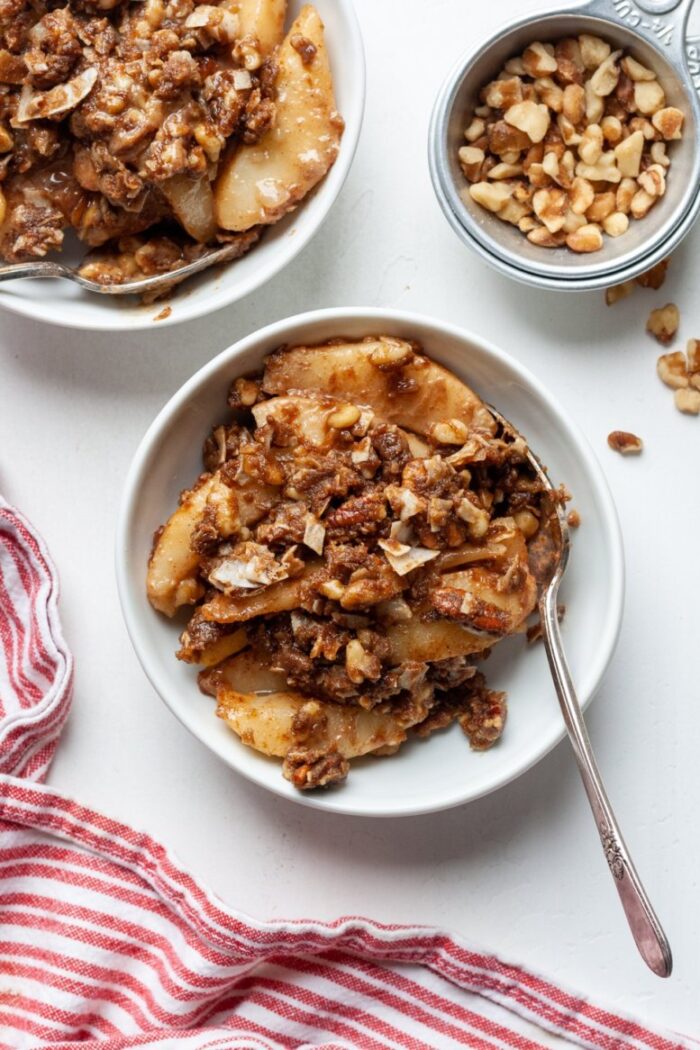
Finally, remove from heat and serve Gluten Free Pear Crisp!
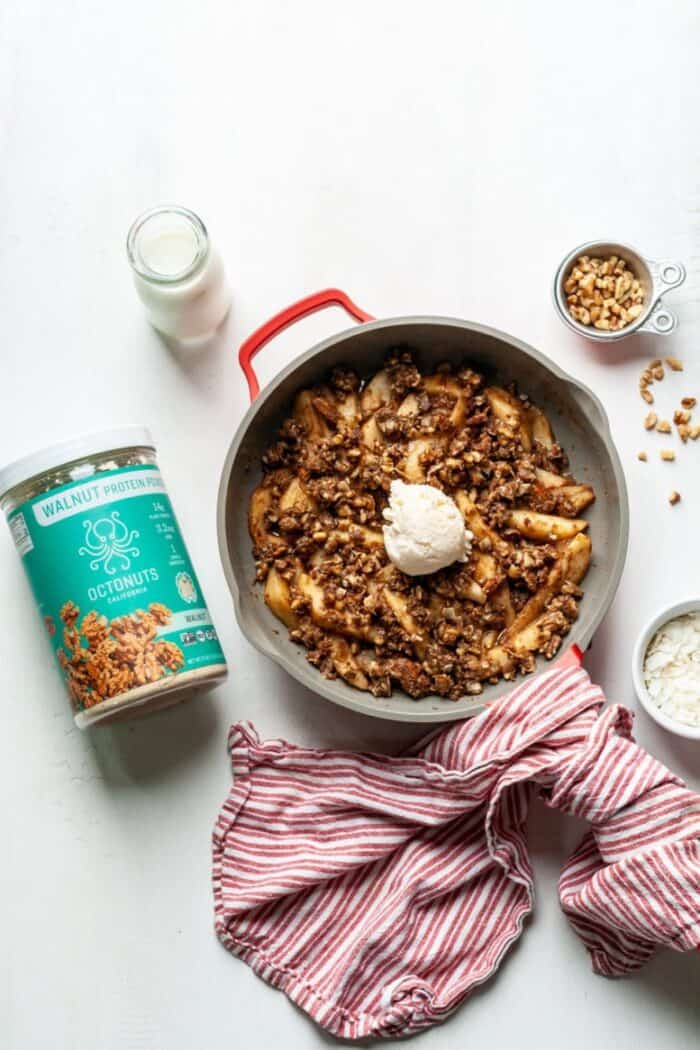
How To Make in Oven
To make this recipe in an oven:
- Preheat oven to 350 degrees Fahrenheit. Lightly spray an 8 inch pie dish with nonstick spray.
- Make crisp topping first using only 4 tablespoons of butter instead of the 6 tablespoons listed. Mix in a bowl until crumbly.
- Place crisp topping in fridge.
- Toss pears with tapioca flour, cinnamon and coconut sugar.
- Spread this mixture into pie plate.
- Top with crisp topping. Place aluminum foil over pie dish.
- Bake for 25 to 30 minutes or until pears are soft and topping is crispy.
- Remove from oven and serve!
Frequently Asked Questions
To check if pears are ripe, apply slight pressure near the stem of a pear. If it slightly gives, then it is ripe.
I’m glad you asked! This pear crisp uses about 5 to 6 pears.
Yes, pear crisp needs to be refrigerated.
Sure! Since apples aren’t as soft as pears, the cooking time will increase. An apple crisp in the oven takes about 40 to 45 minutes. Check out my Paleo Vegan Apple Crisp!
I would not suggest freezing pear crisp. The pears will not do well when thawed.
Store leftovers in an airtight container in the fridge for up to 4 days.
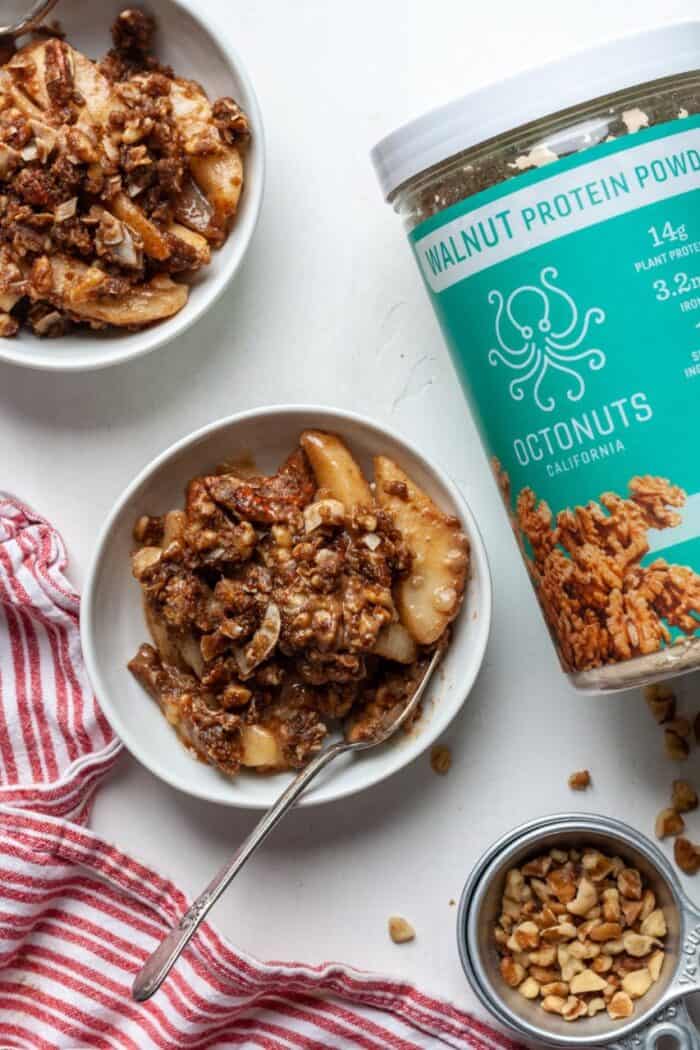
Blended walnuts (into a powder form) can replace the walnut flour. Another option is to use 3/4 cups almond flour instead of the 1/2 cup walnut flour. I used this Octonuts Walnut Protein Powder in this recipe!
You May Also Like
If you make this recipe, I would love to see it! You can find me on Instagram, Facebook, and Pinterest. I would love for you to follow along! For more Gluten Free recipes, see my Gluten Free Recipes page.

Get the Recipe: Gluten Free Pear Crisp
Ingredients
Crisp Topping
- 1/2 cup pecans
- 1/2 cup walnuts
- 6 tbsp cold butter, divided
- 1/2 cup coconut flakes
- 1 tbsp cinnamon
- 2 tbsp maple syrup
- 1/4 cup coconut sugar
- 1/2 cup walnut flour, see note
Pear Filling
- 4 cups pears, peeled and sliced
- 1 tbsp tapioca flour, or arrowroot powder
- 1 tbsp cinnamon
- 2 tbsp coconut sugar
- 1 tbsp butter
Instructions
- First, add 2 tablespoons butter into a large skillet over low medium heat.
- Combine remaining 4 tablespoons butter and all other crisp topping ingredients in a mixing bowl. Use fingers to incorporate cold butter into dough.
- Once a crumbly dough has formed, add to the skillet.
- Cook crisp topping for 7 to 8 minutes or until it becomes crispy. Stir often to prevent burning.
- Once golden and crispy, remove topping to a plate. It will be crumbly but crispy.
- Then, add peeled and sliced pears, tapioca flour, cinnamon and coconut sugar to a bowl. Toss until pears are coated.
- Add 1 tablespoon butter and pear mixture to the skillet. Cook on low medium heat for 7 to 8 minutes or until pears are soft. Stir often to prevent burning.
- Once pears are soft, sprinkle crisp topping onto pears.
- Finally, cook for 1 to 2 minutes or until warmed through.
Notes
- Walnut flour can be replaced with 3/4 cup almond flour.
- I used Octonuts Walnut Protein Powder. Use my code ORGANICALLYADDISON for 10% off their products.
- Coconut oil or ghee can replace butter for a dairy free or lactose free option.
- To make this in the oven, see note above. It will cook at 350 degrees Fahrenheit for about 25 to 30 minutes.
- Pears can remain unpeeled if desired.
- Cook crisp topping until crispy and golden, but not burnt.
- Cook pears until softened, but not crispy.
- Feel free to substitute for the pecans and walnuts. The important thing is to have 1 cup total of nuts.
- Store leftovers in an airtight container in the fridge for up to 4 days.
- Great served warm or cold!
Have you signed up for my free newsletter? You can sign up here to receive healthy meal plans and new recipes!

3 Comments on “Gluten Free Pear Crisp”
If I’m making this in the oven, should I still crisp the topping in the skillet before baking?
Hi Erika! I think crisping the top in the skillet is a great idea. Then I’d place a piece of aluminum foil over the skillet while baking to prevent burning. Hope you love it!
I’ve never tried a skillet crisp before but I loved this! So warm and cozy!