
Foodtography School Review & Discount
This is the most comprehensive and in depth review of the popular Foodtography School! This guide will teach you all about the course, how to take the course, who the course is for, and what to expect when taking the course. In addition, use discount code ADDISON for 15% off any FS purchases!
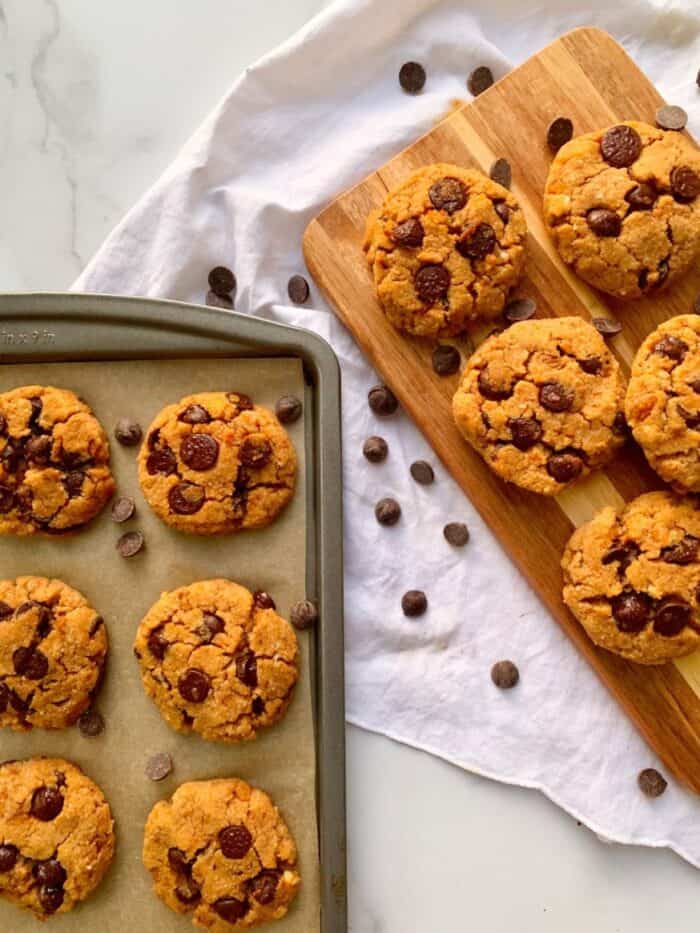
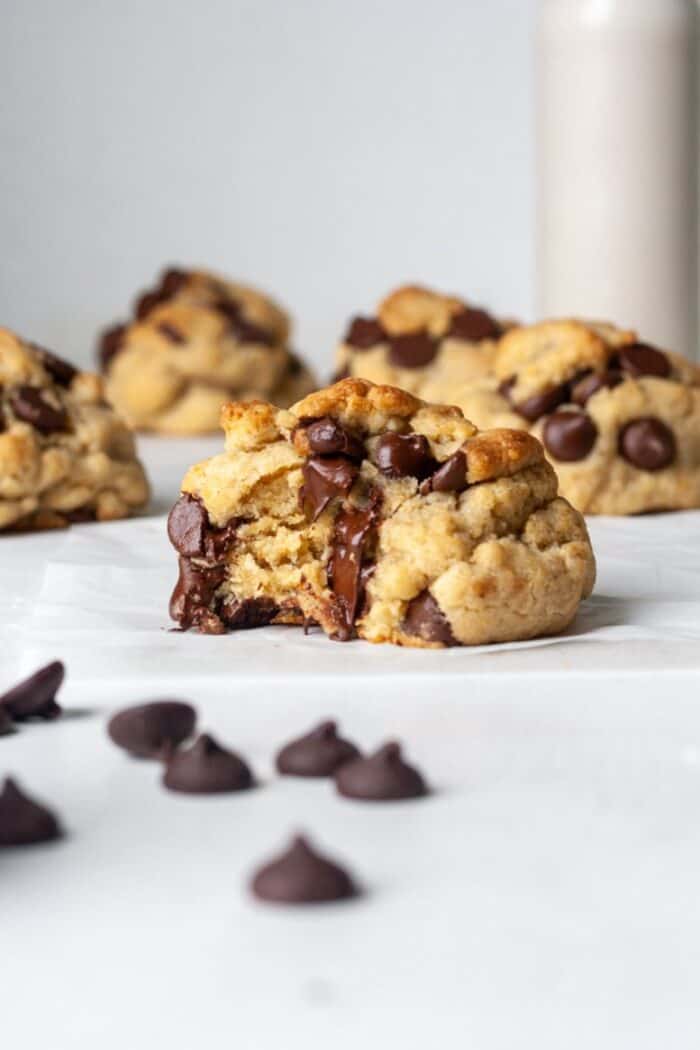
This is a before and after of chocolate chip cookies! The photo on the left has no direction, poor lighting, and does not tell a story. The new and improved photo is bright, light, and invites the reader in!
What is Foodtography School?
Foodtography School is a successful online food photography course! It was created by Sarah from the blog Broma Bakery in 2017.
Through different courses and curriculums, this course teaches about photography, food styling, light, color, business, branding, and much more. Additionally, this course offers both slideshows and videos of styling sessions.
After taking this course, I fully and highly recommend it!
Discount Code
Due to my success from this food photography course, I became an affiliate for the program. With my code ADDISON, you save 15% off any purchases at FS (excluding payment plans).
Different Courses Offered
FS offers several different courses. These include:
Foodtography School
Advanced Foodtography School
Restaurant
iFoodtography School
Style/Edits
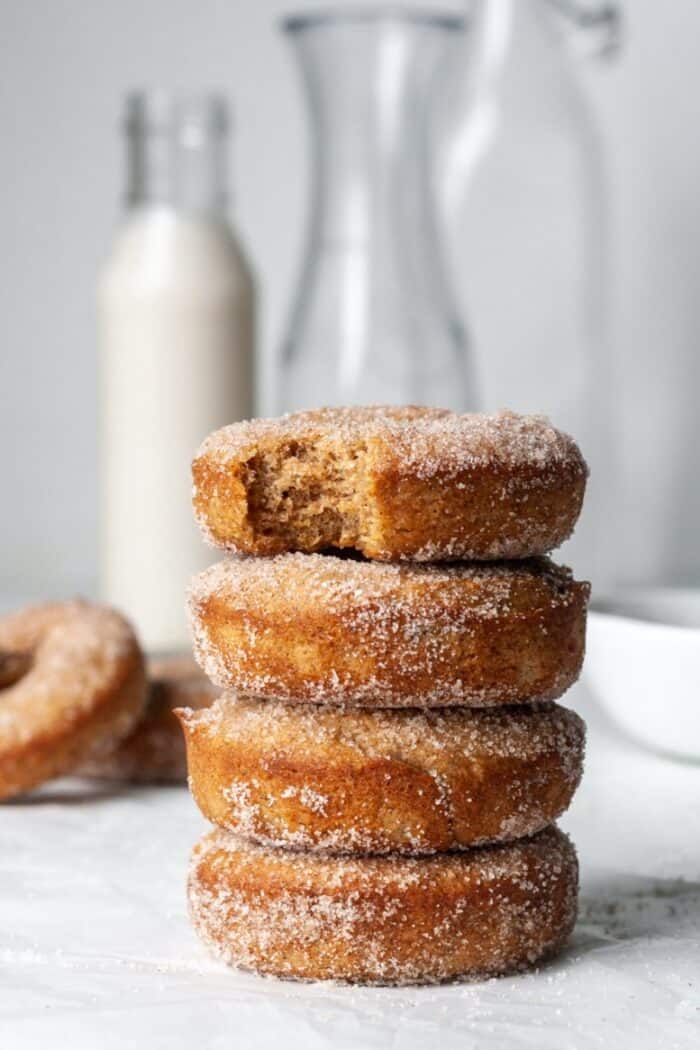
I applied several techniques I learned taking this course for these Gluten Free Apple Cider Donuts!
Original Course
This signature food photography course includes 7 in depth units.
Unit 1: Fundamentals of Photography
The first unit covers the history of photography, how to better understand camera settings, how to set up a scene, different props and backdrops, and a Lightroom background. This first unit is key in learning more about cameras and how to create the perfect scene for your shoot.
Unit 2: Composition
Unit 2 teaches more about photo composition, how to photography movement, how to work with bad lighting, textures and layers, basic photography principles, and photography perspective. This second unit dives into the importance of movement and how to draw someone’s eye to your photo.
Unit 3: Light
Every photographer knows how important light is! This third unit talks about the different types of light, troubleshooting lighting mistakes, and how to find consistent light. Light is arguably one of the most vital pieces of a photoshoot. This unit is incredibly valuable!
Unit 4: Branding
Unlike many online food photography courses, this one covers branding. This unit details what branding is, how to build an online brand and presence, and how to find your voice visually. Creating photos that are unique to you but recognizable to others is huge!
Unit 5: Editing
The editing unit covers how to edit, which styles of editing are best, and how to edit based on colors. Editing is arguably equally as important as photographing.
Unit 6: Social Media
This unit talks about how to create an online presence on Instagram, how to use analytics to create better content, understanding different social media platforms, and how to use Reels and TikTok to serve your audience.
Unit 7: Business & Marketing
Lastly, unit 7 covers marketing, how to partner with brands, how to negotiate prices, and more about being a food photographer. This unit is extremely valuable in learning how to price your work and how to find more work.
Advanced Foodtorgraphy School
For more advanced food photographers, the Advanced FS is challenging in the best way! It includes 10 units that will push you to become the best photographer possible. These units include:
Structuring Your Scene
Advanced Placement Principles
Advanced Styling
Styling Sweets
Styling Savory
Properties of Light
Advanced Editing Theory
Cohesive Branding
Growing Your Social
Skyrocketing Your Business
iFoodtography School
This course is geared towards food photography with a smartphone or iPhone! The curriculum covers the following units:
Fundamentals of Smartphone Photography
Composition & Lighting
Live Styling Sessions
Editing
Shooting in Restaurants
Before & After
Here are some examples of my work before and after taking FS. Differences include better composition, better lighting, better use of props, more storytelling, and a better sense of direction. These before and after photos were taken less than a year apart!
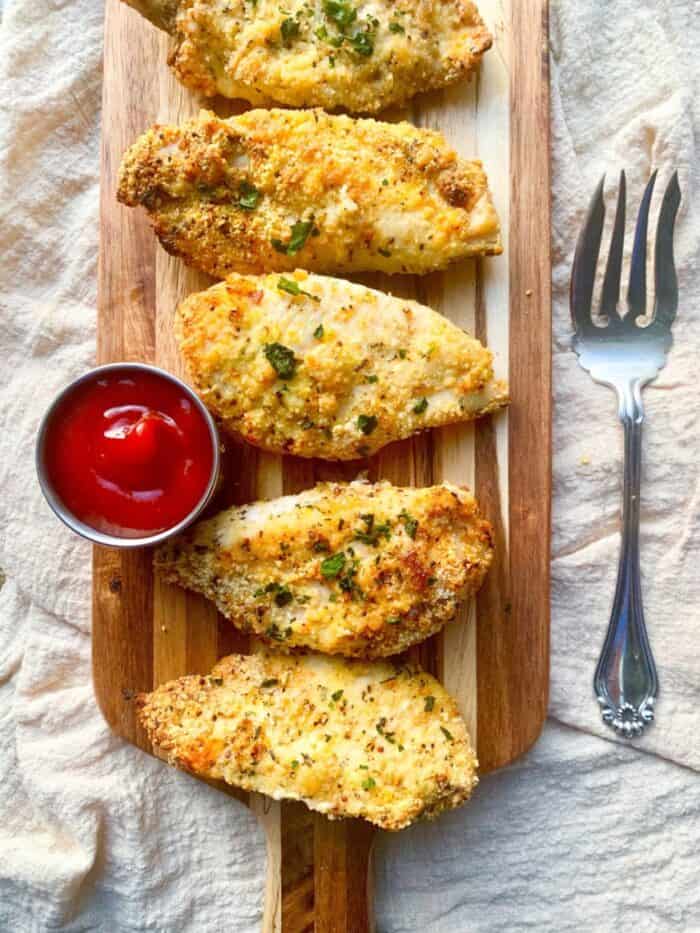
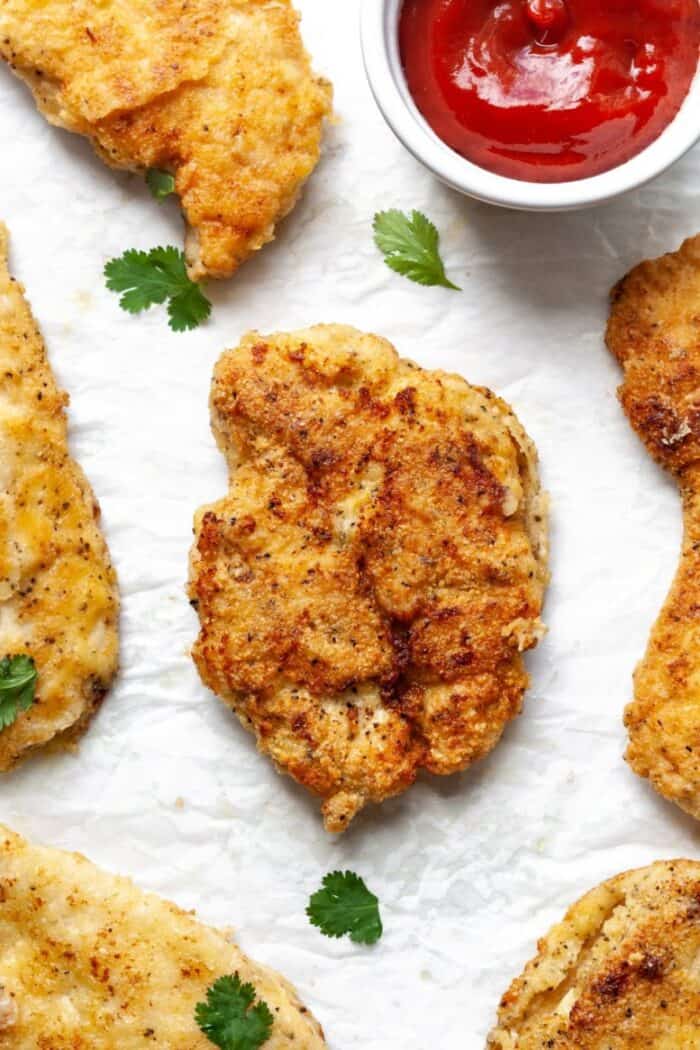
This Paleo Fried Chicken went from boring and directionless to golden crispy perfection!
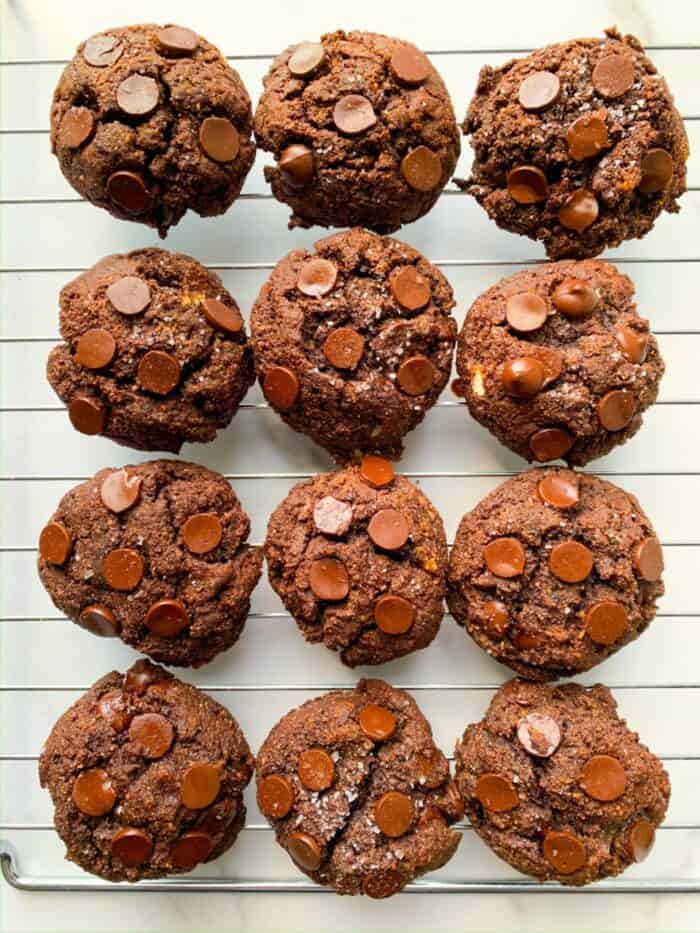

The cookies on the left have poor lighting and no layering. On the right, these cookies look rich, decadent and warm.
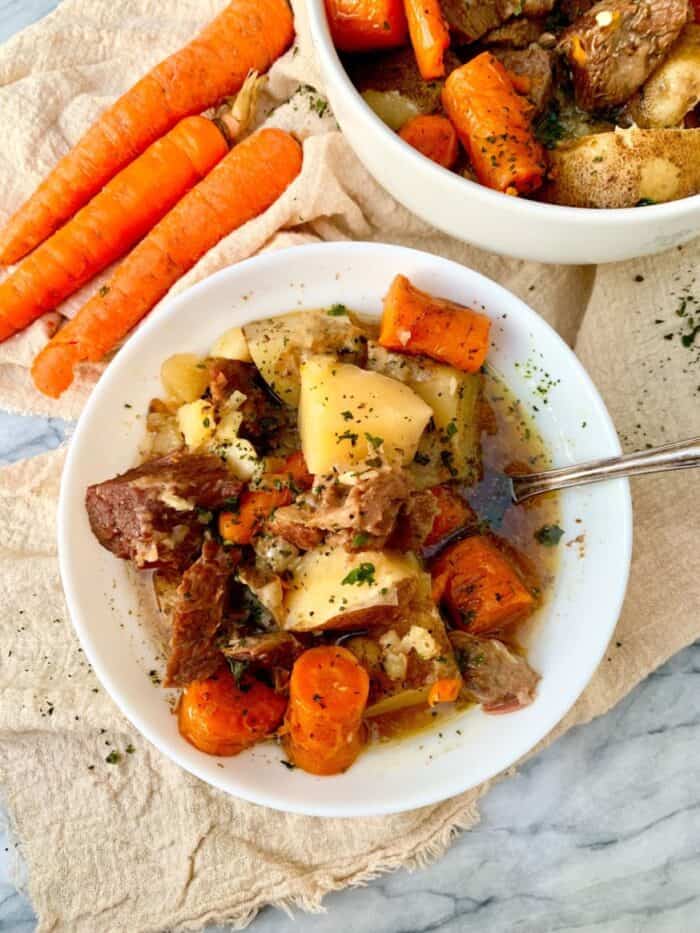
The Before photo is out of focus and does not show off the beef stew as well as it should. On the other side, the After photo is in focus, looks rich and hearty.
Who Should Take Foodtography School?
FS is great for any photographer from beginning to advanced. Prior to starting this course, I had only 6 months of experience using a DSLR. I was not familiar with lighting, simple camera settings, or composition. I am still going back through the styling sessions to learn more!
How Much Does it Cost?
Foodtography School is $587 for a one time payment. There are payment plans available. With my code ADDISON, the course becomes $499.
The payment plan is $105 each month for 6 months. This totals $630, which is higher than the single one time payment.
Advanced FS costs $1327 when paid in full. After the discount, it costs $1128. For the best value, Foodtography AND Advanced cost $1557 when bought together in a bundle.
The iFoodtography School costs $117.
Expert Tips
Here are some tips and tricks to get the most out of the course.
Take Notes
As you go throughout the course, take as many notes as possible! I often refer back to my notes when photographing.
Take Your Time
It is tempting to rush through this course and begin seeing the magical changes! I highly recommend only doing 1 unit per week at most. After each unit, implement what you have learned and practice those skills.
Practice, Practice, Practice
I cannot emphasize this enough! Practice makes progress.
Implement & Critique
After each unit, implement lessons learned and critique yourself. This is when you will notice the biggest changes.
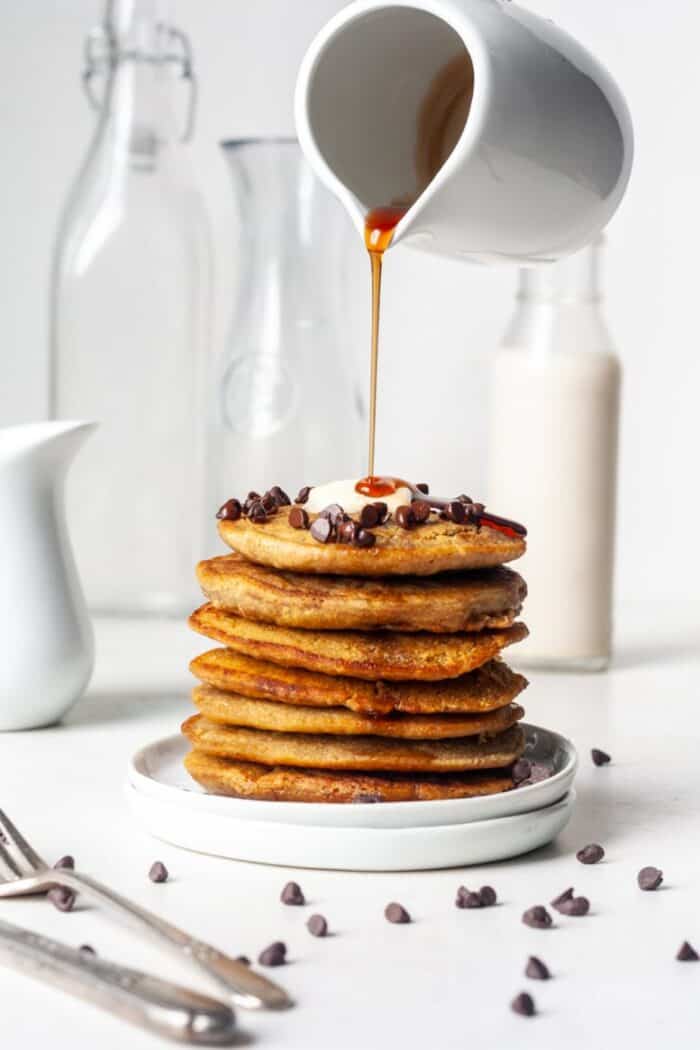
After taking the course, I learned how to set my camera up on a tripod and use a timer to capture pour shots. The lesson about movement was huge in helping me with this! Say hello to these oat flour pancakes.
FAQ
A DSLR is highly recommended for Foodtography School but can be completed with an iPhone.
I believe this course is completely worth the money. I have landed major brand deals because of my food photography skills.
This course costs $587 but with my discount code ADDISON, it costs $499.
How Much Time Does it Take?
Each unit contains about 2 to 3 hours worth of information. I recommend taking about a week to go through each unit to really digest all of the information.
After purchasing the course, the materials are available forever. So, feel free to go at your own pace.
Camera Recommendations
I actually shoot with a very basic DSLR camera. I have the Canon Rebel XS which is a total steal! With that said, a camera lens is game changing.
This 50mm lens is great for food photography. I highly recommend it!
For backdrops, I love Woodville backgrounds.
Business Behind Food Photography
When owning a small business, there are a lot of rules and laws to follow. The FS course walks through some legalities and what to expect when owning a small business.
Consult with a lawyer or tax account to ensure your business is set up correctly.
Using Lightroom
One of the biggest benefits of this course is the Lightroom teachings. Lightroom is an editing app software that takes food photos from good to exceptional.
Through a series of both slideshows and videos, FS walks through how to use Lightroom effectively. In addition, the unit on lighting and color is extremely helpful.
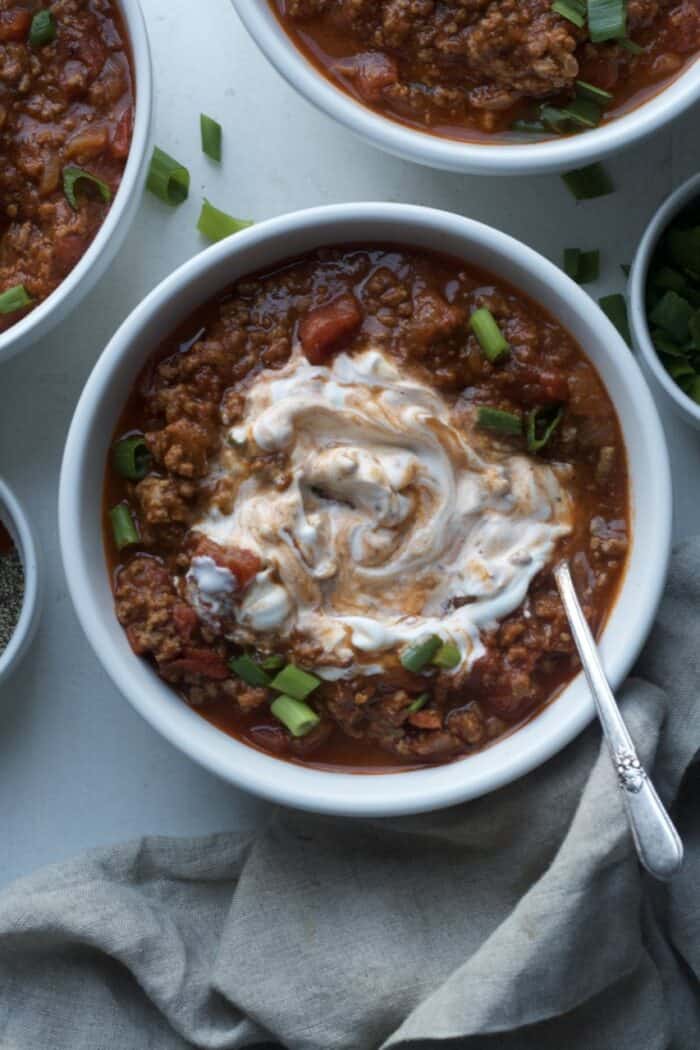
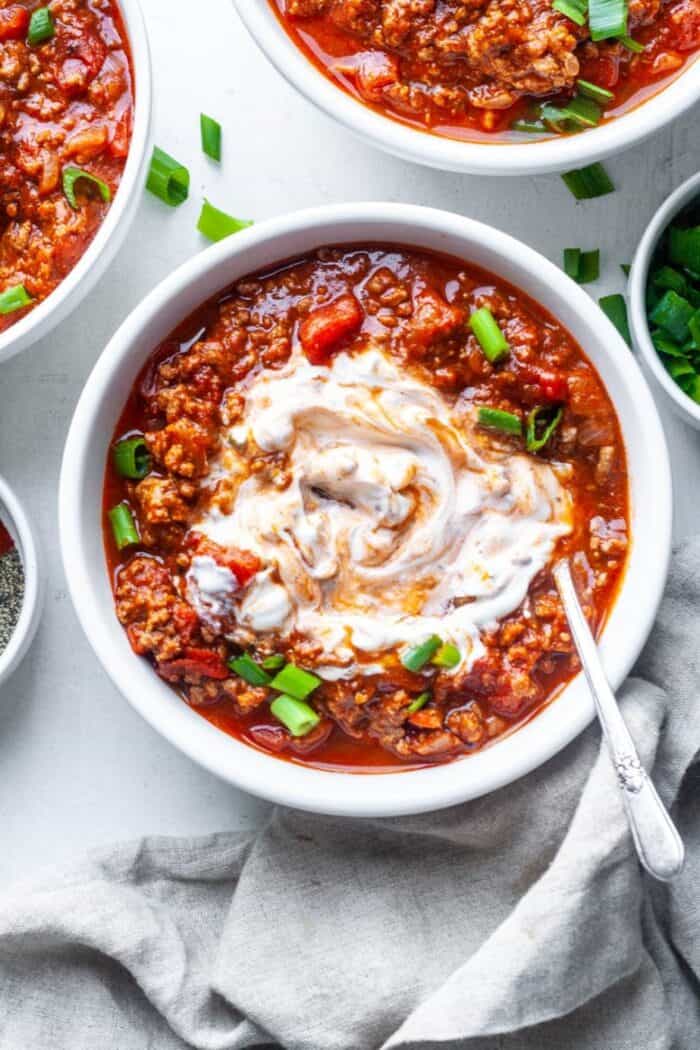
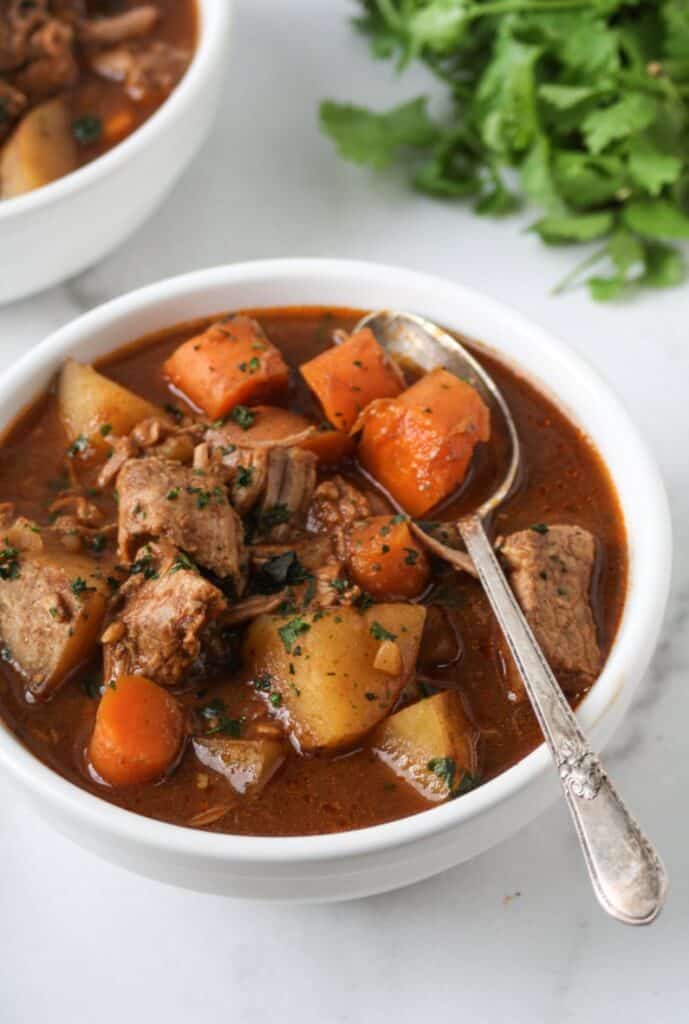
Lightroom is magical! Look at this before and after. Thanks to Foodtography School, using Lightroom to edit photos is straightforward. When shooting this No Bean Chili, the lighting was dark. Through what I learned, I was able to adjust my camera settings to slightly brighten the photos. Then, Lighroom editing brought this chili to life.
Any Dislikes?
The ONLY thing I wish FS included is artificial lighting. Living in Maine, it gets dark early and it can be tough to photograph food with no natural light. Unfortunately, Foodtography School only covers shooting in natural light.
Otherwise, this comprehensive course is amazing!
Life After Foodtography School
Before taking FS, I had no concept of how to use a DSLR camera, how to manipulate light, how to work with bad lighting, and how to set a scene. At the time, I was charging around $200 per campaign.
Since completing the course, I have learned so many new concepts that have transformed my food photography skills. I am so much more confident with using a camera, how to work with natural light, and how to use props. I now charge about ten times more than what I used to!
For me, FS was 100% worth the investment. I quickly earned back what I invested.

Conclusion
After taking Foodtography School, I can confidently say it elevated my photography skills considerably. I quickly and easily recouped my investment. Although there are no guarantees with making money, I would not be where I am today without this course.
Please feel free to comment or send me an email if you have any questions! My code ADDISON can be used for 15% off their website!
Have you signed up for my newsletter? You can sign up here to receive healthy meal plans, exclusive new recipes and updates!
13 Comments on “Foodtography School Review & Discount”
This quick note is in reference to your website in general.
Thank you Addison for your web site. It is so lovely, informative, and much to my amazement, FREE!
Simply wanted to tell you I appreciate your efforts in putting this together with so many wonderful recipes.
Karen Lindsey
Thank you for this!!
What a fantastic course! Can’t wait to learn more about it