Cookie Cups
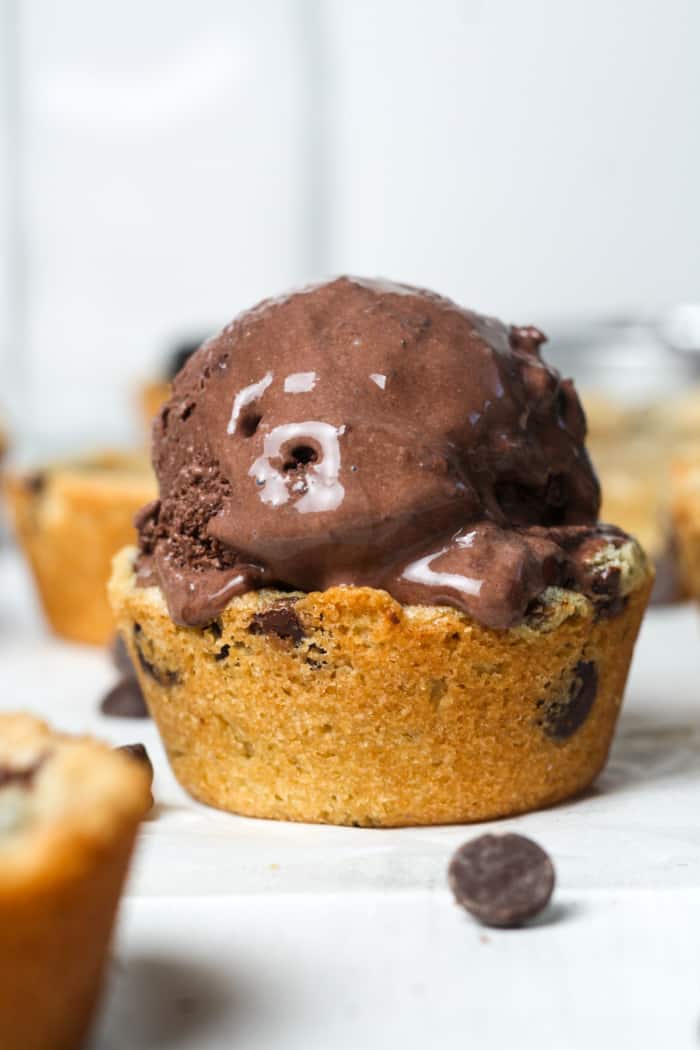
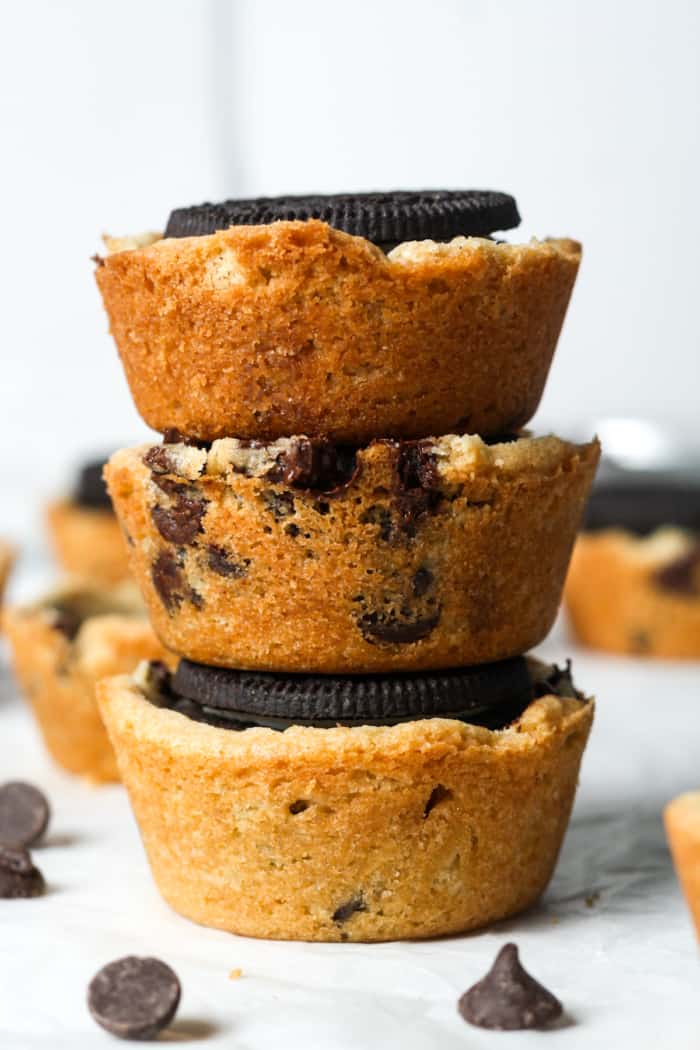
These chocolate chip cookie cups are so fun for any occasion! Load them up with ice cream, whipped cream, Oreos or chocolate mousse. They taste like a classic cookie, but have golden chewy edges. The middle is gooey and soft. These are perfect for holidays, birthdays and more!
Why You’ll Love This Recipe
- These cookie cups take only 30 minutes total.
- They can be filled and topped with many different things.
- They are buttery and sweet.
- This is a fun way to mix up classic cookies.
- Everything is made in one mixing bowl.
- No dough chilling required.
- Everyone can fill or top theirs differently.
- This recipe can be made gluten free. Use gluten free flour.
- In addition, this recipe is nut free.
- This recipe uses pantry staple ingredients.
- Check out these Brownie Bites for another fun dessert!
Ingredients & Substitutions
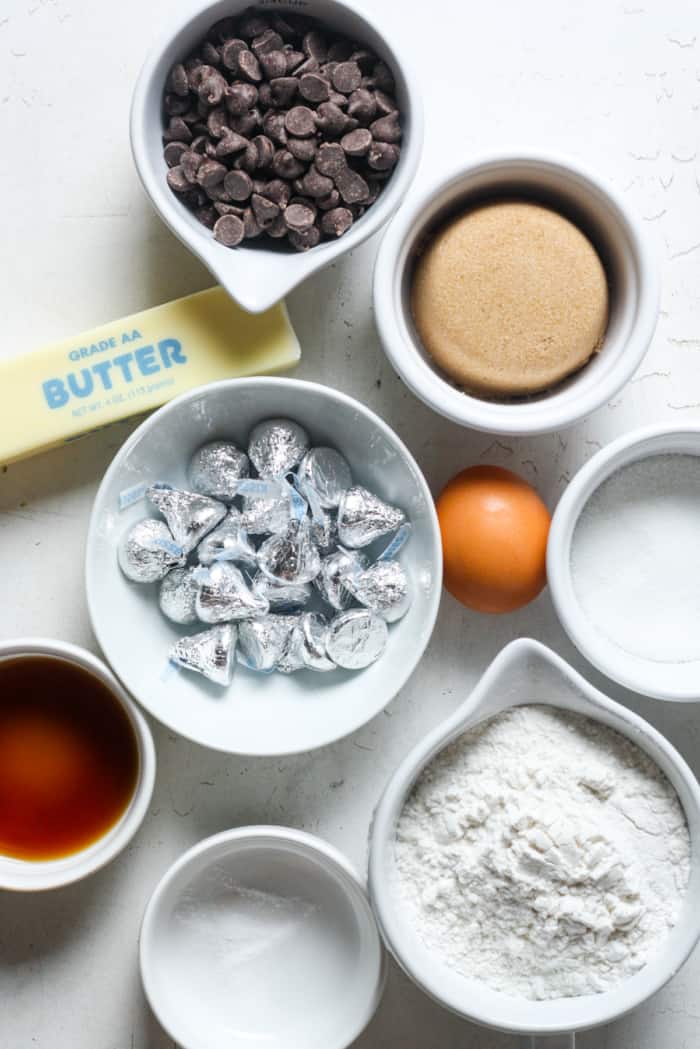
These are the main ingredients and substitutions for cookie cups. Scroll down to the recipe card for full ingredients list and instructions.
Use cold unsalted butter right from the fridge. This prevents the cookie cups from spreading too much.
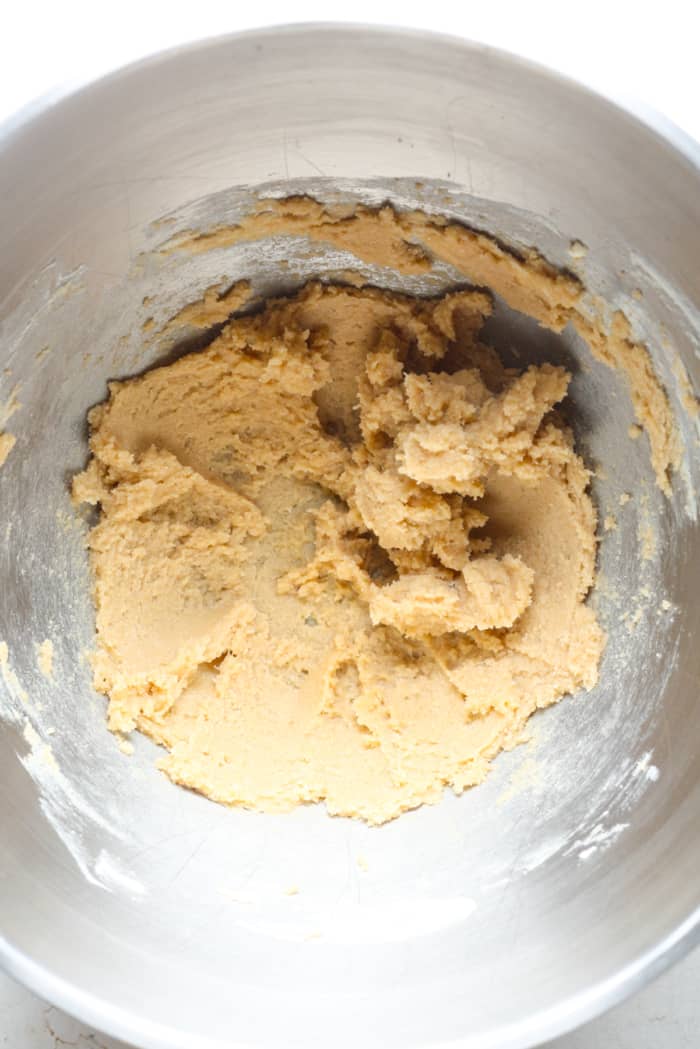
Both light brown sugar and granulated sugar add sweetness. Be sure to mix the cold butter and sugars until completely combined. This process takes 2 to 3 minutes in a powerful stand mixer.
Only one egg needed. I have not tried a Vegan replacement. However, I have previously had success with replacing 1 egg with ¼ cup unsweetened applesauce. Check out these Eggless Chocolate Chip Cookies for more eggless baking.
Vanilla extract adds warmth.
Both regular all purpose flour and gluten free 1 to 1 flour work well. Do not use another alternative flour.
Baking soda helps slightly leaven these cookie bites.
Add in a pinch of sea salt if desired.
Chocolate chips add the chocolate flavor! Feel free to use your favorite type.
What is a Cookie Cup?
Cookie cups are cookies baked in a muffin pan.
They have the same buttery, sweet flavor as classic cookies.
The biggest difference is their shape. Due to the muffin pan, they are taller and more dense.
The muffin pan also gives the edges a beautiful golden color. Thus, the edges are more chewy.
These cookie muffins are great with any filling or topping!
Taste & Texture
They taste like classic chocolate chip cookies. The flavors are buttery, sweet and chocolaty.
The edges are golden and chewy. In addition, the middles are gooey.
How to Make
Step 1
First, preheat oven to 350 degrees Fahrenheit. Generously spray a muffin pan with nonstick spray.
Step 2
In a large mixing bowl, add cold butter, sugar and brown sugar. Mix on high until no clumps of butter remain.
Step 3
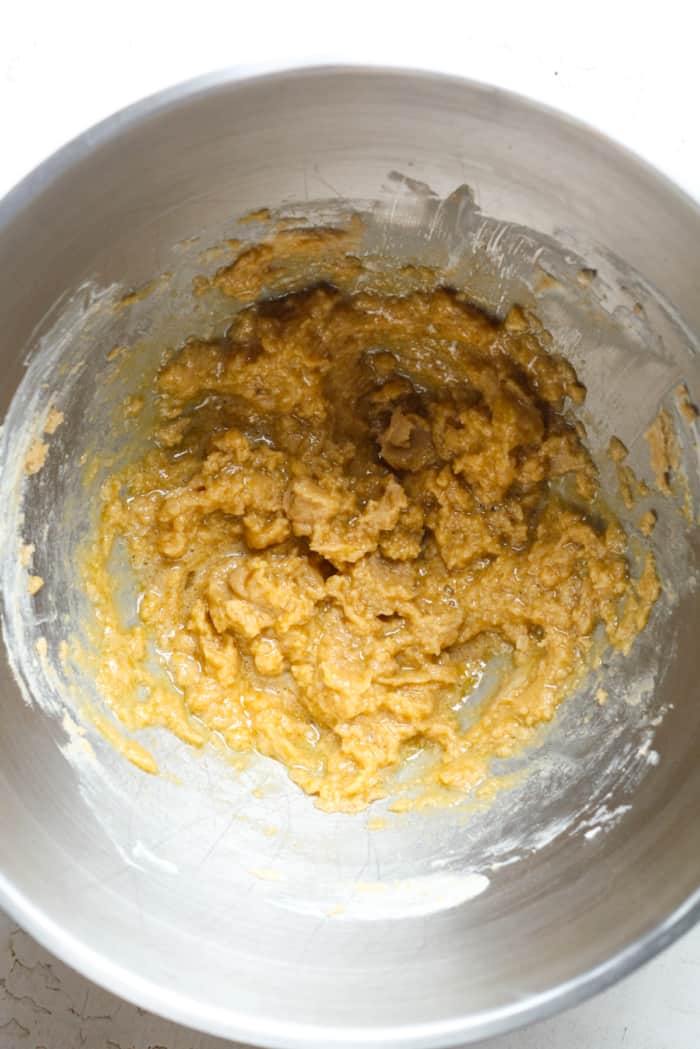
Then, add in the egg and vanilla extract. Stir to combine.
Step 4
Add in flour, baking soda and sea salt. Stir to combine.
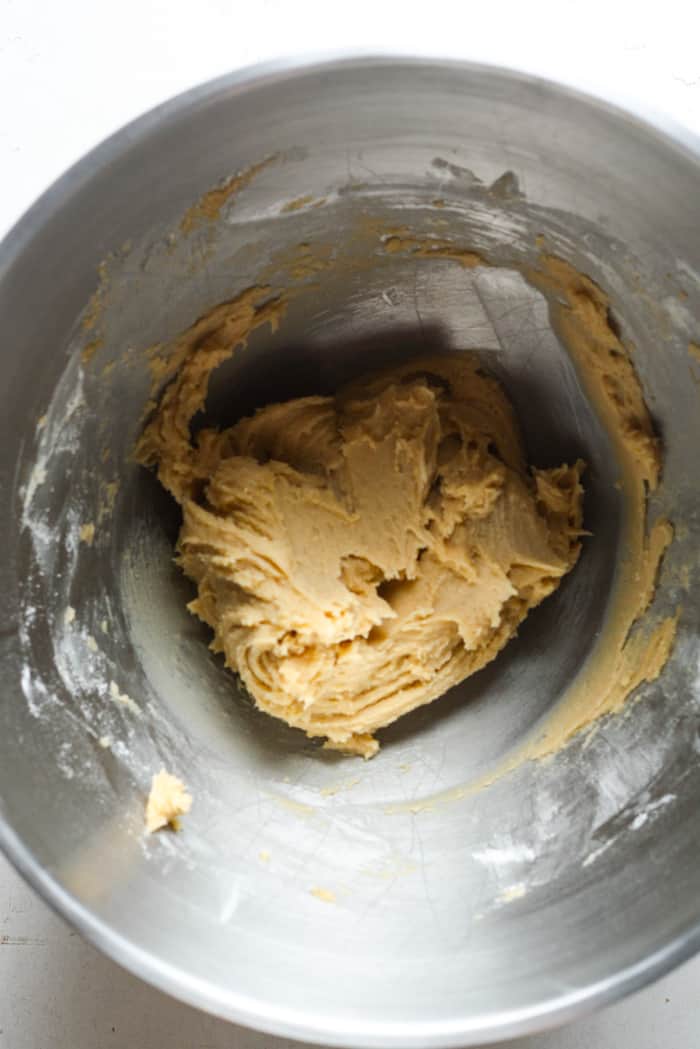
Step 5
Fold in the chocolate chips.
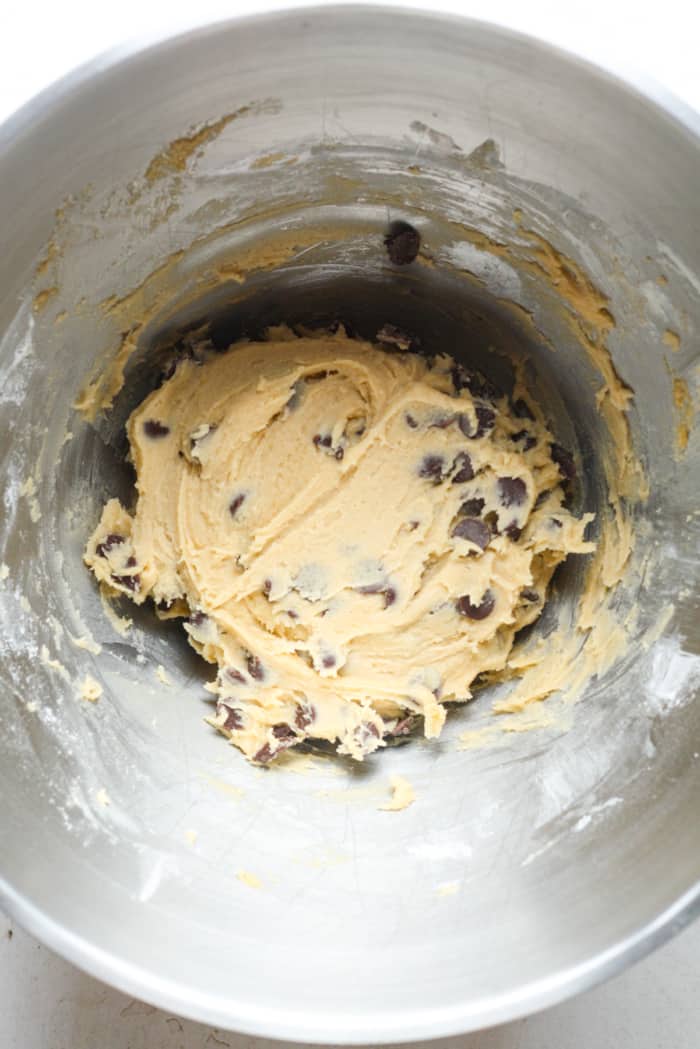
Step 6
Use an ice cream scooper or large spoon to scoop dough into sprayed muffin cavities. This should make 10 to 12 cookie cups.
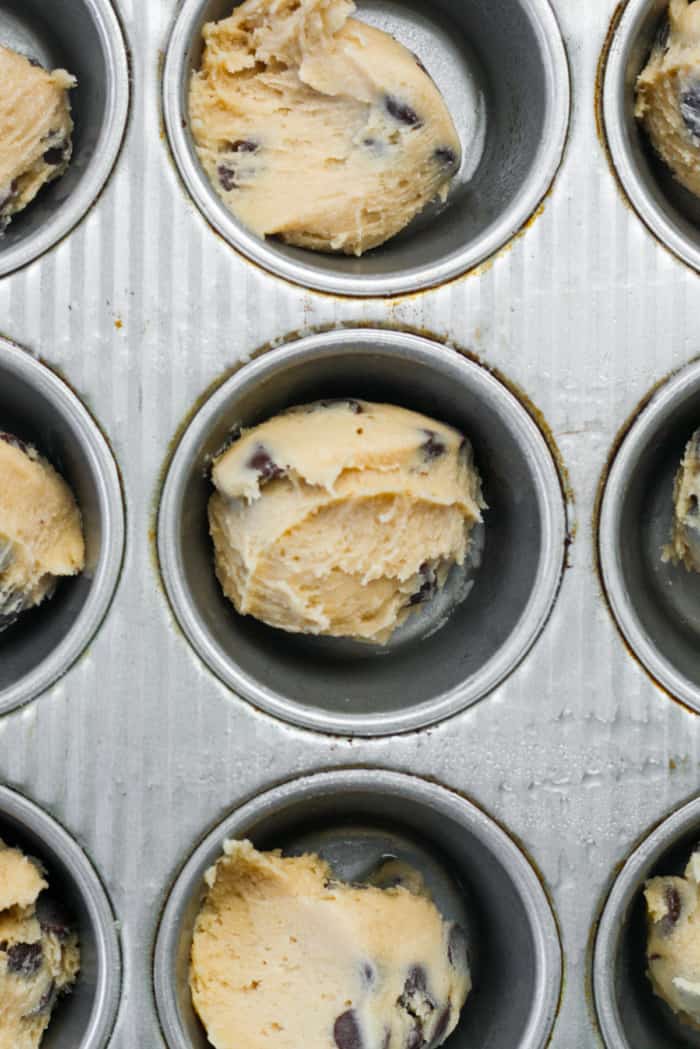
Step 7
Then, use your fingers to gently press dough down into muffin cavity and around the edges.
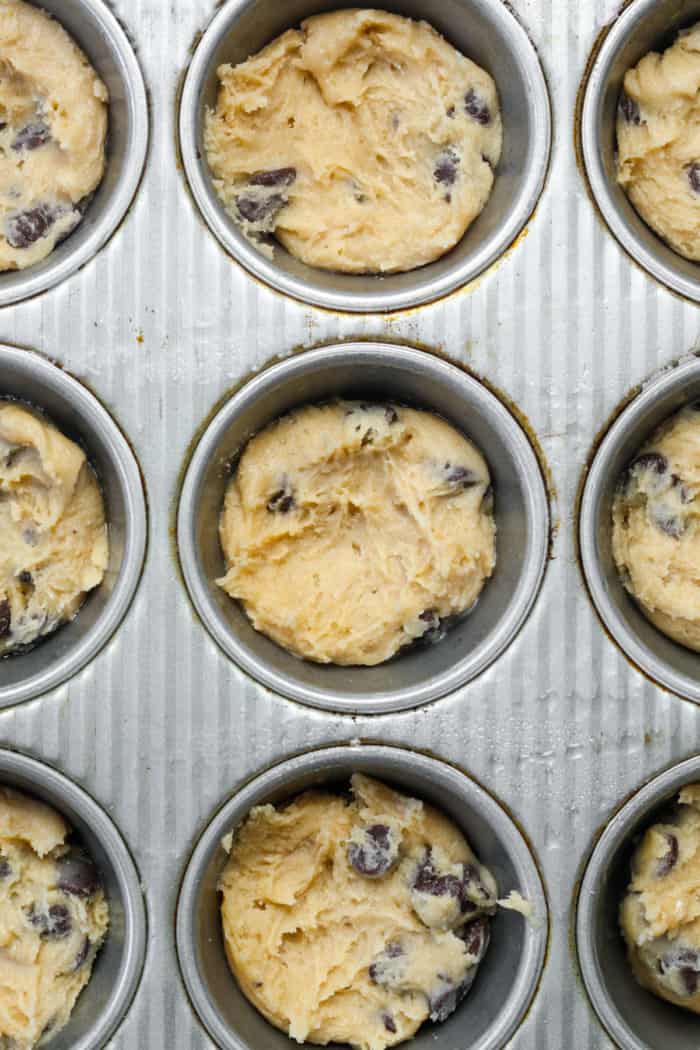
Step 8
Bake for 14 to 17 minutes or until edges are golden. The middles will still be a little gooey.
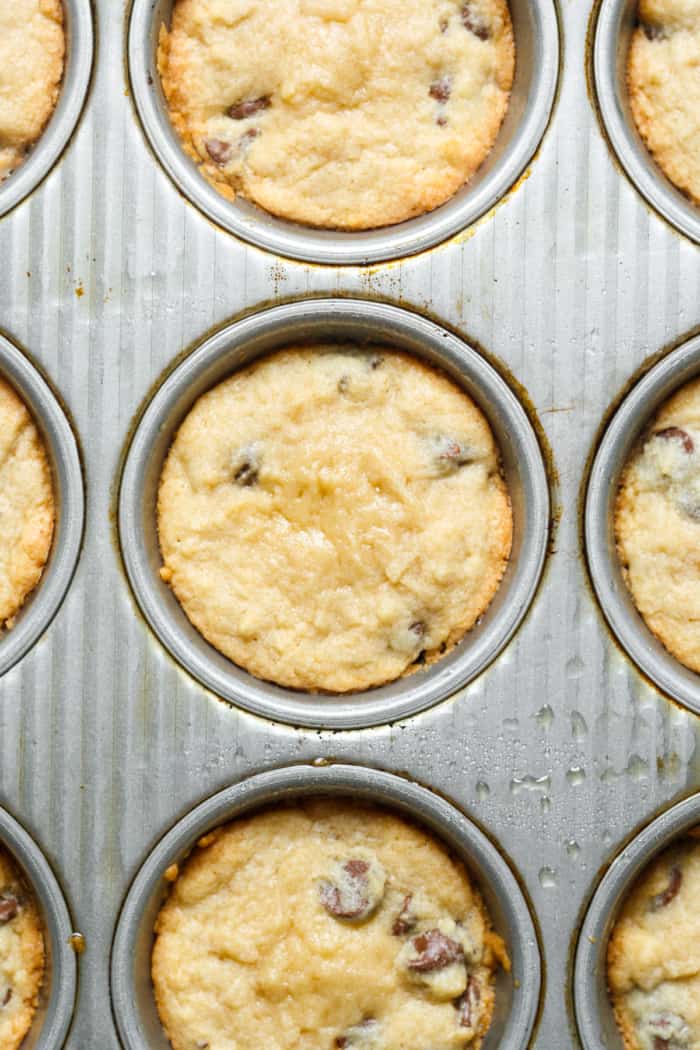
Step 9
Finally, remove from oven. Immediately use a jar lid or large spoon to press down in the middle. Allow cookie cups to cool in the muffin pan for 10 minutes.
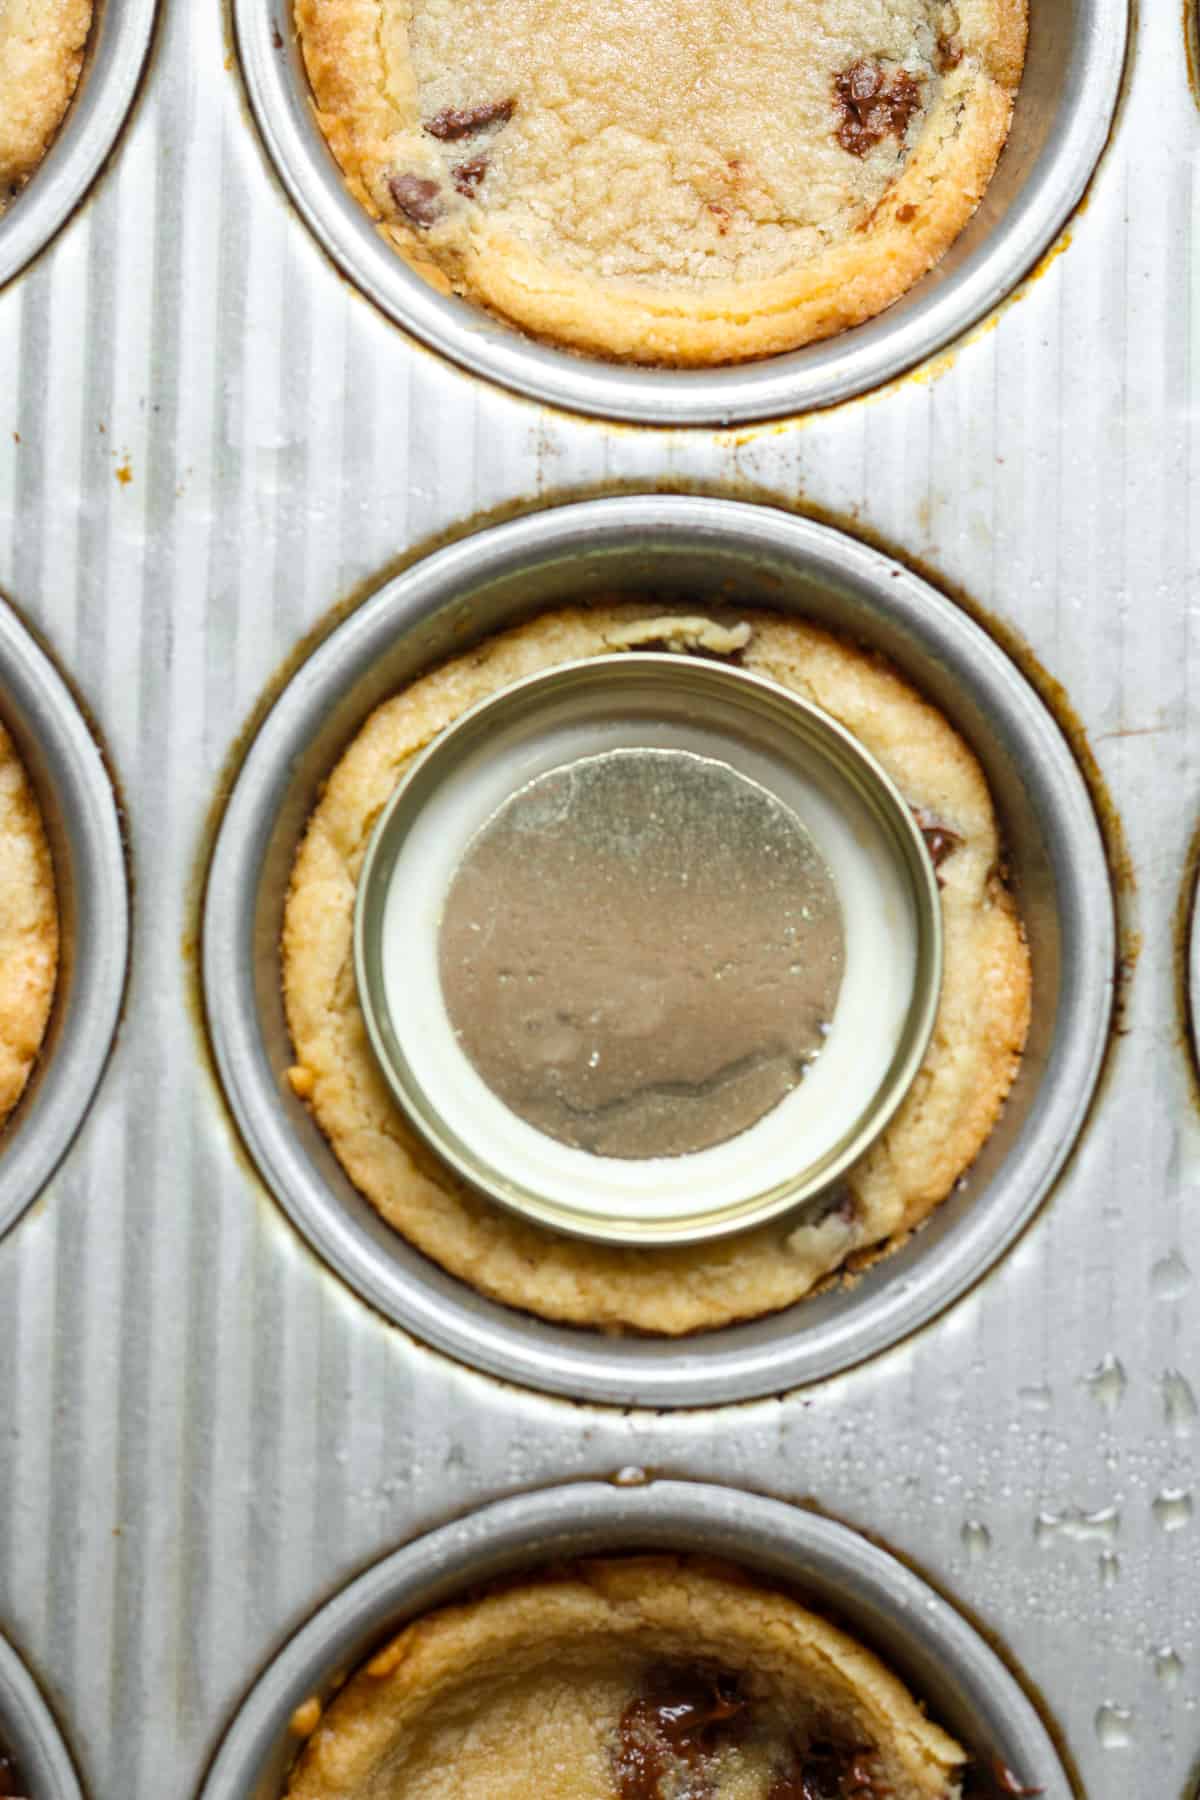
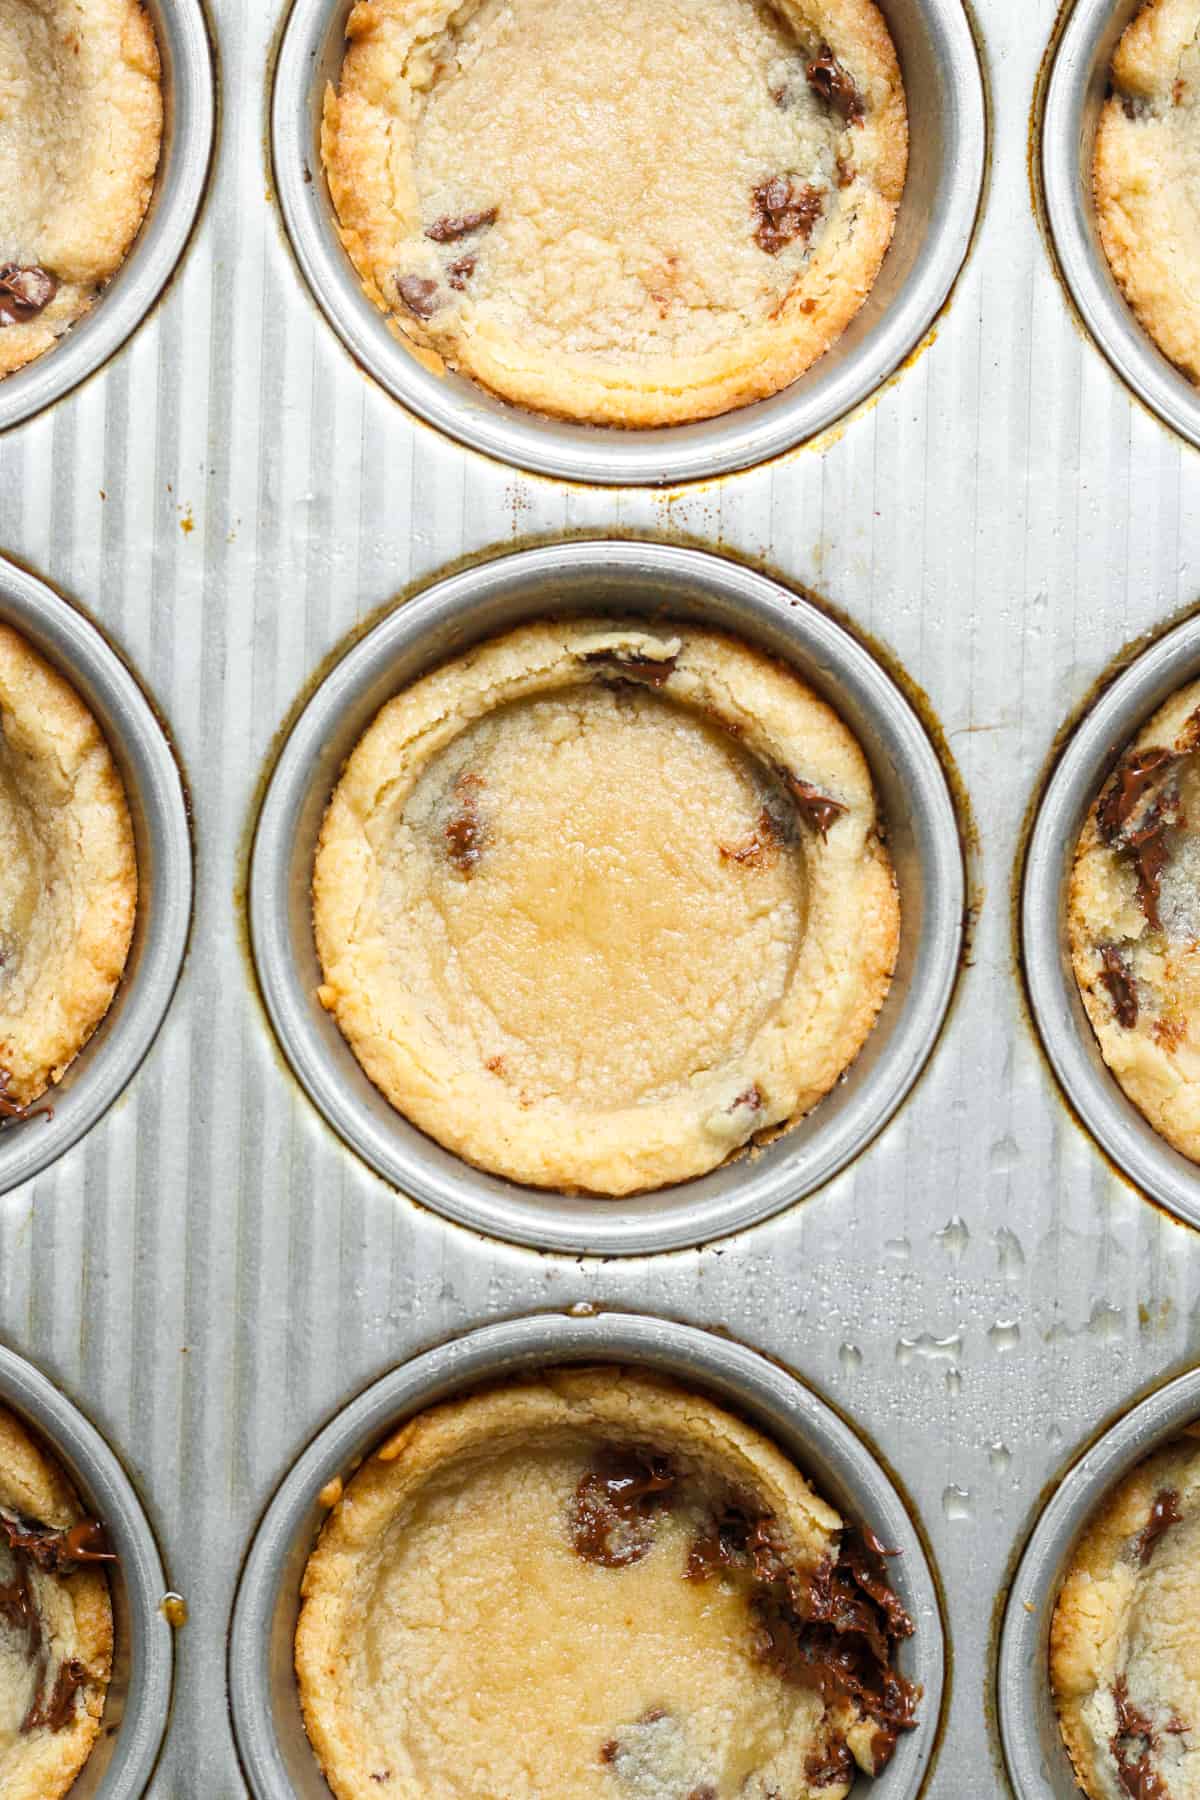
Step 10
Lastly, gently remove and place on cooling rack. Top with desired toppings.
Expert Tips & Tricks
Carefully measure all ingredients.
Heavily spray muffin pan.
Use cold butter. Do not use softened or melted butter.
The cookie dough will be a little sticky.
For best results, use an ice cream scoop to scoop dough into muffin pan.
Then, use hands to gently press dough down and around the edges of the cavity.
Do not over bake! These cookie cups should look a little gooey in the center.
Make the indentations immediately after baking.
Handle carefully after baking. To help get them out of the pan, run a butter knife around the edges of each cavity.
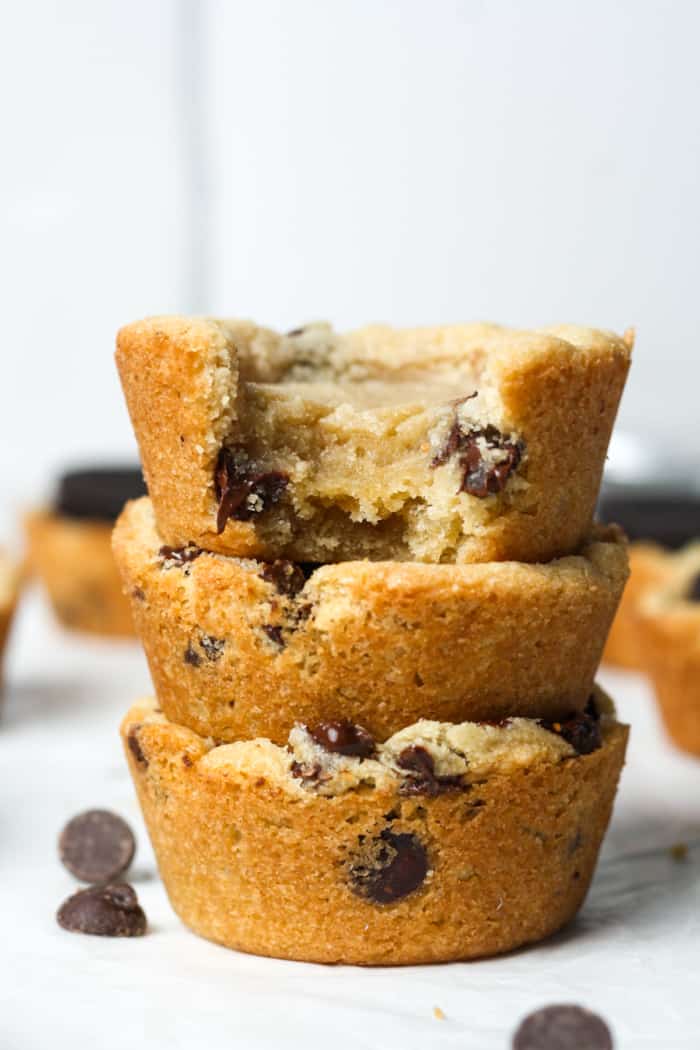
Fillings & Toppings
There are so many ways to enjoy these chocolate chip cookie cups.
Fill with ice cream.
Top with whipped cream.
Drizzle caramel sauce on top.
Fill with an Oreo.
Fill with a Reese’s peanut butter cup.
Top with one or two Hershey’s kisses.
Top with edible cookie dough. Trust me!
Fill with chocolate mousse.
Fill with cheesecake filling.
How to Serve & Store
Serve once cool enough to handle. These are great warm served with ice cream.
See list above for possible fillings and toppings.
Store leftovers covered at room temperature for up to 3 days.
These are great served chilled or frozen.
Frequently Asked Questions
Use gluten free flour to ensure they are gluten free.
Sure! Mini chocolate chips are a great idea.
Yes. These cookie cups freeze very well.
Sure. Then, just press them into a sprayed muffin pan and bake.
Somewhat. A mini muffin pan will work fine, but the area in the middle of the cookie will not be very big. So, they are delicious but not as good for fillings and toppings.
You May Also Like
- Gluten Free Chocolate Chip Cookies
- Gooey Chocolate Chip Cookies
- Keto Chocolate Chip Cookies
- Small Batch Chocolate Chip Cookies
- Dairy Free Chocolate Chip Cookies
If you make this cookie cups recipe, I would really appreciate a review! You can find me on Instagram, Facebook, and Pinterest. I would love for you to follow along! For more ideas, check out these Dessert Recipes.

Get the Recipe: Cookie Cups
Ingredients
- ½ cup cold unsalted butter
- ½ cup light brown sugar, tightly packed
- ¼ cup granulated sugar
- 1 egg
- 1 tsp vanilla extract
- 1 ¼ cups flour, gluten free or regular
- ½ tsp baking soda
- pinch sea salt
- ½ cup chocolate chips
Instructions
- First, preheat oven to 350 degrees Fahrenheit. Generously spray a muffin pan with nonstick spray.
- In a large mixing bowl, add cold butter, sugar and brown sugar. Mix on high until no clumps of butter remain, about 2 to 3 minutes.
- Then, add in egg and vanilla. Stir to combine.
- Add in flour, baking soda and sea salt. Stir to combine.
- Fold in chocolate chips.
- Use an ice cream scooper or large spoon to scoop dough into sprayed muffin cavities. This should make 10 to 12 cookie cups.
- Then, use your fingers to gently press dough down into muffin cavity and around the edges.
- Bake for 14 to 17 minutes or until edges are golden. The middles will still be a little gooey.
- Finally, remove from oven. Immediately use a jar lid or large spoon to press down in the middle. Allow cookie cups to cool in the muffin pan for 10 minutes.
- Lastly, gently remove and place on cooling rack. Top with desired toppings.
Notes
- Generously spray muffin pan to prevent sticking.
- Use cold butter right from the fridge. This prevents the cookie cups from spreading too much while baking.
- Both regular all purpose flour and gluten free 1 to 1 flour can be used.
- The cookie dough will be slightly sticky.
- With that said, use an ice cream scooper to scoop dough into muffin cavities. This makes it much easier.
- Use your hands to push dough into the muffin cavity and up around the sides slightly. See photos above for reference.
- Bake until edges are lightly golden. The middles will still be a little gooey.
- Be very careful removing cookie cups from pan. I like to run a butter knife around the edges of each muffin cavity before removing from pan.
Love these mini cookie cups? You can sign up here to receive healthy meal plans, exclusive new recipes and updates!
