Easy Cassava Flour Waffles (Paleo, Grain Free)
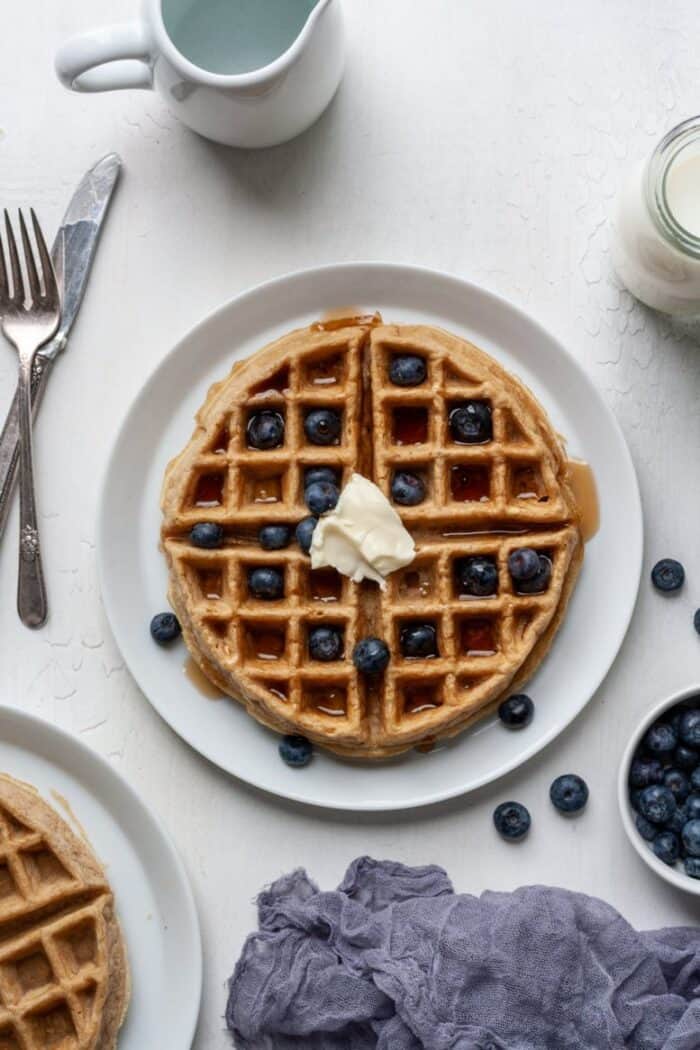
These easy Cassava Flour Waffles are so fluffy and delicious! They have that classic waffle texture and taste, but they are made with significantly healthier ingredients. A healthy breakfast that is super easy and tastes like my childhood favorite? Sign me up!
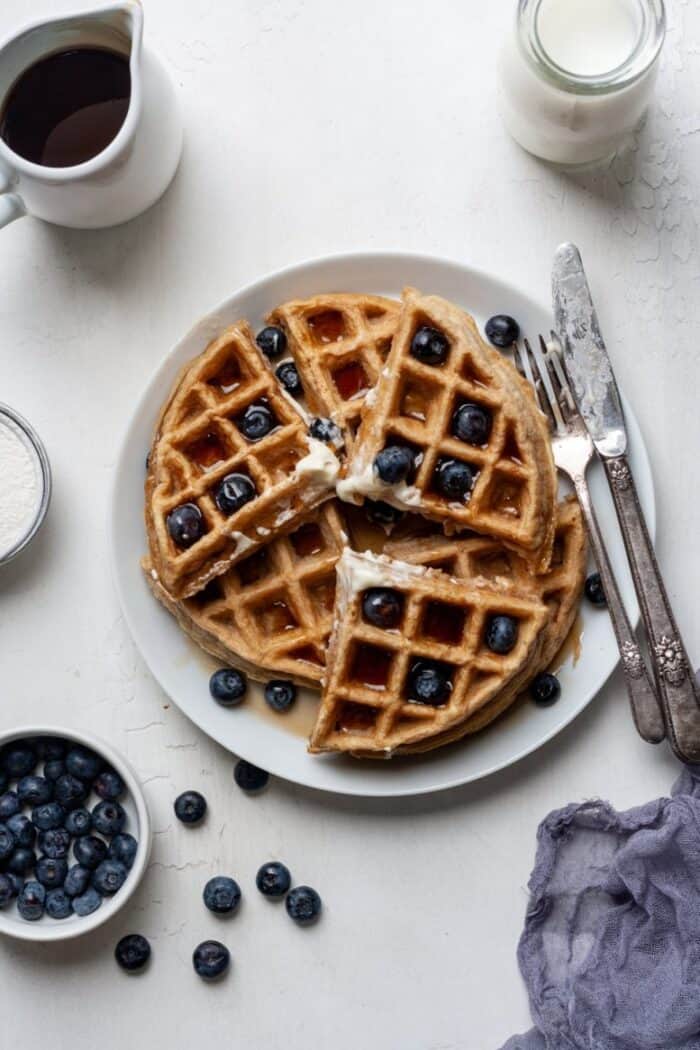
Why You’ll Love These Waffles
These Paleo waffles are bound to become your new go to! Here is why they are the best.
- These grain free waffles are made with only one bowl.
- This recipe is made with only 6 ingredients.
- Add your favorite toppings! Top with maple syrup, nut butters, fresh fruit, and chocolate chips.
- In addition to being Paleo, these waffles are Grain Free, Gluten Free, Nut Free and Sugar Free.
- Unlike most gluten free waffles, these are made without tapioca flour, without almond flour, without oats, without nuts, without baking powder, without xantham gum and without buttermilk.
- Make these waffles alongside some Cassava Flour Pancakes and Cassava Flour Banana Bread for the ultimate breakfast or brunch spread. For more ideas, check out my Breakfast recipes page.
- For more tips and tricks with cassava flour baking, check out my guide to Cassava Flour: Everything You Need to Know.
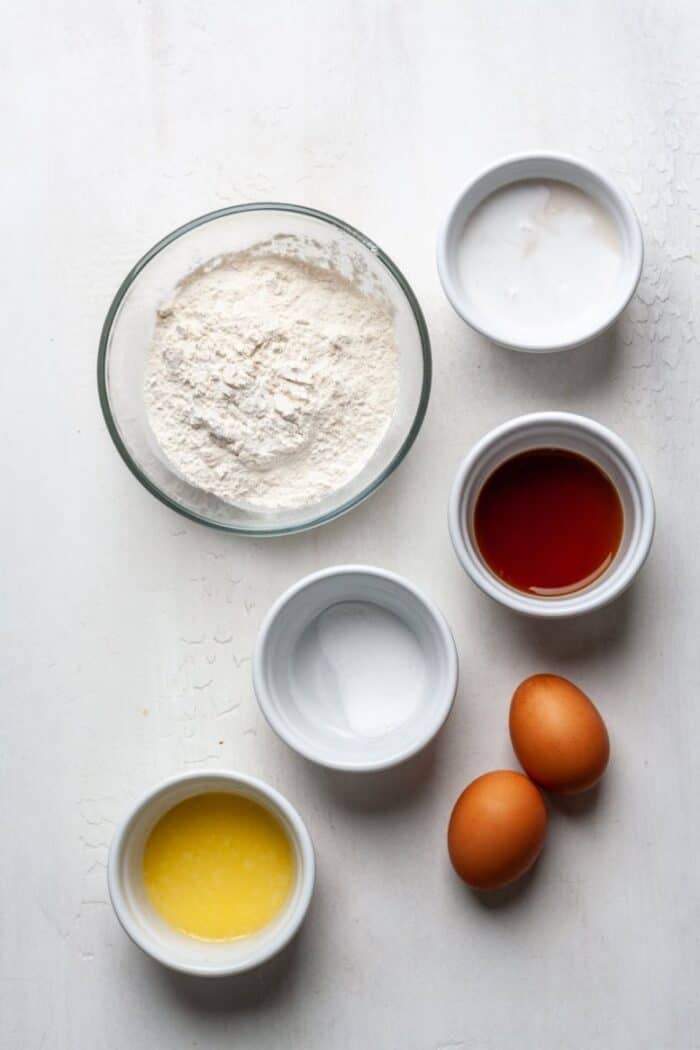
Recipe Steps
Step 1
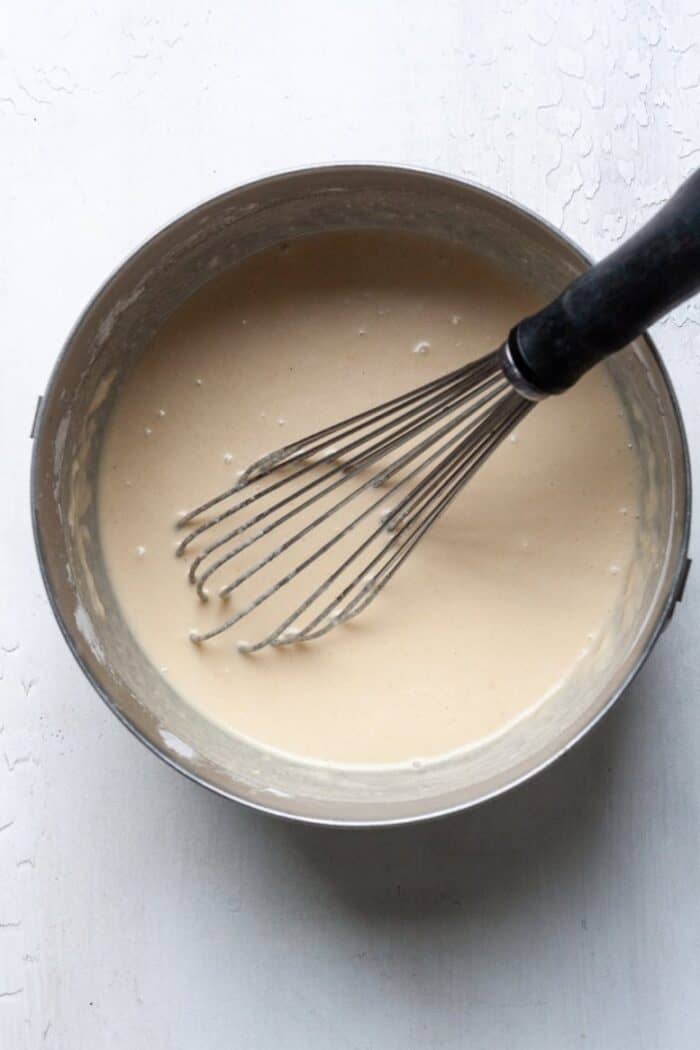
First, mix all ingredients together in a mixing bowl. Mix until no clumps of flour remain.
Step 2
Next, turn on waffle maker. Once heated up, spray both sides with nonstick spray.
Step 3
Pour half of the batter into waffle maker. Cook according to waffle iron instructions. My strong waffle maker took about 3 minutes.
Step 4
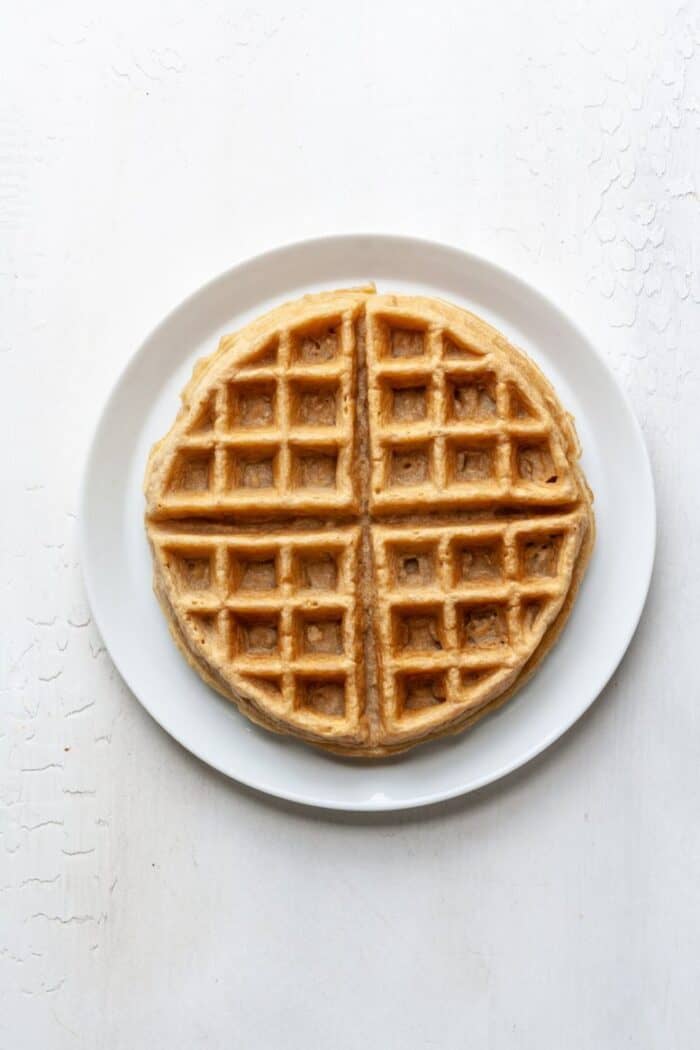
Once waffle is golden and crispy, carefully remove from waffle iron.
Step 5
Next, spray waffle iron again and add remaining batter. Repeat process.
Step 6
Finally, top with desired toppings and serve!
Frequently Asked Questions (FAQs)
Making gluten free waffles from scratch is very similar to making regular waffles. The only difference is using a gluten free flour. In this case, cassava flour is used.
Yes, cassava flour is Paleo.
Cassava flour is a great substitute for white flour. In fact, its texture is very similar to that of all purpose flour.
Yes, cassava flour is significantly healthier than white flour. It is less processed and contains no gluten and no grains.
I do not suggest replacing the eggs in this recipe.
No, cassava flour is not inflammatory. It is said to be anti-inflammatory and full of antioxidants.
Due to its lack of gluten, cassava flour does not rise much while baking.
Expert Tips and Substitutions
Mix waffle batter well, until completely smooth.
Use canned coconut milk (NOT coconut cream). Shake can before opening. Then measure.
Do NOT spray waffle iron while it is heating up. Spray it with nonstick spray just before adding waffle batter. After first waffle is done, spray again before making second waffle.
All waffle irons are different. I recommend reading the manual to figure out how long to cook waffles. I use a strong Belgian waffle maker and my waffles took about 3 minutes.
Once waffles are golden and crispy and easily slide out of waffle maker, they are done cooking.
Store leftovers in the fridge for up to 3 days.
Melted coconut oil can replace the melted butter for a dairy free option.
Another dairy free milk can be used in place of the canned coconut milk, but the batter and waffles might be thinner.
For a recipe with normal gluten free flour, try these Gluten Free Waffles.
You May Also Like
If you make this recipe, I would love to see it! You can find me on Instagram, Facebook, and Pinterest. I would love for you to follow along!


Get the Recipe: Easy Cassava Flour Waffles (Paleo, Grain Free)
Ingredients
- 2 eggs
- 1 cup cassava flour
- 1 ¼ cups canned coconut milk, or other dairy free milk
- 1 tsp baking soda
- 2 tbsp melted butter, or coconut oil
- 1 tsp vanilla extract
- nonstick spray, for waffle maker
Equipment
- Waffle maker
Instructions
- First, combine all ingredients in a mixing bowl. Stir until no clumps of flour remain.
- Then, turn on waffle maker.
- Once waffle maker is ready to go, spray liberally with nonstick spray.
- Then, pour batter into waffle maker. Cook according to waffle maker instructions.
- Cook until golden and crispy. Mine took about 3 minutes total. Then remove from waffle maker.
- Next, make second waffle. Spray waffle iron with nonstick spray and repeat process.
- Finally, carefully remove waffle from maker and serve.
Notes
- Shake canned coconut milk before use. Then, pour and measure.
- Stir waffle batter until smooth. No flour clumps should remain.
- I suggest using canned coconut milk (NOT coconut cream). It is thicker and more creamy than other dairy free milks. Almond milk can be substituted but waffles might be a little thinner.
- All waffle makers are slightly different. Mine is a classic Belgian waffle maker that produces 7 inch waffles.
- Even if your waffle maker is “nonstick” I suggest spraying with nonstick spray. This really helps to get the cooked waffle out.
- Cook until golden and crispy.
- Top with fruit, nut butters, maple syrup, chocolate chips or desired toppings!
- Store leftovers in an airtight container in the fridge for up to 3 days.
Looking for more great healthy breakfast recipes? You can sign up here to receive healthy meal plans and new recipes!

26 Comments on “Easy Cassava Flour Waffles (Paleo, Grain Free)”
I made these casava waffles, exactly how your recipe described I used a Belgian waffle maker. They were hardly crispy. Almost rubber like. Don’t know what error I made if any.
Thank you for this easy tasty recipe, we love using cassava flour and experimenting with subbing it for more traditional recipes. We love doubling the recipe and almost always use raw dairy milk (what we most have on hand) and throw in 2-3 heaping tsp of cottage cheese and a tbsp of collagen peptides as part of each cup of cassava used. I’ve tried and like the other reviewer’s recommendation of 1 tsp of baking powder and then we add 1/2 tsp of baking soda and 1/2 tsp of quality mineral salt. Fluffy, airy, soft on inside and nice crunch on outside. Thank for giving us another great cassava option. Kids love these waffles!
Hi Anya! Thank you so much for your detailed review. So glad this recipe worked out well. I appreciate your support!
I used this recipe for months and enjoyed the waffles well enough, but only covered in peanut butter and maple syrup to give it flavor. On its own I found it tasted bitter.
I just used this recipe again but substituted the baking soda for baking powder and added 1 tsp of salt. All the world of difference! My waffles now taste good plain and have a much better rise. They are fluffy on the inside and remain crunchy on the outside, which never happened before.
I used lard for fat and homemade cashew milk for liquid, but subbing baking powder and adding salt should help anyone struggling with the bitter taste.
Mine turned out bitter, as other commenters have said. I believe the instructions need to be more thorough. Shouldn’t we be mixing the baking soda into the cassava flour first? Getting that evenly distributed throughput the dry ingredients would prevent the bitterness. I also question why there is not even a pinch of salt in this recipe.
Left waffle on for 9 min in my Belgian waffle maker and insides of waffles are still gooey.
I made these casava waffles, exactly how your recipe described I used a Belgian waffle maker. They were hardly crispy. Almost rubber like. Don’t know what error I made if any.
Definitely bitter, not sure why since I followed the measurements. Turned out inedible….
I tried this recipe but unfortunately it did not come out well. It was too wet